There’s just something magical about pulling a perfectly crusty sourdough from your own oven, isn’t there? The smell, the anticipation… it’s seriously the best! And the best part? You don’t need to be some fancy baker to do it. This Classic Sourdough Boule (No-Knead) recipe makes it SO easy.
I’ll never forget my first sourdough attempt. It was a disaster! Flat, dense… basically a hockey puck. But I didn’t give up, and trust me, you shouldn’t either. This no-knead version is practically foolproof. It’s my go-to, and I think it will be yours too!
I’ve been baking sourdough for over 5 years and have taught dozens of friends how to make their own loaves at home. This simple, no-knead Classic Sourdough Boule recipe is the perfect way to get started!
Why You’ll Love This Classic Sourdough Boule (No-Knead)
Simple and Easy Classic Sourdough Boule (No-Knead)
Seriously, who has time to knead bread for ages? Not me! That’s why this no-knead recipe is a lifesaver. Just mix, wait, and bake! It’s that simple.
Delicious Tangy Flavor
Okay, let’s be real, the flavor is where it’s at! You just can’t beat that tangy, slightly sour taste of homemade sourdough. It’s addictive, I swear!
Impressive Crust and Texture
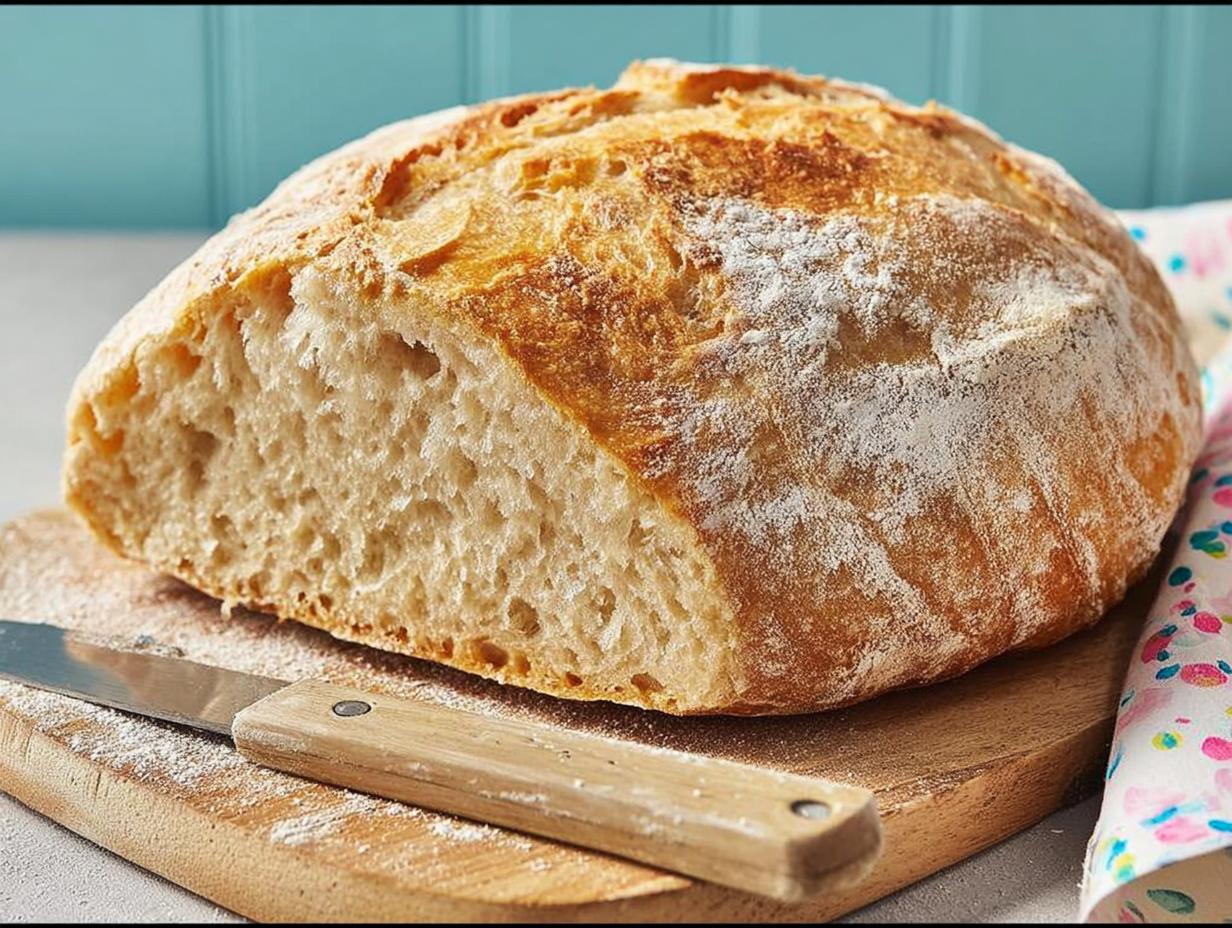
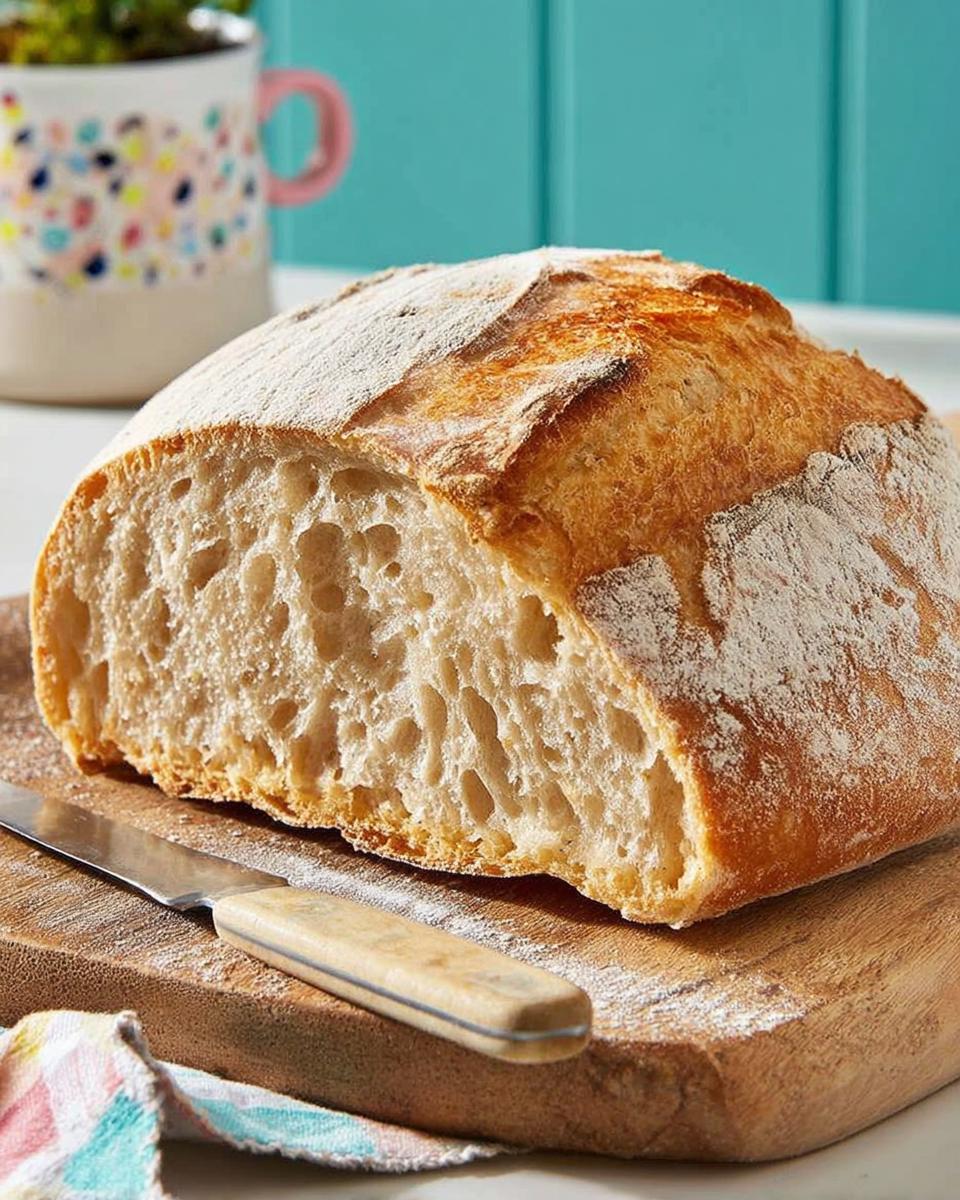
My favorite part is the crust – that crackly, golden-brown perfection! And inside? A light, airy crumb that’s just begging for butter. You’ll feel like a professional baker, promise!
Essential Equipment for Your Classic Sourdough Boule (No-Knead)
Alright, before we dive in, let’s talk tools! You don’t need a ton of fancy stuff, but a few key pieces will make your sourdough life SO much easier. Here’s what I swear by for this Classic Sourdough Boule (No-Knead):
Dutch Oven
Okay, this is non-negotiable! A Dutch oven traps steam inside while baking, which is what gives you that amazing, crusty sourdough. Trust me, it’s worth the investment!
Banneton Basket
This little basket is where your dough hangs out during its final proof. It helps the boule keep its shape and gives it those pretty spiral marks. Plus, it just looks fancy, doesn’t it?
Dough Scraper
This might seem like a small thing, but a dough scraper is a game-changer! It helps you handle the sticky dough without making a huge mess. I use mine constantly!
Classic Sourdough Boule (No-Knead) Ingredients You’ll Need
Okay, let’s talk ingredients! This Classic Sourdough Boule (No-Knead) is all about simplicity, so you don’t need a laundry list of stuff. But each ingredient plays a super important role, so pay attention!
Bread Flour
This is key! You’ll want to use bread flour, not all-purpose. Bread flour has a higher protein content, which means more gluten. Gluten is what gives your sourdough that nice, chewy structure. Trust me, it makes a difference!
Water
Temperature matters! Use lukewarm water, around 90-95°F (32-35°C). It helps activate the starter and gets everything happy and bubbly. Too hot, and you’ll kill the starter. Too cold, and it’ll be sluggish. Goldilocks temperature is what we’re after!
Active Sourdough Starter
Your starter needs to be *active*! That means it should be bubbly and doubled in size after feeding. If it’s not, it’s not ready. A good way to test? Drop a spoonful in water. If it floats, you’re good to go! If it sinks, feed it again and wait.
Salt
Don’t skip the salt! It’s not just for flavor; it actually controls the fermentation process and strengthens the gluten. I usually use kosher salt, but sea salt works too. Just make sure it’s not iodized!
How to Make Classic Sourdough Boule (No-Knead): Step-by-Step Instructions
Alright, let’s get baking! Don’t be intimidated; this Classic Sourdough Boule (No-Knead) is way easier than you think. Just follow these steps, and you’ll be enjoying fresh sourdough in no time!
Autolyse: Combining Flour and Water
First things first: grab a big bowl and mix together your bread flour and lukewarm water. Don’t overmix! Just get it combined. This is called the autolyse, and it’s a fancy way of saying “let the flour hydrate.” It helps develop gluten and gives you a better crumb. Cover the bowl and let it rest for 30 minutes. Trust me, don’t skip this step!
Mixing in Starter and Salt
Okay, now for the good stuff! Add your active sourdough starter and salt to the bowl. Get your hands in there (or use a dough scraper if you’re fancy!) and mix until *just* combined. Don’t overwork it! It’ll be shaggy, and that’s totally fine.
Bulk Fermentation and Folding
This is where the magic happens! Cover the bowl and let the dough bulk ferment for 6-8 hours. But here’s the secret: you gotta fold it! Every 2 hours, gently stretch and fold the dough over itself. This develops strength and structure. Don’t worry if it’s sticky; just do your best. The dough should be bubbly and jiggly when it’s ready.
Shaping and Proofing Your Classic Sourdough Boule (No-Knead)
Gently turn the dough out onto a lightly floured surface. Shape it into a round (a boule!). Place it in a well-floured banneton basket, seam-side up. Cover it and pop it in the fridge for 12-18 hours. This cold proof develops flavor and makes it easier to score.
Baking the Classic Sourdough Boule (No-Knead)
Preheat your oven to 450°F (232°C) with your Dutch oven *inside*. This is important! Carefully take the hot Dutch oven out (careful, it’s HOT!) and gently place the dough inside. Score the top with a sharp knife or lame. This controls how it expands in the oven. Cover and bake for 20 minutes. Then, remove the lid and bake for another 25-30 minutes, or until it’s a gorgeous golden brown. Keep an eye on it so it doesn’t burn!
Cooling and Enjoying
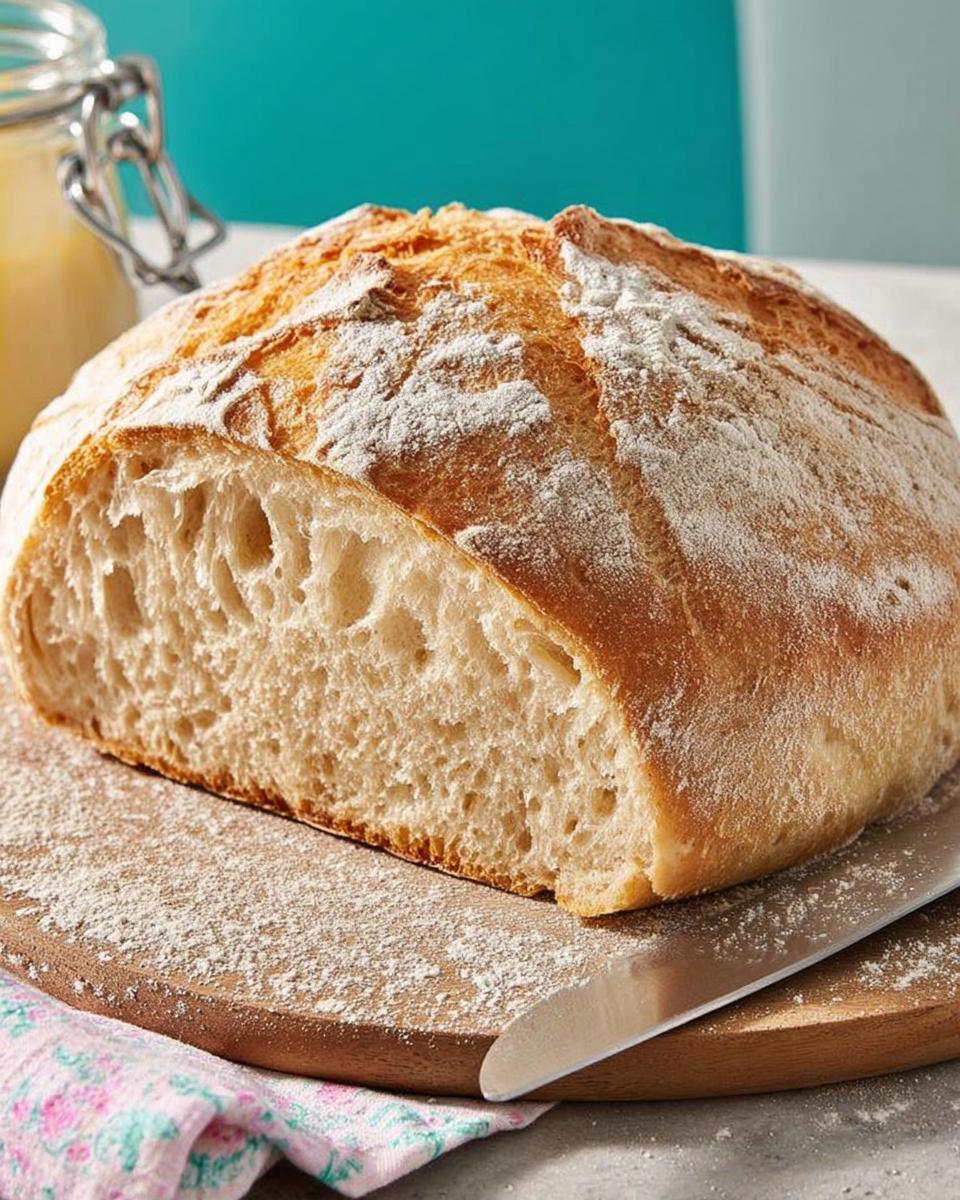
Okay, this is the hardest part: waiting! Let the bread cool *completely* on a wire rack before slicing. I know, it’s tempting to dig in right away, but trust me, it’s worth the wait. Slicing it while it’s warm will result in a gummy texture. Once it’s cool, slice it up and enjoy! My favorite is with butter and a sprinkle of sea salt. Yum!

Tips for Baking the Perfect Classic Sourdough Boule (No-Knead)
Okay, you’ve got the basics down! Now, let’s talk pro tips for taking your Classic Sourdough Boule (No-Knead) to the *next level*. These little tricks will help you nail it every time.
Adjusting Hydration
Flour is a funny thing – it can vary *so* much depending on the brand, the humidity, everything! So, you might need to tweak the amount of water. If your dough feels super dry, add a tablespoon or two more water. If it’s a sticky mess, add a tablespoon or two more flour. You’ll get the hang of it, I promise!
Monitoring Bulk Fermentation
Don’t just blindly follow the time! The bulk fermentation is done when the dough has *almost* doubled in size and is nice and bubbly. It should jiggle when you shake the bowl. If it’s still dense and flat, it needs more time. If it’s overflowing, you’ve gone too far!
Scoring Techniques
A good score is key for a beautiful loaf! Use a sharp knife or lame, and make a clean, confident slash. Angle the blade slightly. Don’t be afraid! A single, deep score across the top works great, or you can get fancy with patterns. Experiment and see what you like!
Classic Sourdough Boule (No-Knead) Variations to Try
Okay, so you’ve mastered the basic Classic Sourdough Boule (No-Knead)! Woohoo! Now, let’s get a little wild and try some variations. This is where you can really get creative and make it your own!
Adding Herbs and Spices
This is my favorite way to jazz things up! A tablespoon or two of dried herbs like rosemary, thyme, or oregano adds such a lovely flavor. You can also use spices like garlic powder, onion powder, or even a pinch of red pepper flakes for a little kick! Just mix them in with the flour before you add the water. So easy!
Incorporating Seeds and Grains
Want to add some texture and nutrition? Toss in a handful of seeds or grains! Sunflower seeds, pumpkin seeds, flax seeds, or even cooked oats work great. I usually add about 1/4 cup. They’ll give your Classic Sourdough Boule (No-Knead) a nice, nutty flavor and a satisfying crunch!
Storing Your Classic Sourdough Boule (No-Knead)
Okay, so you’ve baked this amazing Classic Sourdough Boule (No-Knead). Now, how do you keep it fresh? Here’s the lowdown on storing and reheating so you can enjoy every last crumb!
Storage Instructions
The best way to keep your sourdough fresh is in a bread bag or wrapped tightly in plastic wrap. I also like to use beeswax wraps – they’re eco-friendly and work great! Storing it at room temperature is totally fine for a couple of days. If you want to keep it longer, slice it and freeze it!
Reheating Instructions
Want that fresh-out-of-the-oven crust again? Here’s my trick: Preheat your oven to 350°F (175°C). Lightly spritz the crust with water and pop it in the oven for about 5-10 minutes. It’ll be like new, I promise! If it’s frozen, no worries! Just add a few extra minutes to the reheating time.
Nutritional Information for Classic Sourdough Boule (No-Knead)
Alright, let’s talk nutrition! Now, I’m no nutritionist, okay? And honestly, the exact nutritional content of your Classic Sourdough Boule (No-Knead) will depend on the specific brands of flour and other ingredients you use. So, I can’t give you exact numbers, got it?
But, here’s the deal: Sourdough is generally considered a pretty healthy bread option. It’s lower on the glycemic index than a lot of other breads, and the fermentation process actually makes some of the nutrients more bioavailable. How cool is that?! Just remember, this is more of a general guide. For precise info, you’d need to calculate it yourself based on your specific ingredients. Happy baking!
Frequently Asked Questions About Classic Sourdough Boule (No-Knead)
Got questions? Of course, you do! Sourdough can seem a little mysterious at first. But don’t worry, I’m here to help! These are some of the most common questions I get about my Classic Sourdough Boule (No-Knead). Hopefully, this clears things up!
What is sourdough starter and how do I maintain it?
Okay, so sourdough starter is basically a colony of wild yeast and bacteria that you cultivate. It’s what makes sourdough *sourdough*! To maintain it, you need to “feed” it regularly with flour and water. It’s like having a little pet! There are tons of guides online about starter care, so definitely check those out. It’s easier than it sounds, I promise!
Can I use a different type of flour?
Well, you *can*, but I wouldn’t recommend it! All-purpose flour just doesn’t have the same protein content as bread flour, so your Classic Sourdough Boule (No-Knead) might not have the same structure. If you absolutely have to, try adding a tablespoon of vital wheat gluten. But honestly, bread flour is your best bet!
How do I know when my sourdough is ready to bake?
Ah, the million-dollar question! There are a few things to look for. The dough should have almost doubled in size, be bubbly, and jiggle when you shake the bowl. You can also do the “poke test”: gently poke the dough. If the indentation slowly springs back, it’s ready! If it doesn’t spring back, it needs more time. It’s all about practice!
My Classic Sourdough Boule (No-Knead) is too dense, what did I do wrong?
Dense sourdough is a bummer, I know! There are a few possible culprits. Your starter might not have been active enough, you might not have let the dough bulk ferment long enough, or you might have over-proofed it in the fridge. Don’t get discouraged! Try again, and pay close attention to those factors.
Ready to Bake Your Own Classic Sourdough Boule (No-Knead)?
So, what are you waiting for?! Grab your ingredients and get baking! I just know you’re gonna love this Classic Sourdough Boule (No-Knead). Let me know how it turns out – leave a comment or rate the recipe!
Print
Classic Sourdough Boule: 5 Years Avoiding Disaster
- Prep Time: 20 minutes
- Cook Time: 45 minutes
- Total Time: 18 hours 5 minutes
- Yield: 1 loaf 1x
- Category: Bread
- Method: Baking
- Cuisine: French
- Diet: Vegetarian
Description
Bake a delicious and crusty sourdough boule at home with this simple no-knead recipe. Enjoy the tangy flavor and satisfying texture of homemade sourdough.
Ingredients
- 400g bread flour
- 300g water
- 100g active sourdough starter
- 10g salt
Instructions
- Combine flour and water in a bowl. Let rest for 30 minutes.
- Add starter and salt. Mix until just combined.
- Bulk ferment for 6-8 hours, folding every 2 hours.
- Shape dough into a round. Place in a floured banneton basket.
- Proof in the refrigerator for 12-18 hours.
- Preheat oven to 450°F (232°C) with a Dutch oven inside.
- Carefully place dough in the hot Dutch oven. Score the top.
- Cover and bake for 20 minutes.
- Remove lid and bake for 25-30 minutes, or until golden brown.
- Cool completely on a wire rack before slicing.
Notes
- Adjust hydration as needed based on your flour.
- Bulk fermentation time varies depending on temperature.
- Use a sharp knife or lame to score the dough.
Nutrition
- Serving Size: 1 slice
- Calories: 200
- Sugar: 1g
- Sodium: 300mg
- Fat: 1g
- Saturated Fat: 0g
- Unsaturated Fat: 1g
- Trans Fat: 0g
- Carbohydrates: 40g
- Fiber: 2g
- Protein: 7g
- Cholesterol: 0mg