Thanksgiving, right? It’s all about family, gratitude, and… let’s be honest, the *food*. And what’s Thanksgiving without a killer centerpiece? We’ve all seen the same old flower arrangements, maybe a gourd or two. But this year, let’s shake things up with something totally different – a Thanksgiving Cornucopia Centerpiece Recipe that’s not just gorgeous, but completely edible!
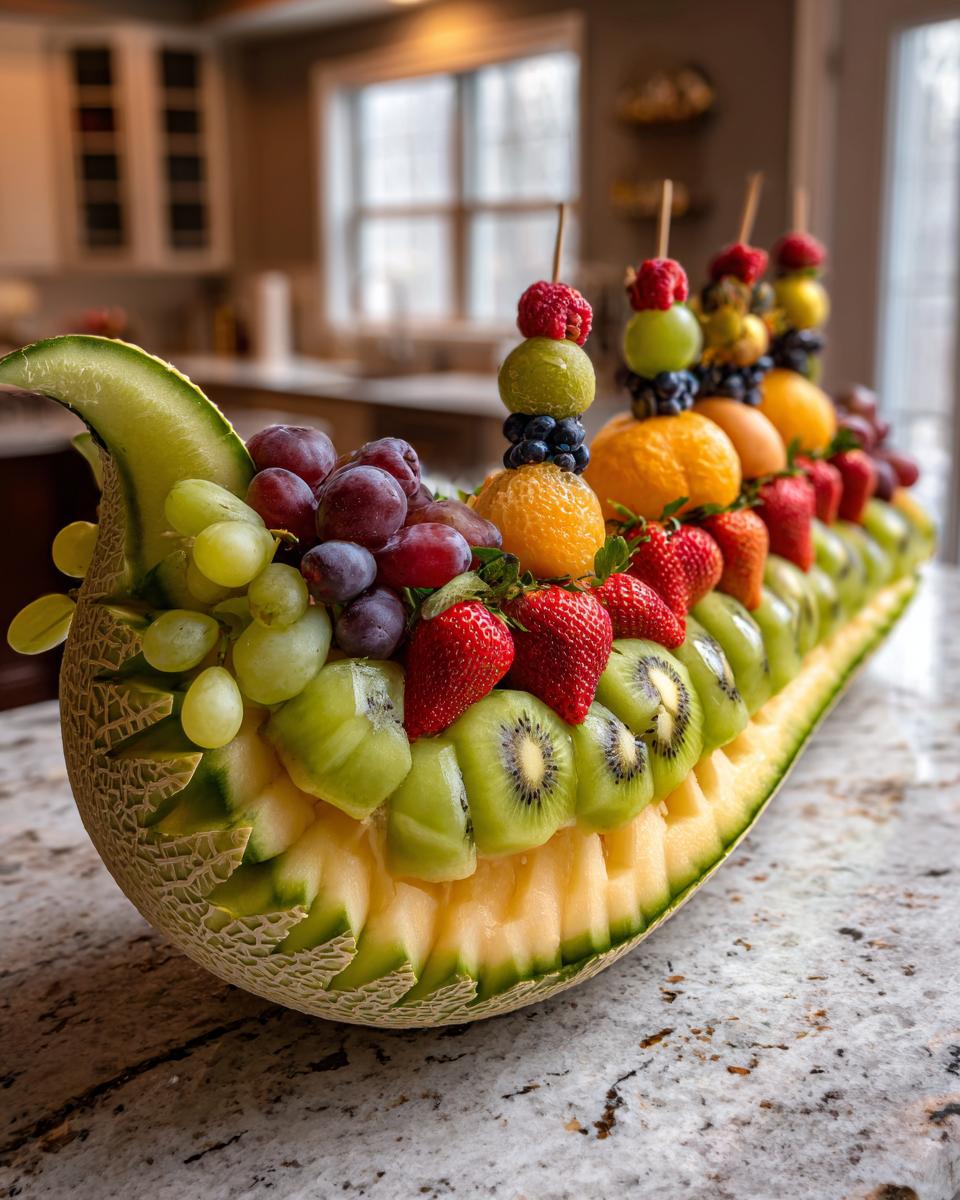
I’m talking a vibrant, overflowing horn of fresh fruit. Seriously, picture this: a carved melon bursting with colorful grapes, juicy strawberries, and all your favorite goodies. And the best part? It’s super easy to put together. No fancy skills needed, promise!
I’ll never forget the year my Aunt Carol tried a “modern art” centerpiece. It involved twigs, spray paint, and something suspiciously resembling dryer lint. Let’s just say it wasn’t a hit. This Thanksgiving Cornucopia Centerpiece Recipe? Total opposite. It’s beautiful, delicious, and a guaranteed conversation starter.
Why You’ll Love This Thanksgiving Cornucopia Centerpiece Recipe
Okay, so why should you ditch the flowers and go fruity this year? Let me tell you, this Thanksgiving Cornucopia Centerpiece Recipe is a total winner. Trust me!
- Edible Centerpiece! Seriously, who doesn’t love a centerpiece you can actually *eat*? No more awkward small talk, just grab a grape!
- Fun to Make! Get the kids involved! It’s like arts and crafts, but with snacks. Win-win!
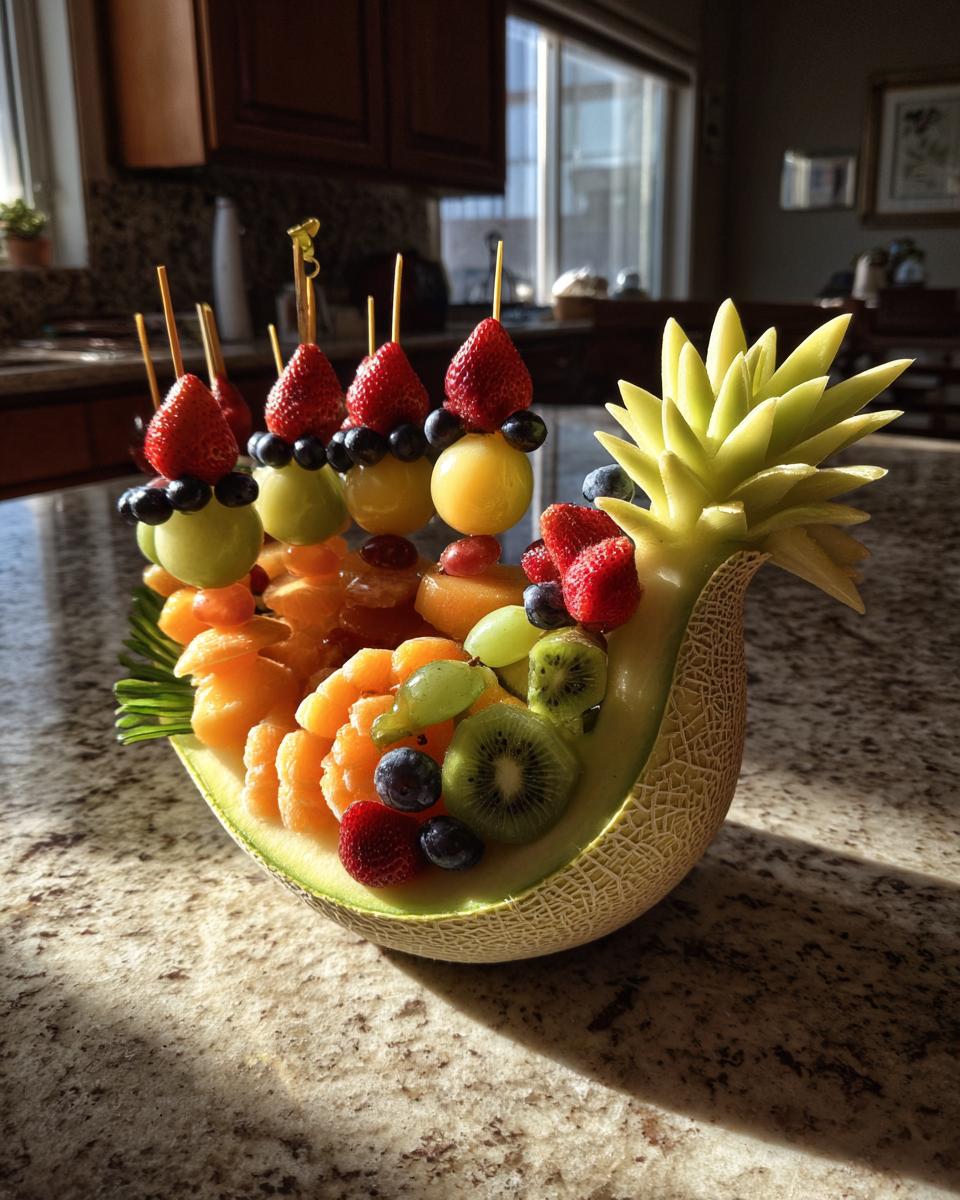
- Visually Stunning! It’s like a rainbow exploded on your table. So bright and festive!
- Customizable! Don’t like melon? No problem! Swap it out for your fave fruits. It’s *your* masterpiece!
- Gluten-Free and Healthy(ish)! Okay, it’s still dessert, but it’s packed with vitamins. You can feel good about this one!
Ingredients for Your Thanksgiving Cornucopia Centerpiece Recipe
Alright, let’s talk about what you’ll need to whip up this amazing Thanksgiving Cornucopia Centerpiece Recipe! Don’t worry, it’s mostly just fruit, so it’s pretty simple. My favorite part is picking out all the colorful options! Here’s the lowdown:
List of Ingredients
- 1 large honeydew melon, halved and seeded. This is your cornucopia “horn,” so pick a good one!
- 1 cantaloupe, balled. You can use a melon baller or just chop it into bite-sized pieces. No stress!
- 1 watermelon, balled. Same deal as the cantaloupe. Watermelon is always a crowd-pleaser, right?
- 2 cups assorted fruits like grapes (red and green!), strawberries, blueberries, and kiwi, washed and prepared. Get creative!
- 20 wooden skewers. You might need more or less depending on how packed you want your Thanksgiving Cornucopia Centerpiece Recipe, so grab a few extra just in case!
- Optional: Edible flowers or leaves. For a fancy touch! Nasturtiums are my go-to.
Equipment Needed to Create a Thanksgiving Cornucopia Centerpiece Recipe
Okay, so you’ve got your fruit – awesome! Now, let’s make sure you have the right tools for the job. Nothing fancy needed for this Thanksgiving Cornucopia Centerpiece Recipe, I promise! Here’s what I usually grab:
- Large knife. For carving that honeydew! Be careful, now!
- Melon baller. Makes those cute little fruit balls. You could cube the fruit, but the balls look so much nicer, don’t you think?
- Cutting board. Gotta protect your counters!
- Wooden skewers. To hold all that delicious fruit.
- Serving platter. For showing off your masterpiece!
Step-by-Step Guide: Thanksgiving Cornucopia Centerpiece Recipe
Alright, buckle up, buttercup! It’s time to bring this Thanksgiving Cornucopia Centerpiece Recipe to life! Don’t worry, I’ll walk you through it. Just follow these easy steps, and you’ll have a show-stopping centerpiece in no time! Ready? Let’s go!
Preparing the Honeydew Cornucopia
Okay, first things first, that honeydew is gonna be your cornucopia, so handle it with care! Grab your large knife (carefully!) and slice that honeydew in half lengthwise. Scoop out all those seeds – yuck! Now comes the fun part: carving! Pick one of the halves and start shaping it into a horn. You’ll want to curve the end to make it look like a real cornucopia. Don’t worry if it’s not perfect; rustic is in! Just try to make it look, you know, horn-shaped. If you’re feeling fancy, you can even carve some designs on the outside. I usually just stick to simple curves, myself.
Assembling the Fruit Skewers
Now for the colorful part! Grab your melon baller and get to work on that cantaloupe and watermelon. Aren’t those little balls just the cutest? Once you’ve got a good pile of melon balls, start threading them onto the wooden skewers, alternating with your other fruits. Think red strawberries, green grapes, blue blueberries… make it a rainbow on a stick! Don’t be afraid to mix and match textures, too. A juicy grape next to a firm piece of kiwi? Yum! My favorite part is that you can really get creative and make each skewer unique. Just try not to eat all the fruit while you’re doing it!
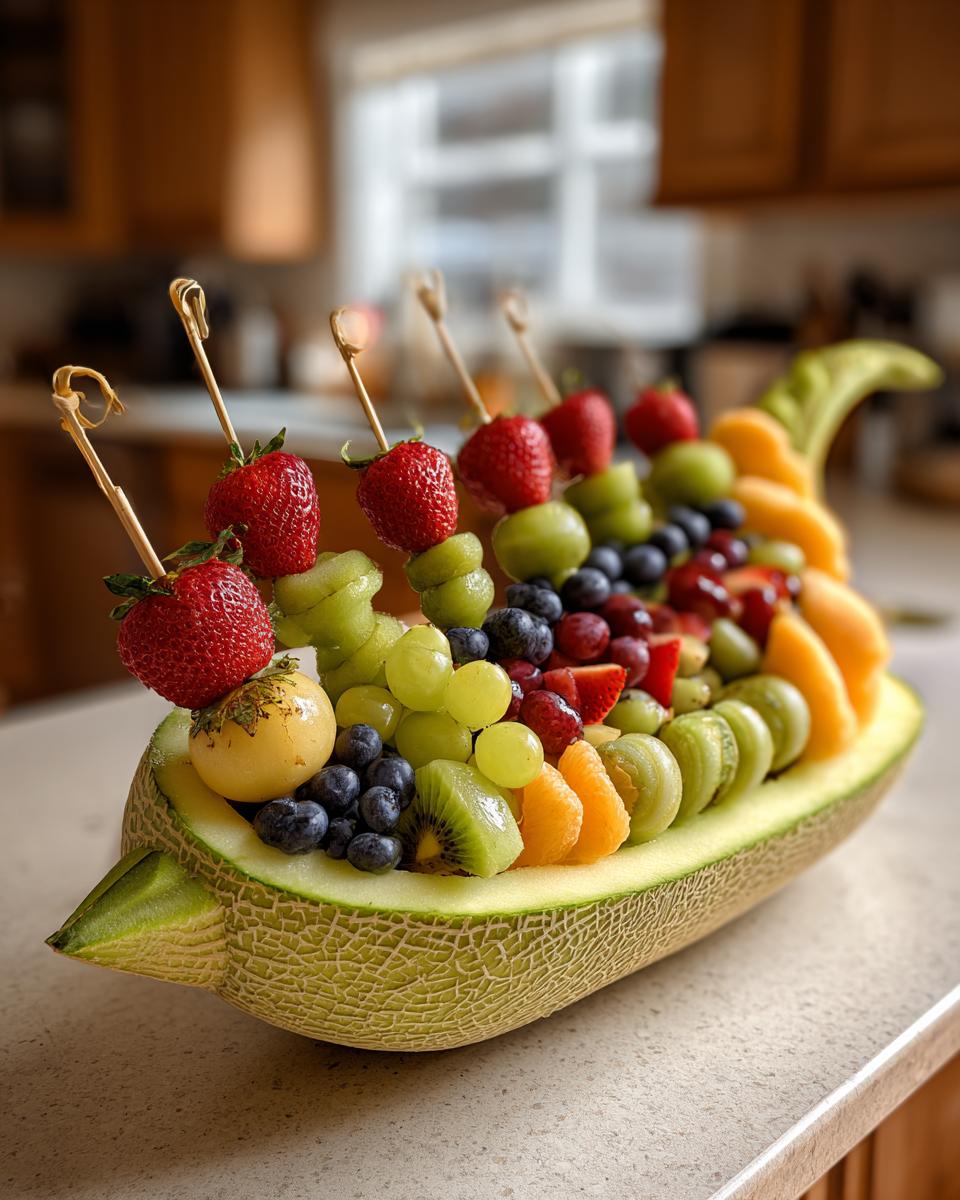
Arranging the Thanksgiving Cornucopia Centerpiece Recipe
Almost there! Now comes the grand finale: arranging your Thanksgiving Cornucopia Centerpiece Recipe. Carefully stick the skewers into the honeydew cornucopia, making sure they’re nice and secure. You want it to look like the fruit is overflowing out of the horn – like a bountiful harvest! Start with the larger skewers in the back and then fill in the gaps with smaller ones. If your cornucopia is wobbly, you can secure the base with a plate or stand. And finally, for a touch of elegance, garnish with some edible flowers or leaves. Ta-da! You’ve got yourself a stunning (and edible!) Thanksgiving centerpiece. Now, go show it off!
Tips for a Perfect Thanksgiving Cornucopia Centerpiece Recipe
Want to make sure your Thanksgiving Cornucopia Centerpiece Recipe is a total showstopper? Here are a few little tricks I’ve learned over the years. Trust me, these will save you from a fruit-filled disaster!
- Choose firm fruits! Mushy fruit is a no-go. You want stuff that’ll hold its shape on those skewers.
- Secure the base! That honeydew can be a little wobbly, so use a plate or something to keep it from tipping over. Nobody wants a fruit avalanche!
- Prepare the fruit shortly before serving! Fruit tends to dry out, so don’t make it too far in advance. A few hours is fine, but overnight? Nope!
- Keep refrigerated until serving time! This will keep everything nice and fresh. Plus, cold fruit is just tastier, right?
Variations on Your Thanksgiving Cornucopia Centerpiece Recipe
Okay, so you’ve got the basic Thanksgiving Cornucopia Centerpiece Recipe down, but feeling a little…adventurous? Awesome! This thing is totally customizable, so let’s get those creative juices flowing! Here are a few ideas to spice things up – or should I say, *fruit* things up? Hehe!
- Use Different Fruits! Duh, right? But seriously, don’t feel limited! Mangoes, pineapple chunks, blackberries… go wild! Whatever looks good at your local market.
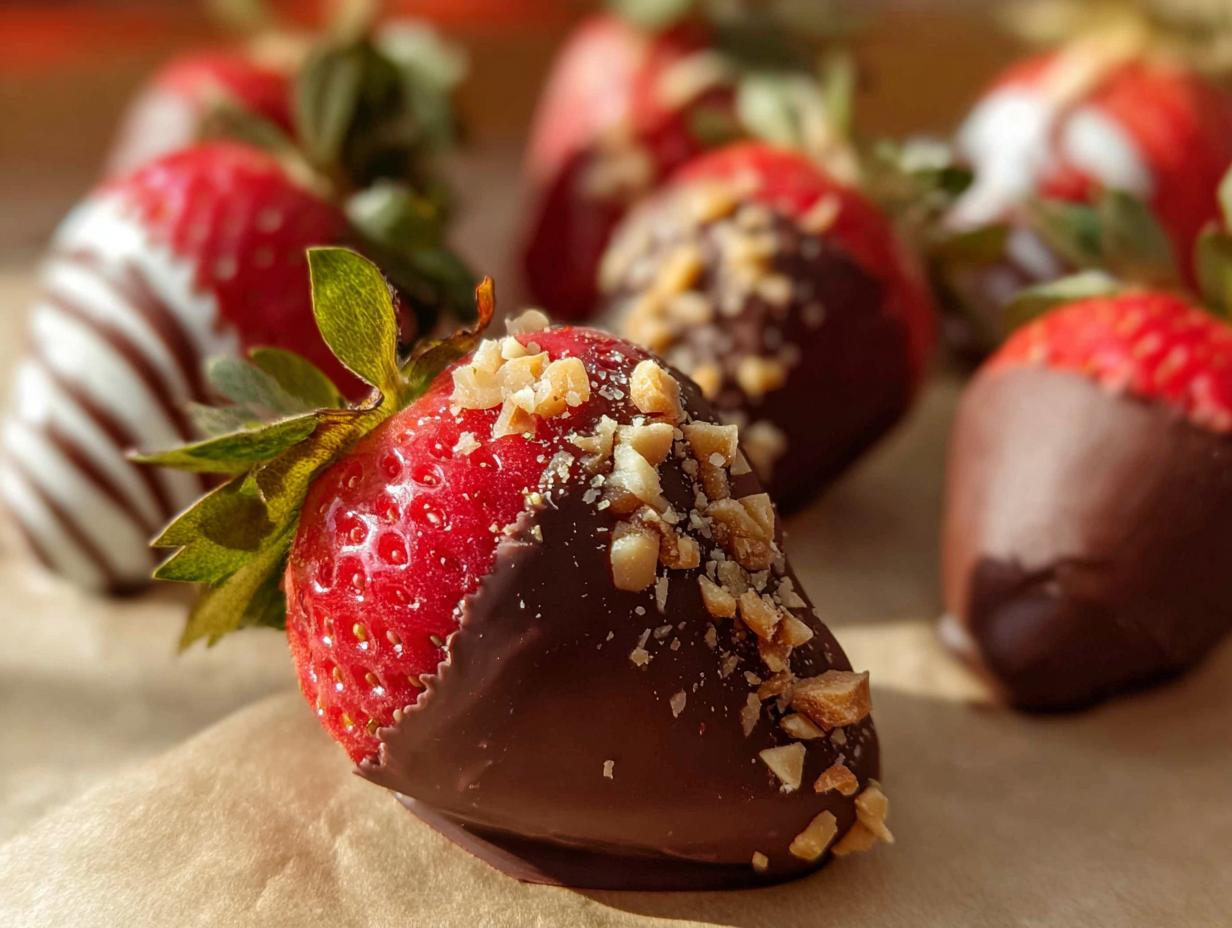
- Add Chocolate-Covered Strawberries! Ooh la la! Talk about a fancy touch. Just dip those berries in melted chocolate and let them set before adding them to the skewers. Decadent!
- Incorporate Vegetables! Wait, what?! Hear me out! Baby carrots, cherry tomatoes… They add a fun pop of color and a little savory something to balance out all that sweetness. Plus, it’s unexpected!
Frequently Asked Questions About the Thanksgiving Cornucopia Centerpiece Recipe
Got questions about this amazing Thanksgiving Cornucopia Centerpiece Recipe? I thought you might! Here are a few answers to the most common things I get asked. Don’t worry, there are no dumb questions when it comes to fruit!
Can I make the Thanksgiving Cornucopia Centerpiece Recipe ahead of time?
Okay, so ideally, you want to assemble this baby as close to serving time as possible. But, life happens, right? If you *need* to make it ahead, I recommend prepping the fruit (washing, cutting) and storing it in airtight containers in the fridge. Then, assemble the skewers and arrange everything in the cornucopia just a few hours before your guests arrive. That’ll help keep everything nice and fresh!
What other fruits can I use in my Thanksgiving Cornucopia Centerpiece Recipe?
Seriously, the sky’s the limit! Think about what’s in season and what *you* love! Grapes, strawberries, and melon are always a hit, but consider adding things like blackberries, raspberries, kiwi, pineapple chunks, or even starfruit for a super fancy touch. Just make sure whatever you choose is firm enough to hold up on the skewers!
How do I keep the fruit from browning in my Thanksgiving Cornucopia Centerpiece Recipe?
Ah, the dreaded browning! A little lemon juice is your best friend here. Before you start assembling, toss any fruits that tend to brown easily (like apples or pears) in a little bit of lemon juice. It won’t affect the taste, and it’ll keep them looking fresh and vibrant. Also, try to avoid cutting the fruit *too* far in advance. The less time it’s exposed to air, the better!
Nutritional Information for the Thanksgiving Cornucopia Centerpiece Recipe
Okay, so you wanna know the nutritional deets on this Thanksgiving Cornucopia Centerpiece Recipe? Well, here’s the thing: it totally depends on the fruits you use! So, I can’t give you exact numbers. Just know it’s mostly fruit, so it’s gotta be healthier than Aunt Carol’s twig sculpture, right?
Enjoy Your Creative Thanksgiving Cornucopia Centerpiece Recipe!
Alright, you did it! You’ve created an amazing Thanksgiving Cornucopia Centerpiece Recipe that’s sure to wow your guests. Now it’s time to sit back, relax, and enjoy the compliments! And hey, if you make this, I wanna see! Snap a pic and share it in the comments below. Happy Thanksgiving, everyone!
Print
Thanksgiving Cornucopia Recipe: Avoid 1 Costly Mistake
- Prep Time: 45 minutes
- Cook Time: 0 minutes
- Total Time: 45 minutes
- Yield: 1 centerpiece 1x
- Category: Dessert
- Method: Assembly
- Cuisine: American
- Diet: Gluten Free
Description
Create a stunning and edible Thanksgiving centerpiece with this cornucopia recipe.
Ingredients
- 1 large honeydew melon
- 1 cantaloupe
- 1 watermelon
- Assorted fruits (grapes, strawberries, blueberries, kiwi, etc.)
- Wooden skewers
- Optional: Edible leaves or flowers for garnish
Instructions
- Cut the honeydew melon in half lengthwise. Scoop out the seeds.
- Carve one half of the honeydew into a cornucopia shape. Curve the end to resemble a horn.
- Scoop out the cantaloupe and watermelon with a melon baller.
- Thread the melon balls and assorted fruits onto wooden skewers.
- Arrange the skewers inside the honeydew cornucopia, creating a overflowing effect.
- Garnish with edible leaves or flowers, if desired.
Notes
- Choose firm fruits for easier skewering.
- Secure the cornucopia base with a plate or stand.
- Prepare the fruit shortly before serving to prevent it from drying out.
Nutrition
- Serving Size: Varies
- Calories: Varies depending on fruit
- Sugar: Varies depending on fruit
- Sodium: Low
- Fat: Low
- Saturated Fat: Low
- Unsaturated Fat: Varies depending on fruit
- Trans Fat: 0g
- Carbohydrates: Varies depending on fruit
- Fiber: Varies depending on fruit
- Protein: Varies depending on fruit
- Cholesterol: 0mg