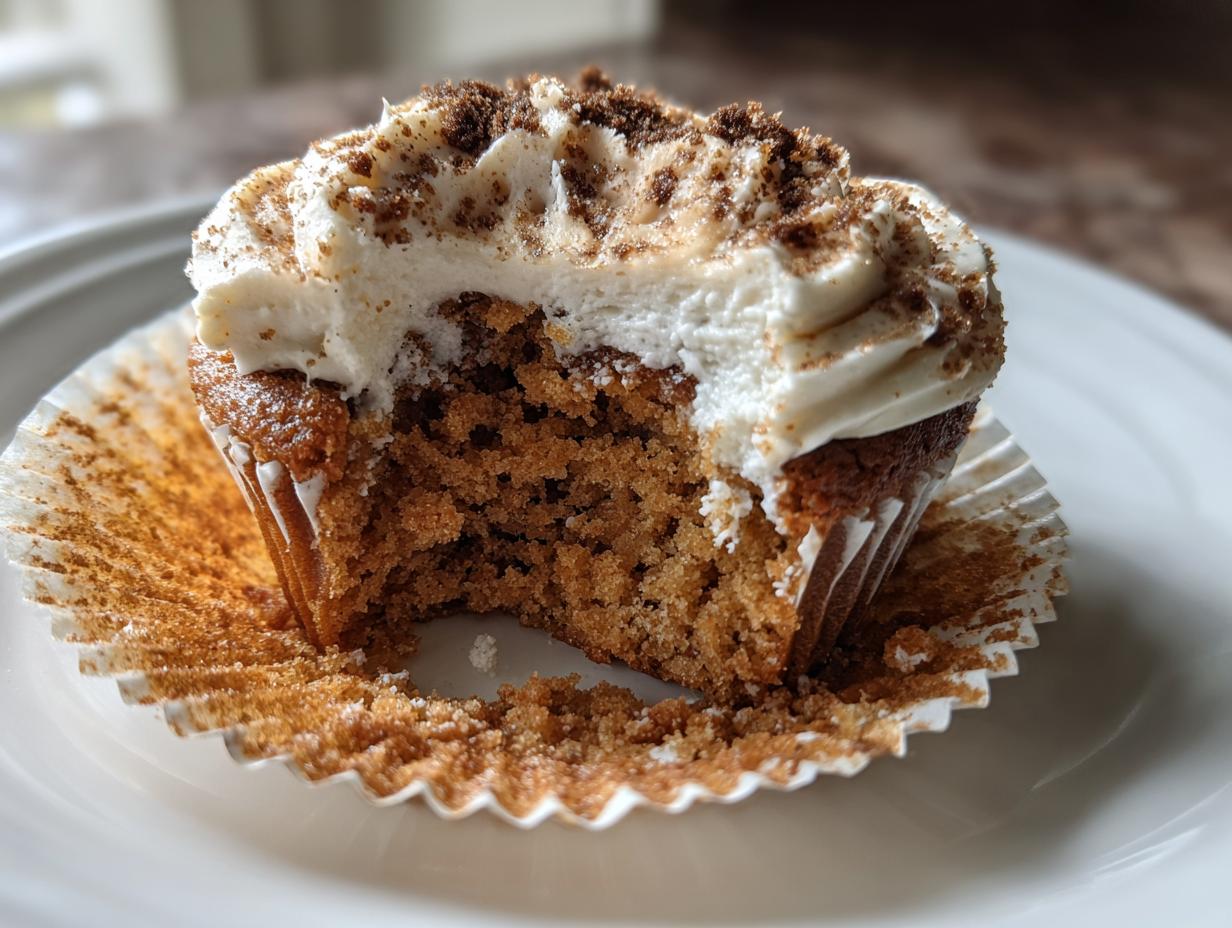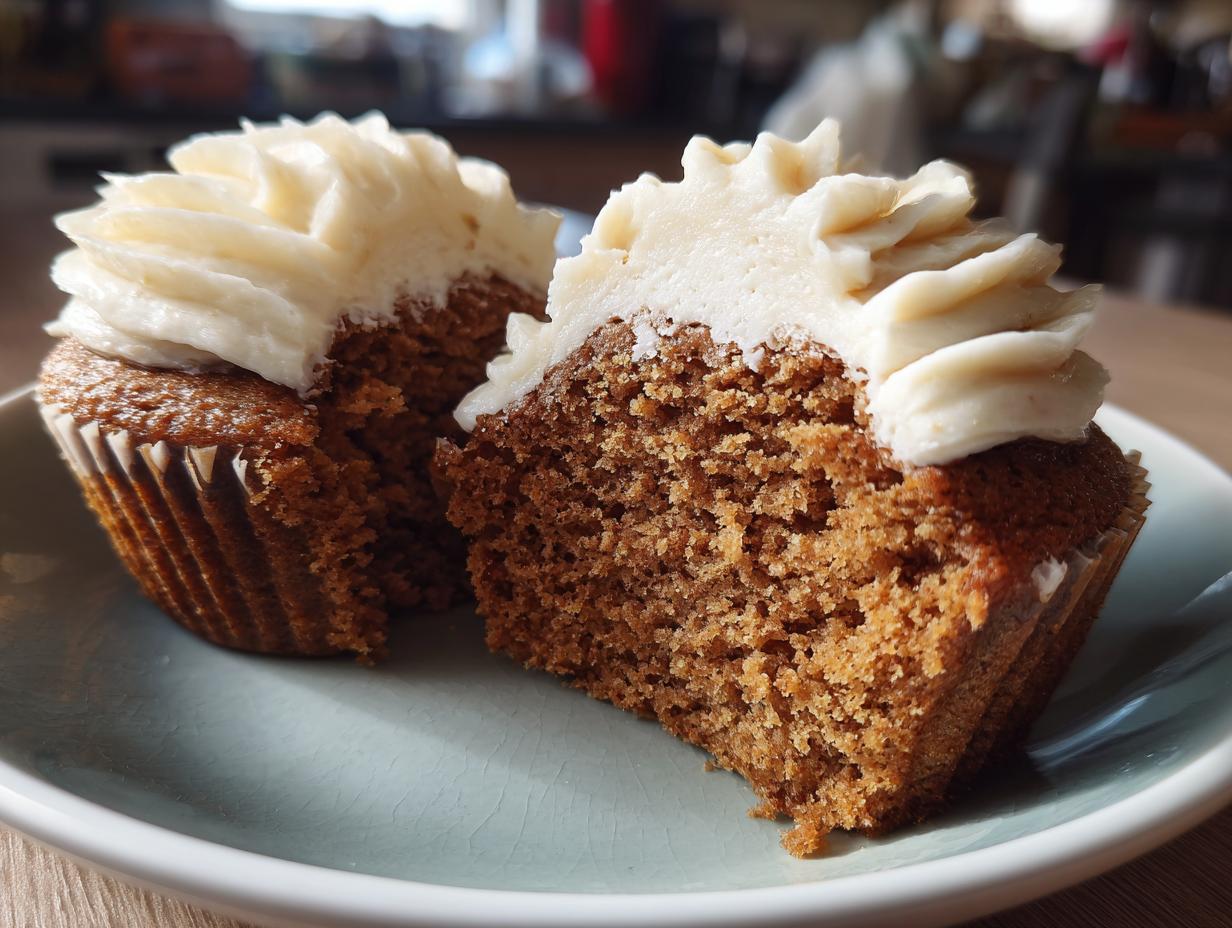
There’s just something so magical about baking a cake, isn’t there? The way the kitchen fills with that sweet vanilla smell, the anticipation as you peek through the oven door… and then, the joy of sharing it with friends and family! It’s pure happiness, I tell ya! And that’s exactly what this Simple Vanilla Sponge Cake Recipe with Whipped Cream Layers is all about. It’s so incredibly easy to whip up, but the results? Seriously impressive. Trust me, you’ll be everyone’s favorite baker!
I’ve been baking this cake for years, tweaking it here and there until it’s just *perfect*. My grandma always said the best recipes are the ones you share, so here it is! Get ready for a light, airy sponge cake that’s guaranteed to bring a smile to everyone’s face.

Why You’ll Love This Simple Vanilla Sponge Cake Recipe with Whipped Cream Layers
Okay, so why *this* vanilla sponge cake recipe? Well, let me tell you! It’s seriously got it all. You’re gonna love it because:
A Delightfully Simple Vanilla Sponge Cake
Seriously, this is one of the easiest cakes you’ll ever make. Don’t let “sponge cake” intimidate you! If I can do it, you can do it!
Light and Airy Texture
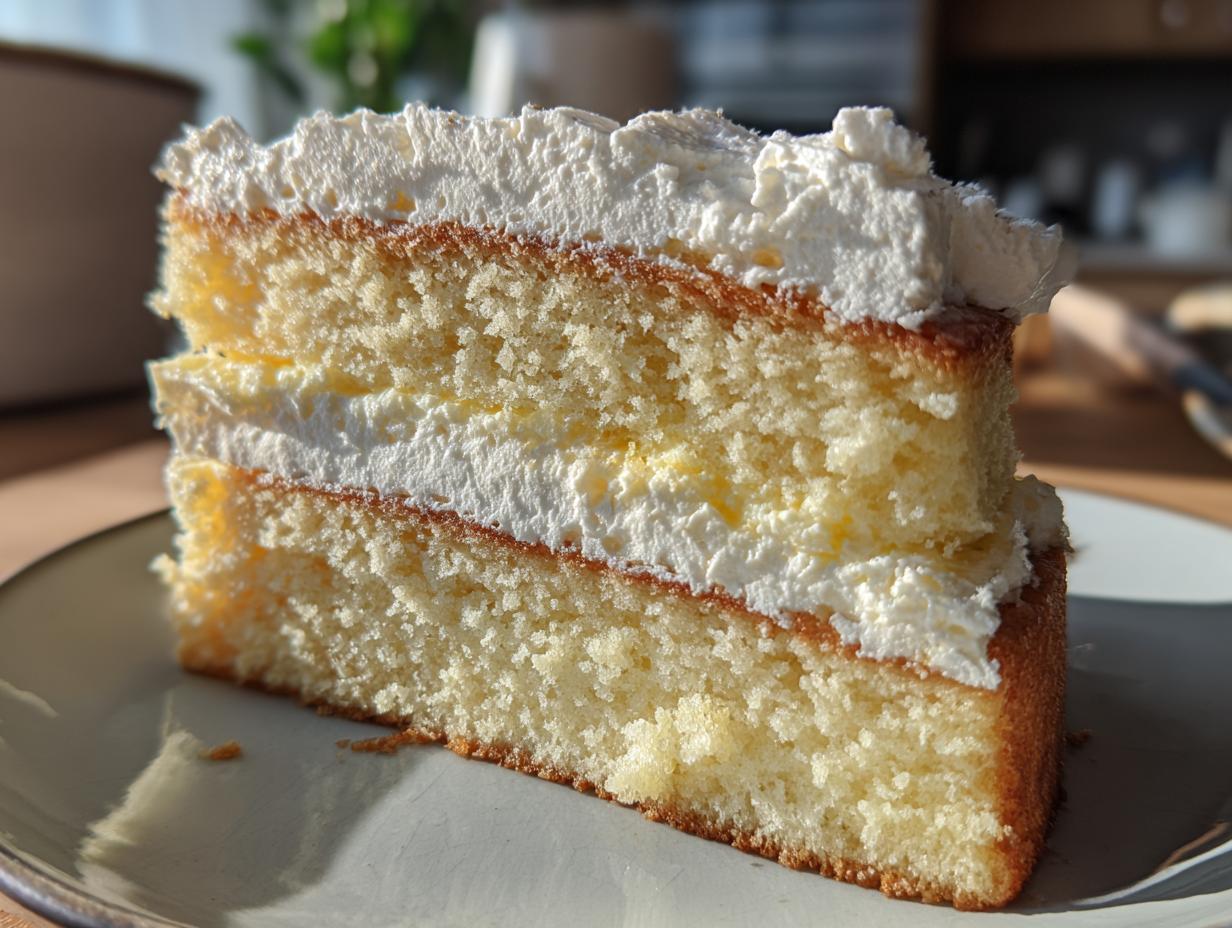
Forget dense, heavy cakes! This beauty is light as a cloud. The whipped cream layers just add to that melt-in-your-mouth feel. It’s like eating a sweet, fluffy dream!
The Perfect Cake for Any Occasion
Need a birthday cake? Got it. Last-minute dessert for a potluck? Sorted. Just fancy a slice of something yummy with your afternoon tea? This simple vanilla sponge cake is your answer!
Customizable with Your Favorite Flavors
Want to add some lemon zest? Go for it! Feeling a bit chocolatey? Swirl some cocoa powder into the batter! This vanilla sponge cake is a blank canvas for your baking creativity. My favorite part is adding fresh berries!

Ingredients for Your Simple Vanilla Sponge Cake Recipe with Whipped Cream Layers
Alright, let’s talk ingredients! This Simple Vanilla Sponge Cake Recipe with Whipped Cream Layers is pretty straightforward, but using good quality stuff makes a HUGE difference. Here’s what you’ll need:
Cake Ingredients
These are the rockstars that make the magic happen!
Flour
You’ll want 1 1/2 cups of all-purpose flour. Now, listen up! Spoon it lightly into your measuring cup and level it off with a knife. Don’t pack it in there! We want a light and airy cake, remember?
Sugar
Grab 1 1/2 cups of granulated sugar. Nothing fancy here, just plain ol’ sugar. It’s what gives the cake its sweetness and helps with that lovely golden-brown color.
Baking Powder
You need 1 1/2 teaspoons of baking powder. Make sure it’s not expired, okay? Otherwise, your cake won’t rise properly, and we want it nice and tall!
Salt
Just 1/2 teaspoon of salt. I know, it seems weird to put salt in a sweet cake, but trust me, it enhances the other flavors. It’s like a secret weapon!
Eggs
Six large eggs, and here’s the important part: separated! We’re gonna whip those whites into stiff peaks for extra fluffiness. Don’t skip this step!
Milk
Half a cup of milk. I usually use whole milk, but 2% works just fine too. Whatever you’ve got in the fridge!
Vegetable Oil
A quarter cup of vegetable oil. Canola or sunflower oil are my go-to’s. You can use melted butter if you want a richer flavor, but oil keeps the cake super moist.
Vanilla Extract
One teaspoon of pure vanilla extract. Please, please, PLEASE use the real stuff! Imitation vanilla just doesn’t compare. It’s worth the splurge, I promise!
Whipped Cream Ingredients
Because what’s a vanilla sponge cake without a cloud of whipped cream? Am I right?
Heavy Cream
You’ll need 2 cups of heavy cream. And here’s a super important tip: make sure it’s COLD! Like, straight-from-the-fridge cold. This will help it whip up nice and fluffy.
Powdered Sugar
A quarter cup of powdered sugar, sifted. Sifting keeps it from clumping and gives you the smoothest whipped cream ever. Nobody wants lumpy whipped cream!

How to Make the Simple Vanilla Sponge Cake Recipe with Whipped Cream Layers: Step-by-Step Instructions
Okay, now for the fun part! Let’s get baking this Simple Vanilla Sponge Cake Recipe with Whipped Cream Layers! Don’t worry, I’ll walk you through every step. Just follow along, and you’ll have a gorgeous cake in no time!
Preparing the Cake Batter
This is where the magic starts! We’re gonna create the base for our fluffy masterpiece.
Preheat and Prep
First things first: preheat your oven to 350°F (175°C). And don’t forget to grease and flour a 9-inch round cake pan. Trust me on this one! It keeps the cake from sticking. You can even use baking spray if you’re feeling lazy (I won’t judge!).
Combine Dry Ingredients
Grab a large bowl and whisk together 1 1/2 cups of all-purpose flour, 1 1/2 cups of granulated sugar, 1 1/2 teaspoons of baking powder, and 1/2 teaspoon of salt. Whisking helps to get rid of any lumps and evenly distribute the baking powder. We want a light cake, remember!
Combine Wet Ingredients
In a separate bowl, whisk together those 6 egg yolks, 1/2 cup of milk, 1/4 cup of vegetable oil, and 1 teaspoon of vanilla extract. Make sure everything is well combined. This is the yummy, liquidy part of the cake!
Mix Wet and Dry
Pour the wet ingredients into the dry ingredients and mix until *just* combined. Don’t overmix! I repeat: DON’T OVERMIX! Overmixing develops the gluten in the flour and makes the cake tough. A few streaks of flour are okay. We’ll fix that in the next step.
Beat Egg Whites
Now, for the secret to the fluff! In another *clean* bowl (seriously, make sure it’s clean!), beat those 6 egg whites until stiff peaks form. What are stiff peaks, you ask? Well, when you lift the beaters, the egg whites should stand up straight without flopping over. This might take a few minutes, so be patient!
Fold Egg Whites
This is important: *gently* fold the egg whites into the batter. Use a spatula and cut down through the center, then lift the batter up and over the egg whites. Rotate the bowl and repeat until the egg whites are just incorporated. Be careful not to deflate them! We want to keep all that air in there for a light and airy cake!
Baking the Cake
Almost there! Let’s get this beauty into the oven!
Pour and Bake
Pour the batter into your prepared cake pan and bake for 30-35 minutes, or until a wooden skewer inserted into the center comes out clean. Every oven is different, so start checking at 30 minutes. If the top is getting too brown, you can loosely tent it with foil.
Cool
Let the cake cool in the pan for 10 minutes before inverting it onto a wire rack to cool completely. This prevents the cake from sticking and gives it time to set up a bit. Patience, my friend! You’ll thank me later!
Making the Whipped Cream and Assembling the Cake
The final touch! This whipped cream is seriously the best part!
Prepare Whipped Cream
While the cake is cooling (and I mean *completely* cool!), prepare the whipped cream. In a large bowl, beat 2 cups of cold heavy cream and 1/4 cup of sifted powdered sugar until stiff peaks form. Again, make sure that cream is COLD! It makes all the difference!
Slice the Cake
Once the cake is completely cool (I can’t stress this enough!), slice it in half horizontally. A long serrated knife works best for this.
Assemble
Spread half of the whipped cream over the bottom layer. Then, carefully place the top layer over the whipped cream and spread the remaining whipped cream on top. Slice and serve! And prepare for everyone to shower you with compliments! You just made an awesome Simple Vanilla Sponge Cake Recipe with Whipped Cream Layers!
Tips for the Best Simple Vanilla Sponge Cake Recipe with Whipped Cream Layers
Want to take your Simple Vanilla Sponge Cake Recipe with Whipped Cream Layers from “good” to “OMG AMAZING”? Here are a few of my top secrets!
Don’t Overmix the Batter
Seriously, this is SO important! Overmixing develops the gluten in the flour, which makes the cake tough and chewy. We want light and airy, remember? Mix until just combined – a few streaks of flour are totally fine!
Use Room Temperature Ingredients
Okay, I know it’s tempting to just grab everything straight from the fridge, but trust me on this one. Room temperature eggs and milk emulsify better, which means they create a smoother batter and a more even texture in your cake. Just set them out about 30 minutes before you start baking!
Cool the Cake Completely Before Adding Whipped Cream
This is a MUST! If you put whipped cream on a warm cake, it’ll melt into a soupy mess. Yuck! Let that cake cool completely – I sometimes even pop it in the fridge for a bit to speed things up.
How to Get Stiff Peaks
Stiff peaks are key to a light and airy sponge cake! Make sure your bowl and beaters are clean and grease-free. Beat the egg whites on medium-high speed until they form stiff, glossy peaks that stand up straight when you lift the beaters. Don’t overbeat them, though, or they’ll become dry and clumpy!
Ingredient Notes and Substitutions for Simple Vanilla Sponge Cake Recipe
Wanna get a little creative with your Simple Vanilla Sponge Cake Recipe? Or maybe you’re out of an ingredient? No problem! Here are some easy swaps and notes to keep in mind:
Flour Substitutions
Need a gluten-free option? You can totally use a gluten-free all-purpose flour blend! Just make sure it contains xanthan gum (it helps with the texture). Almond flour or coconut flour *won’t* work as a direct substitute in this recipe, sorry!
Sugar Substitutions
If you’re trying to cut back on sugar, you *could* try using a sugar substitute like stevia or erythritol. But honestly? I haven’t tested it myself, so I can’t guarantee the results! You might need to adjust the amount and baking time. Brown sugar will work but changes the taste of the cake.
Dairy-Free Options
For a dairy-free cake, swap the milk for almond milk, soy milk, or any other plant-based milk you like! For the whipped cream? That’s a little trickier. You can find some vegan whipped cream alternatives at the store, but they can be a bit hit-or-miss. Coconut cream (the thick part from a can of refrigerated coconut milk) can be whipped, but it’ll have a slight coconut flavor.
Flavor Variations
Oh, this is where the fun begins! Add a teaspoon of lemon or orange zest to the batter for a citrusy twist. A pinch of cinnamon or nutmeg will add warmth and spice. Or, how about a tablespoon of cocoa powder for a chocolatey kick? The possibilities are endless! Just don’t go overboard, or you’ll change the texture of the cake.
Serving Suggestions for Your Simple Vanilla Sponge Cake Recipe
Okay, you’ve got your gorgeous Simple Vanilla Sponge Cake Recipe… now what? Here are a few ideas to take it to the next level!
Fresh Berries
Seriously, you can’t go wrong with fresh berries! Strawberries, raspberries, blueberries… they all taste amazing with this cake. My personal favorite? A mix of all three! They add a pop of color and a burst of juicy sweetness.
Chocolate Sauce
Drizzle some warm chocolate sauce over a slice of this cake, and you’ve got instant decadence! Dark chocolate, milk chocolate, white chocolate… heck, even Nutella would be delicious! Careful, it splatters!
Coffee or Tea
This cake is absolutely perfect with a cup of coffee or tea. A light-bodied black tea or a creamy latte would be my top picks. It’s the perfect afternoon treat!
A scoop of ice cream
Oh my gosh, a scoop of ice cream takes this cake to a whole other level! Vanilla bean is a classic choice, but don’t be afraid to get adventurous! Strawberry, raspberry, or even a scoop of salted caramel would be divine! Wow!
Storing Your Simple Vanilla Sponge Cake Recipe with Whipped Cream Layers
So, you’ve baked this amazing Simple Vanilla Sponge Cake Recipe, and somehow… you have leftovers? Unbelievable! But hey, it happens. Here’s how to keep that cake fresh and delicious!
Storing the Cake
Because of that whipped cream, you’ll wanna store this cake in the fridge. The best way? Pop it in an airtight container. If you don’t have one big enough, you can loosely cover it with plastic wrap, but try not to let the plastic touch the whipped cream too much.
How Long Does the Cake Last?
Honestly? It’s usually gone in a day or two at my house! But seriously, it’ll stay good in the fridge for about 2-3 days. After that, the whipped cream might start to get a little weepy. Still tastes good, though!
Frequently Asked Questions About This Simple Vanilla Sponge Cake Recipe
Got questions about this Simple Vanilla Sponge Cake Recipe? I bet you do! Here are some of the most common ones I get asked. Don’t worry, I’ve got you covered!
Can I make this cake ahead of time?
Yep, you sure can! You can bake the sponge cake a day ahead of time, just wrap it tightly in plastic wrap once it’s *completely* cool. But hold off on the whipped cream until just before serving, otherwise, it’ll get a bit soggy. Nobody wants a soggy cake!
Can I freeze this cake?
Freezing works like a charm! Wrap the cooled sponge cake really well in plastic wrap, then pop it in a freezer bag. It’ll keep for up to a month. When you’re ready to eat it, thaw it in the fridge overnight, then add the fresh whipped cream. Easy peasy!
Can I use a different size cake pan?
Sure thing! If you don’t have a 9-inch round pan, you can use two 8-inch round pans – just keep an eye on the baking time, as they might bake a little faster. You could also use a 9×13 inch pan, but the cake will be thinner and will bake quicker. A loaf pan will work as well, but you need to increase the baking time and check it often.
Why did my cake sink in the middle?
Ah, the dreaded sunken cake! This usually happens if the oven temperature is too high, or if you opened the oven door too early. It can also happen if you didn’t beat the egg whites enough, or if you overmixed the batter. Next time, make sure your oven is at the right temp, be patient, and follow those mixing instructions carefully!
How do I prevent my whipped cream from becoming runny?
Runny whipped cream is a bummer! The key is to start with *super* cold heavy cream and a *super* cold bowl and beaters. Don’t overbeat it, or it’ll turn into butter (oops!). You can also add a tablespoon of cornstarch or a teaspoon of gelatin (dissolved in a little cold water) to help stabilize it. That’s my secret weapon!
Estimated Nutritional Information for Simple Vanilla Sponge Cake Recipe with Whipped Cream Layers
Okay, let’s talk numbers! Now, keep in mind that this is just an *estimate*, okay? Nutritional information can vary depending on the exact ingredients you use and your serving sizes. But here’s a rough idea of what you’re looking at per slice:
We’re talking about the typical nutritional values: Calories, Fat, Protein, Carbs, Sugar, Sodium, and all that jazz! So, just use this as a general guide, and remember that this Simple Vanilla Sponge Cake Recipe is all about enjoying a delicious treat in moderation! It’s so worth it!
Ready to Bake Your Simple Vanilla Sponge Cake?
Alright, what are you waiting for? Grab your apron and get baking this Simple Vanilla Sponge Cake Recipe! I promise, you won’t regret it! And hey, if you try it out, leave a comment and let me know what you think! Or even better, give it a rating! Happy baking!
Print
Faultless Simple Vanilla Sponge Cake Recipe: Just 7 Steps
- Prep Time: 20 minutes
- Cook Time: 35 minutes
- Total Time: 1 hour
- Yield: 8 servings 1x
- Category: Dessert
- Method: Baking
- Cuisine: American
- Diet: Vegetarian
Description
A light and airy vanilla sponge cake layered with fresh whipped cream. Perfect for any occasion.
Ingredients
- 1 1/2 cups all-purpose flour
- 1 1/2 cups granulated sugar
- 1 1/2 teaspoons baking powder
- 1/2 teaspoon salt
- 6 large eggs, separated
- 1/2 cup milk
- 1/4 cup vegetable oil
- 1 teaspoon vanilla extract
- 2 cups heavy cream
- 1/4 cup powdered sugar
Instructions
- Preheat oven to 350°F (175°C). Grease and flour a 9-inch round cake pan.
- In a large bowl, whisk together flour, sugar, baking powder, and salt.
- In a separate bowl, whisk together egg yolks, milk, oil, and vanilla extract.
- Add the wet ingredients to the dry ingredients and mix until just combined.
- In another clean bowl, beat egg whites until stiff peaks form.
- Gently fold the egg whites into the batter.
- Pour batter into prepared pan and bake for 30-35 minutes, or until a wooden skewer inserted into the center comes out clean.
- Let the cake cool in the pan for 10 minutes before inverting it onto a wire rack to cool completely.
- While the cake cools, prepare the whipped cream. In a large bowl, beat heavy cream and powdered sugar until stiff peaks form.
- Once the cake is completely cool, slice it in half horizontally.
- Spread half of the whipped cream over the bottom layer.
- Place the top layer over the whipped cream and spread the remaining whipped cream on top.
- Slice and serve.
Notes
- For a richer flavor, use butter instead of oil.
- You can add fresh berries between the layers for extra flavor and decoration.
- Store leftover cake in the refrigerator.
Nutrition
- Serving Size: 1 slice
- Calories: 350
- Sugar: 30g
- Sodium: 200mg
- Fat: 20g
- Saturated Fat: 12g
- Unsaturated Fat: 6g
- Trans Fat: 0.5g
- Carbohydrates: 40g
- Fiber: 1g
- Protein: 5g
- Cholesterol: 100mg