

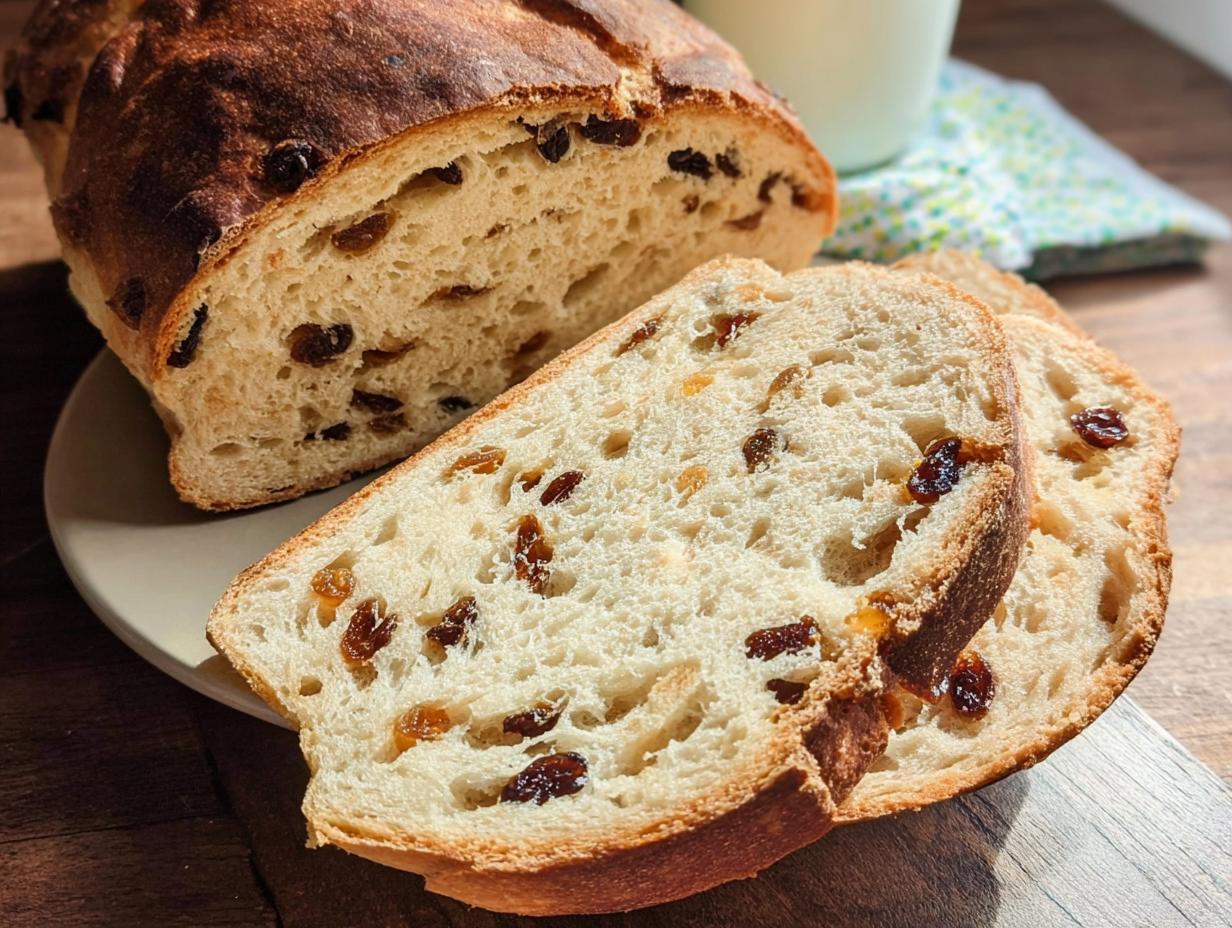
Oh, the smell of bread baking! Seriously, is there anything better? It just fills the whole house with this warm, cozy feeling. And when it’s rich raisin bread? Forget about it! That’s next-level comfort right there. It’s always been a favorite in my family. I remember baking it with my grandma, and the best part was sneaking a warm slice (or two!) right from the oven. This recipe? It’s special because it’s just so darn rich and flavorful. You get that perfect bread texture combined with sweet, plump raisins. Trust me; you’re gonna love it!
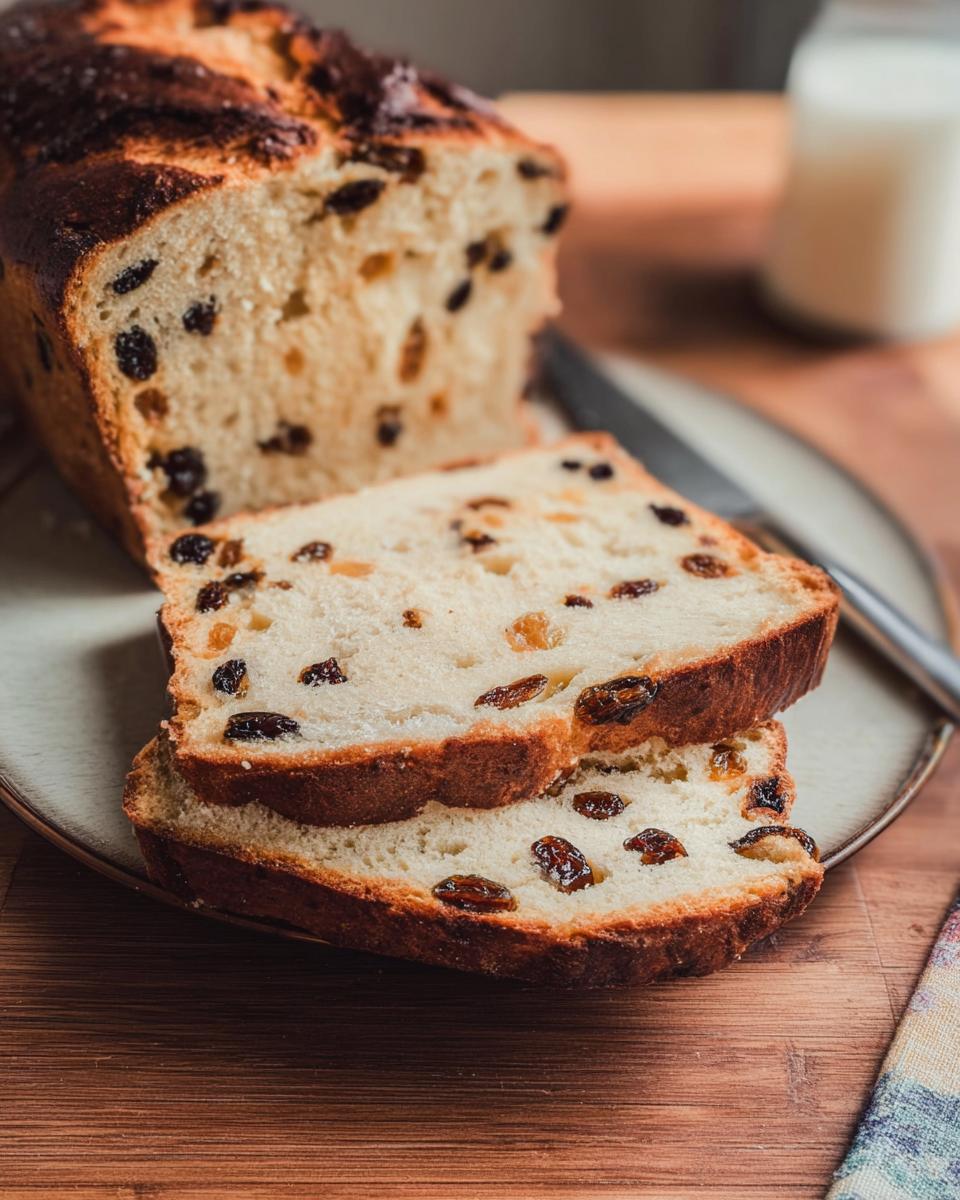
Why You’ll Love This rich raisin bread
Okay, so why *should* you make this rich raisin bread? Let me tell you, there are tons of reasons! It’s:
Quick and Easy rich raisin bread
Don’t worry, you don’t need to be a professional baker! This recipe is pretty straightforward, even if you’re just starting out. I promise!
Incredibly Flavorful rich raisin bread
Seriously, the taste is amazing. Soaking the raisins makes them extra plump and juicy, and the other ingredients just blend together perfectly. You gotta try it!
Perfect rich raisin bread for Any Time of Day
Breakfast, brunch, snack… it doesn’t matter! This rich raisin bread is delicious any time you want a little something special.
Ingredients for the Best rich raisin bread
Alright, let’s talk ingredients! This rich raisin bread is all about using the right stuff to get that perfect flavor and texture. Nothing too fancy, just good, simple ingredients. And trust me, a little bit of prep work goes a long way!
Wet Ingredients for rich raisin bread
First up, the wet stuff! You’ll need 1/2 cup of milk – I usually go for whole or 2 percent. Then, there’s 1/4 cup of unsalted butter, which we’ll melt. Sugar time – 1/4 cup granulated for the bread itself, plus an extra teaspoon to get the yeast going. Speaking of yeast, you’ll need 1 1/2 teaspoons of active dry yeast and 1/2 cup of lukewarm water for that. Oh, and don’t forget 2 large eggs, beaten and at room temperature! Gotta let ’em warm up a bit, okay?
Dry Ingredients for rich raisin bread
Now for the dry crew! We’re talking 3 1/2 cups of all-purpose flour. Nothing fancy needed here! Plus, a teaspoon of salt to balance out the sweetness (don’t skip it!). And, of course, the stars of the show: 1 cup of raisins! I like to plump mine up by soaking them first – more on that later!
How to Prepare Delicious rich raisin bread: Step-by-Step Instructions
Okay, here’s where the magic happens! Don’t be scared; it’s easier than you think. Just follow these steps, and you’ll have a loaf of amazing rich raisin bread in no time. I’ve broken it down so it’s super clear. Promise!
Preparing the Raisins for rich raisin bread
First things first: those raisins! You *need* to soak them. Trust me on this. Pour boiling water (or, if you’re feeling fancy, rum or orange juice!) over them and let them sit for about 15 minutes. This plumps them up and makes them extra juicy and flavorful. Then, drain them really well and pat them dry. Nobody wants soggy bread!
Making the Dough for rich raisin bread
Now for the dough! Heat your milk, salt, 1/4 cup of sugar, and butter in a saucepan until the butter melts. Let it cool until it’s just lukewarm. In a separate bowl, combine your lukewarm water and that extra teaspoon of sugar. Sprinkle the yeast on top and let it sit for 5-10 minutes until it gets all foamy. That means the yeast is alive and ready to go! Then, in a big bowl, mix together the milk mixture, yeast mixture, and your beaten eggs. Add about 1 1/2 cups of flour and beat it for a couple of minutes. Next, add the remaining flour, 1/2 cup at a time, until you get a nice, soft dough. Knead it for 5-7 minutes until it’s smooth and elastic. Time to let it rise! Form the dough into a ball, put it in a greased bowl (turning it to coat), cover it, and let it rise for about 2 hours, or until it’s doubled in size.
Shaping and Baking Your rich raisin bread
Punch that dough down! It’s kinda fun, actually. Then, knead in those plump raisins. Shape the dough into a loaf and put it in a greased loaf pan. Cover it again, and let it rise for another 1-2 hours, or until it’s doubled. Preheat your oven to 375F/190C. Bake for 30-40 minutes, until it’s golden brown and the internal temperature reaches 190F. You can also tap it – it should sound hollow!
Adding the Glaze to the rich raisin bread
While the bread is cooling on a wire rack, whip up that glaze! Just beat together the egg yolk and milk. Once the bread has cooled slightly, brush the glaze over the top. This gives it a beautiful shine! Let it cool completely before you slice into it (if you can wait that long!).
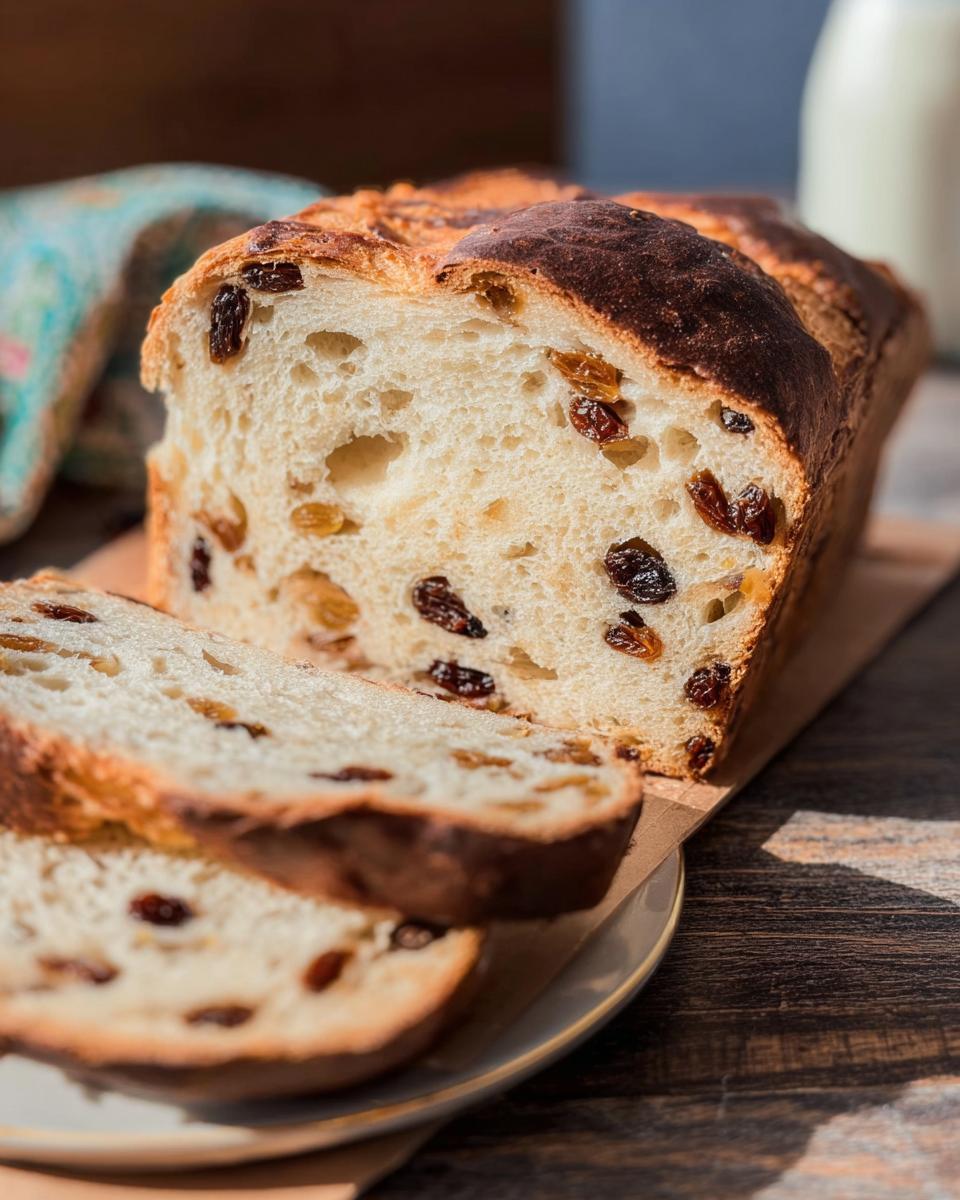
Tips for Baking the Perfect rich raisin bread
Want to make sure your rich raisin bread is a total success? Of course, you do! Here are a few little tricks I’ve learned over the years that can really make a difference. Let’s get baking!
Ensuring the Perfect Rise for Your rich raisin bread
The rise is SO important! Make sure your kitchen isn’t too cold – yeast likes a warm environment. I often put my dough in a slightly warmed oven (turned OFF, of course!) or near a sunny window. You can also try placing a bowl of hot water near the dough to create a humid environment. That rise is what makes it nice and fluffy!
Achieving the Right Texture in Your rich raisin bread
Don’t over-knead the dough! It should be smooth and elastic, but not tough. And be gentle when you’re kneading in the raisins. You don’t want to deflate all those lovely air bubbles! A light touch is key for that perfect, tender crumb.
Testing for Doneness of Your rich raisin bread
Okay, the toothpick test is a good start, but it’s not the *only* way to tell! The bread should be golden brown and sound hollow when you tap it on the bottom. And like I said before, a thermometer inserted into the center should read 190F. Trust your senses! You’ll get the hang of it after a few tries, I promise!
Variations on Your rich raisin bread Recipe
Okay, so you’ve made the basic rich raisin bread… now what? Time to get creative! This recipe is super versatile, so feel free to experiment. Here are a few ideas to get you started. Let’s have some fun!
Adding Nuts to Your rich raisin bread
Okay, nuts are a total game-changer! Try adding about 1/2 cup of chopped walnuts, pecans, or almonds to the dough when you knead in the raisins. Toasted nuts add even *more* flavor! My favorite is walnuts – they add such a nice crunch!
Spicing Up Your rich raisin bread
Want to add a little warmth? Try adding 1 teaspoon of cinnamon, 1/2 teaspoon of nutmeg, or a pinch of cardamom to the dry ingredients. Seriously, it makes a HUGE difference! Cinnamon is my go-to, but nutmeg is amazing around the holidays.
Making rich raisin bread with Different Dried Fruits
Not a raisin fan? No problem! You can totally swap them out for other dried fruits. Cranberries, apricots, or dates would all be delicious! Just make sure to chop them up into roughly the same size as the raisins. Dried apricots? YUM!
Serving Suggestions for Your rich raisin bread
Alright, you’ve got this gorgeous loaf of rich raisin bread. Now, what do you *do* with it? Don’t worry; I’ve got you covered! Here are a few of my favorite ways to enjoy it.
Serving rich raisin bread for Breakfast
Okay, a warm slice of rich raisin bread, toasted and slathered with butter? Yes, please! But you can also get fancy! Try it with your favorite jam, or even a schmear of cream cheese. Seriously, it’s the perfect way to start the day!
Enjoying rich raisin bread as a Snack
Need a little afternoon pick-me-up? A slice of rich raisin bread and a cup of coffee or tea is just the ticket! Or, if you’re feeling a little naughty, dunk it in a glass of milk. So good!
Storing and Reheating Your Homemade rich raisin bread
So, you’ve baked this amazing loaf of rich raisin bread, but what if you have leftovers? (If you do, you’re stronger than I am!). Here’s how to keep it fresh and reheat it like a pro!
Storing Your rich raisin bread
The best way to keep your rich raisin bread fresh is to wrap it tightly in plastic wrap or store it in an airtight container. It’ll stay good for up to 5 days at room temperature. Or, you can freeze it for up to 2 months! Just wrap it well to prevent freezer burn.
Reheating Your rich raisin bread
Want to warm up a slice? Just pop it in the toaster! Or, for a whole loaf, wrap it in foil and bake it at 350F/175C for about 10-15 minutes. This makes it taste like it’s fresh from the oven! Seriously, it’s like magic!
Frequently Asked Questions About rich raisin bread
Got questions about making this amazing rich raisin bread? Don’t worry; I’ve got answers! Here are a few of the most common questions I get asked. Let’s get to it!
Can I use a bread machine to make rich raisin bread?
Absolutely! Just follow your bread machine’s instructions for a basic sweet bread recipe. Add the raisins when the machine tells you to (usually after the first knead). Just keep an eye on the dough – you might need to adjust the liquid slightly. I still prefer baking it in the oven though. It seems to get a better crust.
How do I prevent my rich raisin bread from being dry?
Dry bread is a bummer! Make sure you’re measuring your flour correctly (spoon it into the measuring cup and level it off, don’t scoop!). Also, don’t over-bake it! And don’t forget to soak those raisins! That moisture adds so much to this rich raisin bread!
Can I freeze rich raisin bread?
Yep! Freezing is a great way to keep your rich raisin bread fresh for longer. Just wrap it tightly in plastic wrap and then foil to prevent freezer burn. When you’re ready to eat it, let it thaw at room temperature or in the fridge. Then, warm it up in the oven for that fresh-baked taste! It’s the best!
Nutritional Information for rich raisin bread
Okay, so here’s the deal: nutritional info can vary *a lot* depending on the exact ingredients you use. Since I can’t know your brands, I’m not providing precise figures here, okay?
Enjoyed This rich raisin bread?
Woohoo! I hope you loved this rich raisin bread recipe! If you did, please leave a comment below and let me know what you think! And hey, share it with your friends on social media – they deserve some delicious bread too!
Print
Incredibly Delicious Rich Raisin Bread in Just 2 Hours
- Prep Time: 30 minutes
- Cook Time: 40 minutes
- Total Time: 4 hours 30 minutes
- Yield: 1 loaf 1x
- Category: Breakfast, Brunch, Snack
- Method: Baking
- Cuisine: American
- Diet: Vegetarian
Description
Enjoy this rich and flavorful raisin bread, perfect for breakfast, brunch, or a snack.
Ingredients
- 1/2 cup milk (whole or 2 percent)
- 1 teaspoon salt
- 1/4 cup unsalted butter
- 1/4 cup granulated sugar
- 1 teaspoon granulated sugar
- 1/2 cup water (lukewarm)
- 1 1/2 teaspoons active dry yeast
- 2 large eggs beaten (room temperature)
- 3 1/2 cups all purpose flour
- 1 cup raisins
- 1 large egg yolk (room temperature)
- 2 tablespoons milk
Instructions
- Soak raisins in boiling water, rum, or orange juice for 15 minutes, drain, and dry.
- Heat milk, salt, 1/4 cup sugar, and butter until butter melts, then cool to lukewarm.
- Combine water and 1 teaspoon sugar, sprinkle yeast on top, let sit 5-10 minutes, then stir.
- Combine milk mixture, yeast mixture, and eggs, add 1 1/2 cups flour and beat 2 minutes. Add remaining flour 1/2 cup at a time to form a soft dough. Knead for 5-7 minutes.
- Form dough into a ball, place in a greased bowl, turning to grease all over. Cover and let rise for 2 hours or until doubled.
- Punch dough down, knead in raisins, and shape into a loaf. Place in a greased loaf pan, cover, and let rise 1-2 hours or until doubled.
- Preheat oven to 375F/190C.
- Brush loaf with glaze and bake 30-40 minutes until internal temperature is 190F. Cool on a wire rack before cutting.
- For the glaze beat together the egg yolk and milk.
Notes
- Bread is done when golden brown and sounds hollow when tapped. A thermometer should read 190F.
- Add nuts or other dried fruits for extra flavor and texture.
- Store bread up to 5 days in an airtight container. Freeze for up to 2 months.
Nutrition
- Serving Size: 1 slice
- Calories: 2941 kcal
- Sugar: Unknown
- Sodium: Unknown
- Fat: Unknown
- Saturated Fat: Unknown
- Unsaturated Fat: Unknown
- Trans Fat: Unknown
- Carbohydrates: Unknown
- Fiber: Unknown
- Protein: Unknown
- Cholesterol: Unknown






