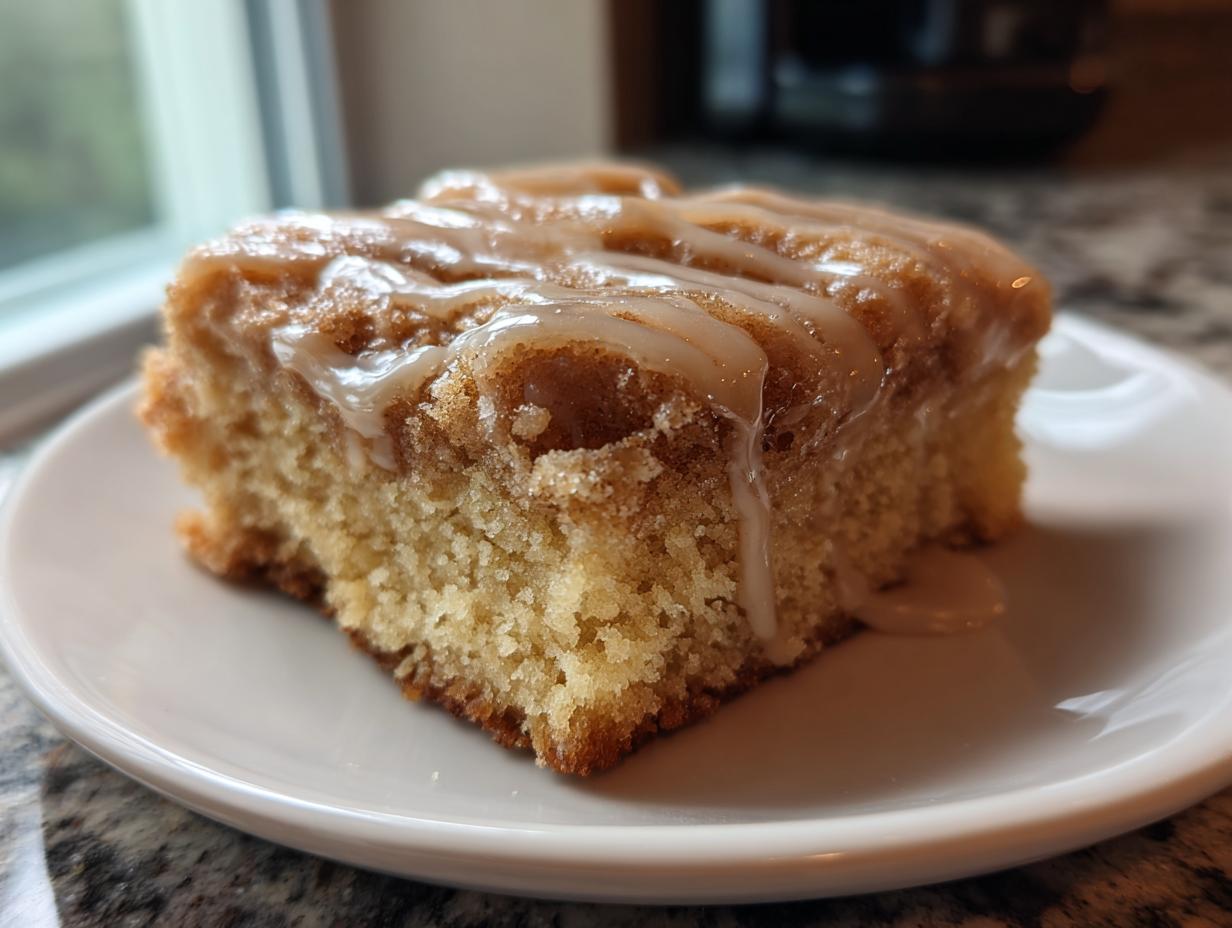
Who doesn’t love a good donut? But let’s be real, sometimes you just don’t wanna deal with frying. That’s where these baked maple donut bars come in – seriously easy and SO satisfying. I remember the first time I tried making donuts at home; it was a sticky, oily mess! But these? These baked maple donut bars recipe are a total game-changer.
They’re like a cross between cake and a donut, and honestly, what’s not to love about that? Plus, the maple glaze? Forget about it! It’s the perfect sweet topping. Trust me, even if you’re a beginner baker, you can totally nail this. I’ve been baking for years, and I still reach for this recipe when I want a quick and delicious treat. You’re gonna love how simple and yummy these are!

Why You’ll Love This Baked Maple Donut Bars Recipe
Okay, so why are these baked maple donut bars about to become your new fave? Let me tell ya!
Quick and Easy
Seriously, minimal prep time. We’re talking simple steps – mix, bake, glaze. It’s so easy, even the kids can help (and probably will want to!).
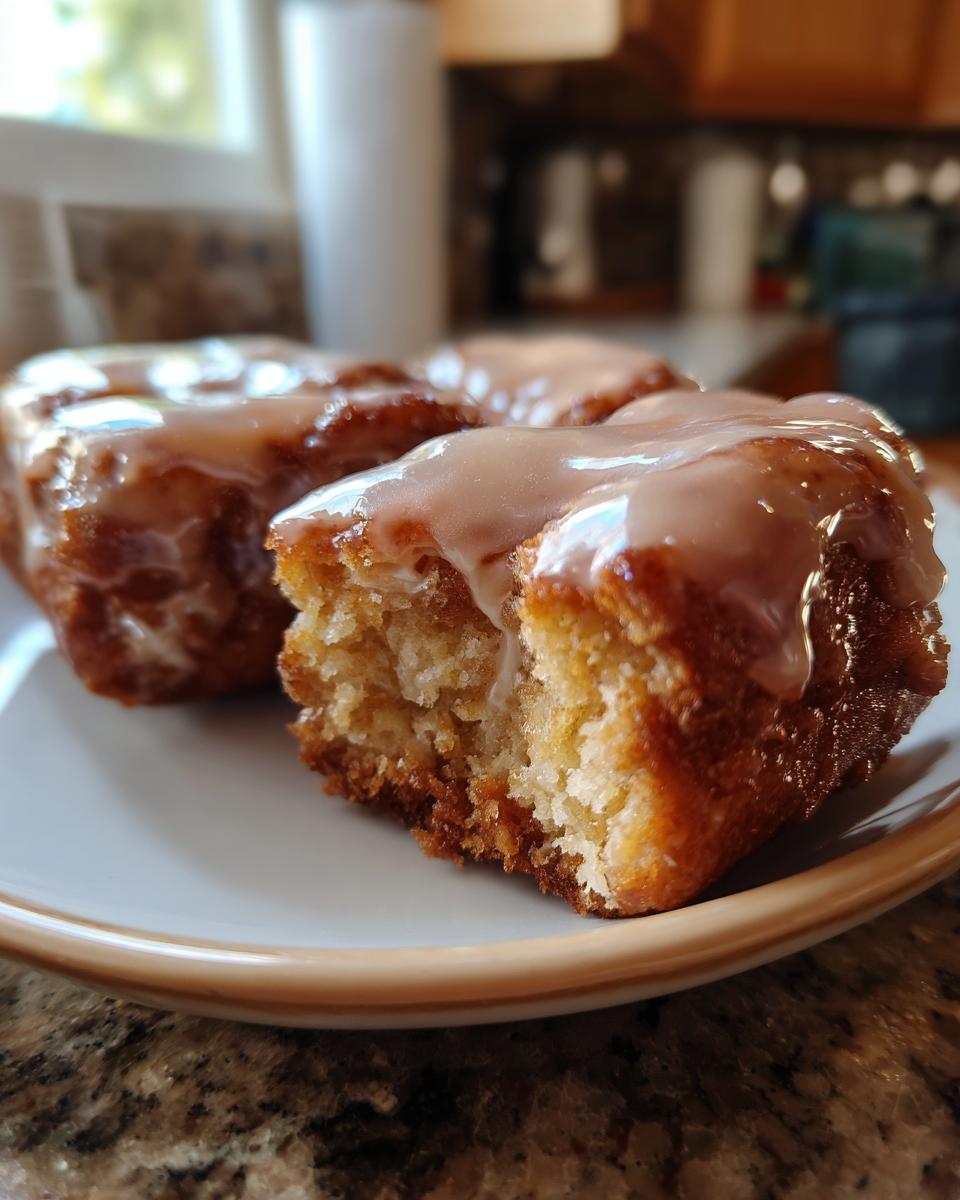
Irresistible Maple Flavor
That baked donut base plus the dreamy maple glaze? Wow! It’s the perfect combo of sweet and comforting. My favorite part is that rich maple taste!
Perfect for Any Occasion
Breakfast? Heck yeah! Brunch with friends? Absolutely! Dessert after dinner? You betcha! These donut bars are always a hit, no matter what.
Ingredients for Your Baked Maple Donut Bars Recipe
Alright, let’s gather our goodies! Nothing too crazy here, just simple stuff you probably already have. But pay attention – a few little things make a BIG difference. Trust me on this!
Donut Bars
You’ll need: 1 1/2 cups all-purpose flour, 1 1/2 teaspoons baking powder, 1/2 teaspoon baking soda, 1/4 teaspoon salt, 1/2 cup granulated sugar, 1/4 cup *packed* light brown sugar (that’s important!), 1/4 cup unsalted butter (melted), 1 large egg, 1 cup buttermilk, and 1 teaspoon vanilla extract. Got it?
Maple Glaze
For that amazing glaze, grab: 2 cups powdered sugar, 1/4 cup real maple syrup (the good stuff!), and 2-4 tablespoons of milk. We’ll adjust this ’til it’s just right, don’t worry!
How to Make This Baked Maple Donut Bars Recipe: Step-by-Step Instructions
Okay, time to get baking! Don’t worry, it’s easier than you think. Just follow these steps, and you’ll be chowing down on delicious baked maple donut bars in no time!
Preparing the Donut Batter
First things first, grab a big bowl and whisk together all the dry stuff: flour, baking powder, baking soda, and salt. In another bowl, mix the wet ingredients: granulated sugar, brown sugar, melted butter, egg, buttermilk, and vanilla. Now, pour the wet into the dry and mix until *just* combined. Seriously, don’t overmix! A few lumps are totally fine. Overmixing makes tough donuts, and nobody wants that!
Baking the Donut Bars
Preheat your oven to 350°F (175°C). While it’s heating up, grease and flour a 9×13 inch pan. Pour the batter in and spread it evenly. Bake for 20-25 minutes. How do you know when they’re done? Stick a toothpick in the center – if it comes out clean, you’re golden! If not, give it a few more minutes. Careful not to burn ’em!
Making the Maple Glaze
While the bars are baking (or cooling!), whip up that amazing glaze. In a medium bowl, whisk together the powdered sugar, maple syrup, and milk. Start with 2 tablespoons of milk and add more until it’s nice and smooth. You want it pourable, but not too runny, ya know?
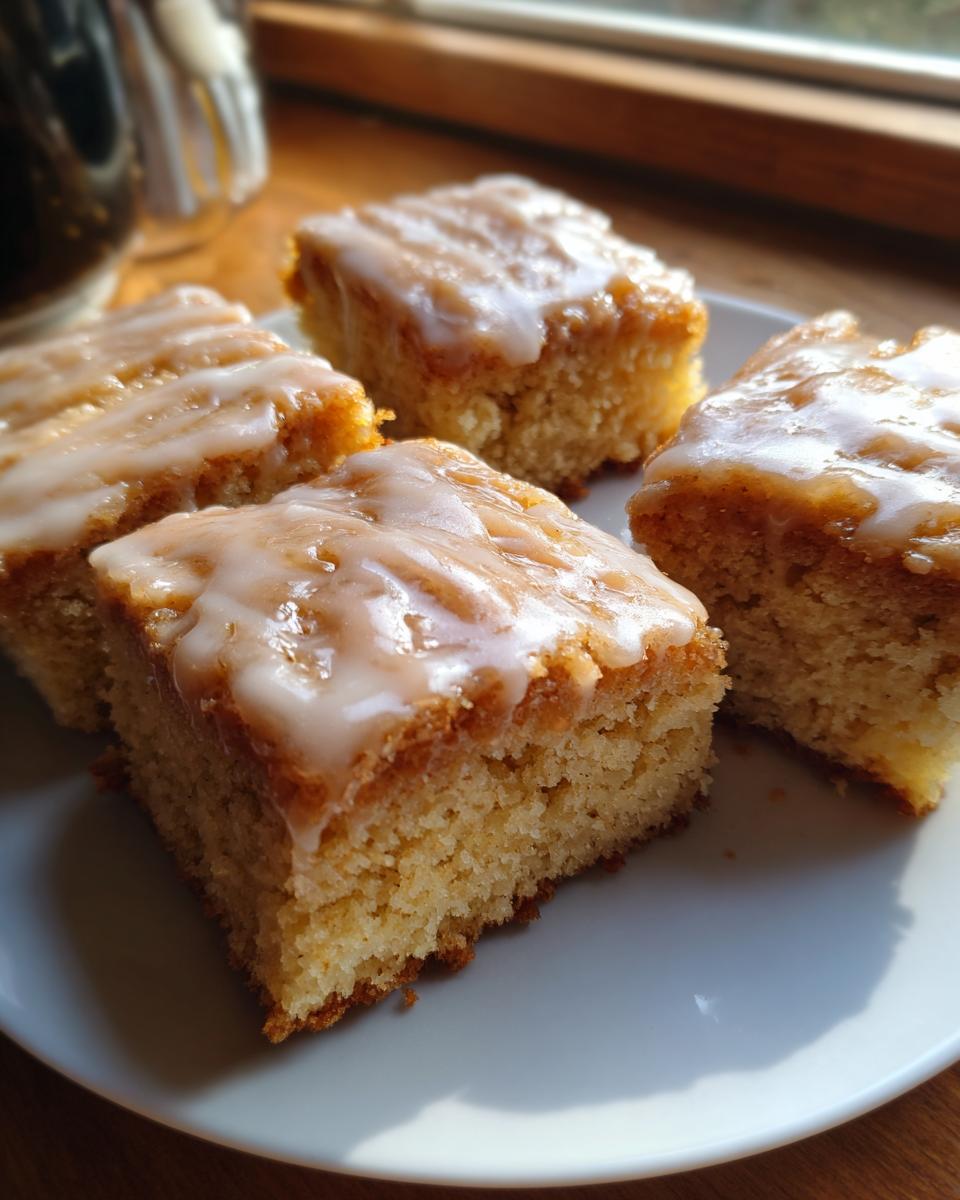
Glazing and Serving
This is the hardest part: waiting! Let the donut bars cool *completely* before glazing. If they’re even a little warm, the glaze will just melt right off. Once they’re cool, pour that gorgeous maple glaze all over the top. Let it set for a bit before cutting into squares and serving. Enjoy!
Tips for the Best Baked Maple Donut Bars Recipe
Want to take these baked maple donut bars from good to AMAZING? Here are a few little secrets I’ve learned over the years. Trust me, they make all the difference!
Don’t Overmix the Batter
Seriously, I can’t stress this enough! Overmixing develops the gluten in the flour, and that leads to tough, chewy donut bars. You want them light and tender, so mix until *just* combined. A few lumps are your friend here!
Use Quality Maple Syrup
That maple glaze is the star of the show, so don’t skimp on the syrup! Use the real stuff – the kind that comes straight from a tree (okay, maybe a bottle, but you get the idea!). The fake stuff just doesn’t have the same rich, delicious flavor. You’ll taste the difference, I promise! For more information on maple syrup grades, check out this guide to maple syrup grades.
Let the Bars Cool Completely
Patience, my friend! I know it’s hard to wait, but you *have* to let those donut bars cool completely before glazing. If they’re even a little bit warm, the glaze will just melt right off and you’ll end up with a sticky mess. Nobody wants that!
Ingredient Notes and Substitutions for Baked Maple Donut Bars Recipe
Okay, let’s talk ingredients. Sometimes you’re missing something, or you wanna switch things up. No problem! Here are a few little tweaks you can make to this baked maple donut bars recipe.
Buttermilk Substitute
Don’t have buttermilk? No sweat! Just add a tablespoon of white vinegar or lemon juice to a cup of regular milk. Let it sit for five minutes, and BAM! Buttermilk. Works like a charm, I swear! You can find more baking substitutions on King Arthur Baking.
Brown Butter Option
Want a richer, nuttier flavor? Brown that butter! Just melt it in a saucepan over medium heat, swirling until it turns golden brown and smells amazing. Let it cool slightly before adding it to the batter. Wow, what a difference!
Gluten-Free Option
Need to go gluten-free? Easy peasy! Just swap out the all-purpose flour for your favorite gluten-free flour blend. I like the ones that are a mix of different flours. Just follow the package directions, and you’re good to go!
Variations on This Baked Maple Donut Bars Recipe
Okay, so you’ve made the basic baked maple donut bars recipe, and they’re AMAZING! But what if you want to mix things up a little? No problem! Here are a few fun and easy variations to try. Get creative!
Add Sprinkles
Who doesn’t love sprinkles? They’re so cheerful and fun! Just sprinkle them on top of the glaze while it’s still wet. Instant party!
Add Nuts
Want a little crunch? Add some chopped nuts! Pecans, walnuts, almonds – whatever you like! You can sprinkle them on top of the glaze or even mix them right into the batter. Yum!
Different Extracts
Vanilla extract is classic, but why not try something different? Almond extract adds a lovely, delicate flavor. Or how about a little bit of bourbon vanilla? Ooh la la!
Frequently Asked Questions About This Baked Maple Donut Bars Recipe
Got questions about these yummy baked maple donut bars? Don’t worry, I’ve got answers! Here are some of the most common things people ask me. Let’s get baking!
Can I freeze these donut bars?
Yep, you sure can! Just let them cool completely, then wrap them tightly in plastic wrap and pop them in a freezer bag. They’ll keep for a couple of months. When you’re ready to eat, thaw them at room temperature. They might lose a *tiny* bit of their original texture, but they’ll still be delicious!
How do I store leftover donut bars?
These are best stored at room temperature in an airtight container. They’ll stay fresh for up to three days…if they last that long! Honestly, in my house, they’re usually gone in a day. Oops!
Can I use a different type of glaze?
Absolutely! While I adore the maple glaze, you could totally switch it up. A simple powdered sugar glaze with a little milk and vanilla would be yummy. Or how about a chocolate glaze? Ooh, now I’m getting ideas!
Storing and Reheating Your Baked Maple Donut Bars Recipe
So, you’ve baked these amazing baked maple donut bars, and maybe, *just maybe*, you have some leftovers. Here’s how to keep ’em fresh and yummy!
Storing Instructions
The key is airtight! Pop those leftover donut bars into an airtight container. They’ll stay soft and delicious at room temperature for up to 3 days. But let’s be real, they’re usually gone way before then!
Reheating Instructions
Want a little warm and cozy treat? You can totally reheat these! Just pop a bar in the microwave for about 10-15 seconds. Careful, they can get a little melty! Or, you can warm them in a low oven (around 200°F) for a few minutes. Either way, yum!
A Delicious Treat: Rate This Baked Maple Donut Bars Recipe
So, what do you think? Did you love these baked maple donut bars as much as I do? Leave a comment below and let me know! And hey, don’t forget to rate the recipe and share it with your friends. Happy baking!
Nutritional Information for Baked Maple Donut Bars Recipe
Okay, here’s the deal: the nutrition info below is just an estimate. It can totally change depending on the brands you use and how big you cut the bars. So, take it with a grain of salt, okay?
Print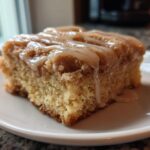
Failproof Baked Maple Donut Bars Recipe in Under 1 Hour
- Prep Time: 15 minutes
- Cook Time: 25 minutes
- Total Time: 40 minutes
- Yield: 12-16 bars 1x
- Category: Dessert
- Method: Baking
- Cuisine: American
- Diet: Vegetarian
Description
Enjoy these delicious baked maple donut bars. They are easy to make and perfect for breakfast or dessert.
Ingredients
- 1 1/2 cups all-purpose flour
- 1 1/2 teaspoons baking powder
- 1/2 teaspoon baking soda
- 1/4 teaspoon salt
- 1/2 cup granulated sugar
- 1/4 cup packed light brown sugar
- 1/4 cup unsalted butter, melted
- 1 large egg
- 1 cup buttermilk
- 1 teaspoon vanilla extract
- For the Maple Glaze:
- 2 cups powdered sugar
- 1/4 cup maple syrup
- 2–4 tablespoons milk
Instructions
- Preheat oven to 350°F (175°C). Grease and flour a 9×13 inch baking pan.
- In a large bowl, whisk together flour, baking powder, baking soda, and salt.
- In a separate bowl, combine granulated sugar, brown sugar, melted butter, egg, buttermilk, and vanilla extract.
- Add the wet ingredients to the dry ingredients and mix until just combined. Do not overmix.
- Pour batter into the prepared pan and spread evenly.
- Bake for 20-25 minutes, or until a toothpick inserted into the center comes out clean.
- Let cool completely before frosting.
- For the Maple Glaze: In a medium bowl, whisk together powdered sugar, maple syrup, and milk until smooth. Add more milk if needed to reach desired consistency.
- Pour glaze over cooled donut bars and let set before cutting into squares.
Notes
- For a richer flavor, use brown butter instead of melted butter.
- You can add chopped nuts or sprinkles on top of the glaze for extra decoration.
- Store leftover donut bars in an airtight container at room temperature for up to 3 days.
Nutrition
- Serving Size: 1 bar
- Calories: 250
- Sugar: 30g
- Sodium: 150mg
- Fat: 8g
- Saturated Fat: 5g
- Unsaturated Fat: 2g
- Trans Fat: 0g
- Carbohydrates: 40g
- Fiber: 1g
- Protein: 3g
- Cholesterol: 30mg