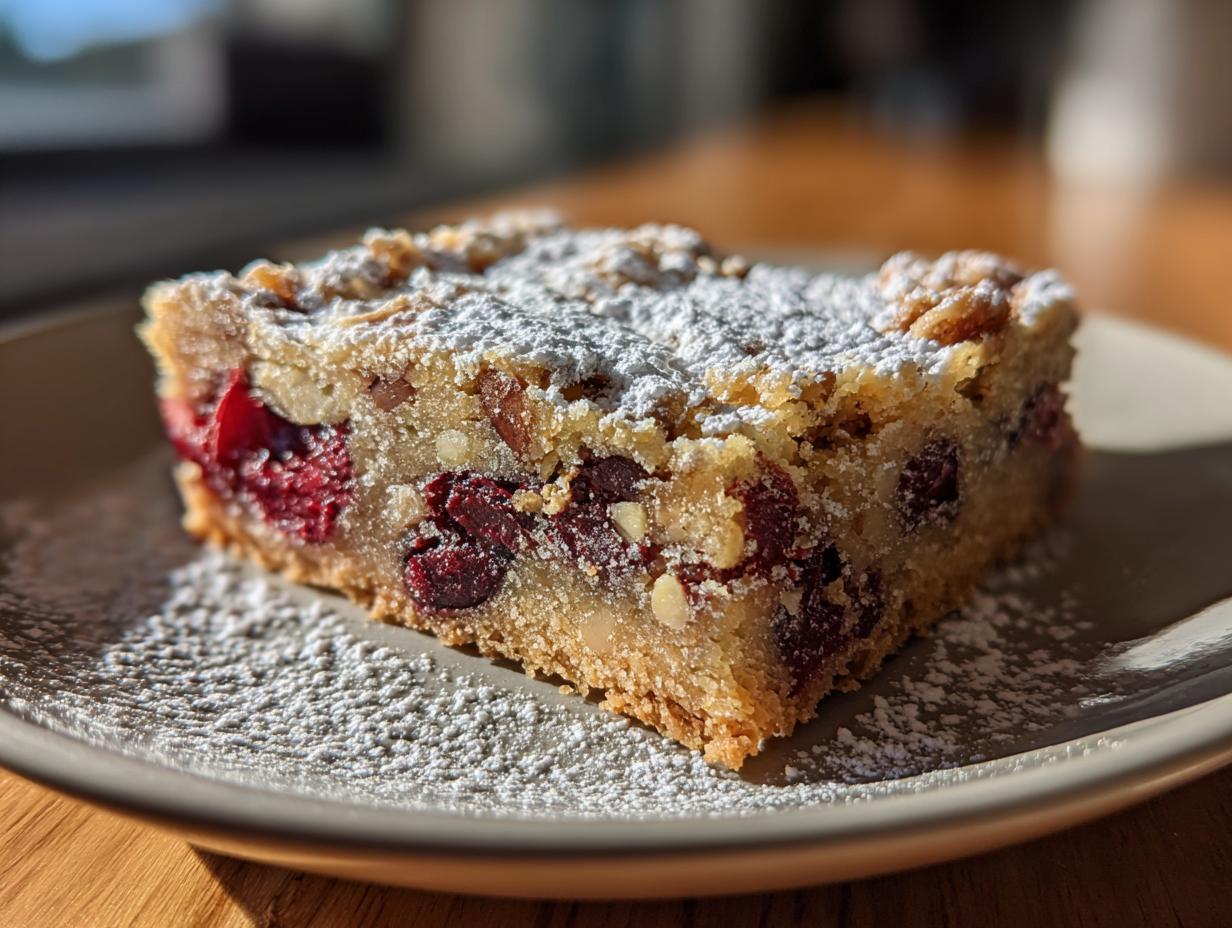
Is there anything better than the smell of baking wafting through the house during the holidays? For me, it just screams Christmas! It’s like a warm hug in the middle of all the hustle and bustle. And one treat that always makes an appearance in my kitchen? These super easy, oh-so-festive Christmas Cherry Bars!
I remember baking these with my grandma every year. She’d let me stir in the cherries (my *favorite* part!), and we’d always sneak a taste of the batter – don’t tell anyone! Now, I make ’em with my own kids, and the tradition continues. These Christmas Cherry Bars are seriously the easiest thing to whip up, and they look so darn pretty on a holiday dessert platter. Plus, they taste amazing! Trust me, you’ll be making these year after year!
Why You’ll Love These Christmas Cherry Bars
Okay, so why are these Christmas Cherry Bars about to become your new holiday go-to? Let me tell ya!
- They’re crazy easy to make. Seriously, even the kids can help!
- The red cherries? So festive! They just scream “Christmas!”
- That cherry almond flavor combo? To die for!
- Perfect for gifting – wrap ’em up all cute and spread the cheer!
- They’re always a crowd-pleaser. Watch ’em disappear!
Quick and Easy Holiday Treat
Time is precious during the holidays, right? That’s why you’ll love these. They come together in a snap! No complicated steps, no crazy ingredients. Just simple, delicious goodness.
Festive and Eye-Catching
These aren’t just tasty; they’re gorgeous! The bright red cherries against the golden bar? So pretty on a cookie plate or dessert table. They practically shout “Happy Holidays!”
Irresistible Cherry Almond Flavor
Seriously, the cherry and almond? It’s a match made in heaven! That little hint of almond extract just elevates the whole thing. You’ll be sneaking bites, I promise!
Ingredients for Christmas Cherry Bars
Alright, let’s talk ingredients! Here’s what you’ll need to make these amazing Christmas Cherry Bars. Don’t worry, it’s all pretty standard stuff. But a few little things make a BIG difference, so pay attention!
- 1 cup all-purpose flour
- 1/2 cup granulated sugar
- 1/4 teaspoon salt
- 1/2 cup cold unsalted butter, cut into cubes
- 1 large egg
- 1 teaspoon almond extract
- 1/2 cup chopped walnuts
- 1 cup chopped maraschino cherries, drained and patted dry
- 1/4 cup powdered sugar, for dusting
Ingredient Notes and Substitutions
Okay, so a few things here. First, that butter REALLY needs to be cold! Trust me on this one. It’s what makes the bars nice and tender. Also, make sure you pat those maraschino cherries dry! Soggy cherries = soggy bars, and nobody wants that. As for substitutions? You *could* use pecans instead of walnuts if you’re feeling fancy. And if you want to make these dairy-free, try using a good vegan butter substitute. Just make sure it’s nice and cold too! Oh! And if you’re not a fan of almond extract (gasp!), vanilla works just fine. But seriously, the almond is SO good!
How to Make Christmas Cherry Bars: Step-by-Step
Alright, time to get baking! Don’t be intimidated, these Christmas Cherry Bars are super easy, I promise. Just follow these steps, and you’ll be munching on festive goodness in no time!
Preparing the Dough for Christmas Cherry Bars
First things first, grab a bowl and whisk together your flour, sugar, and salt. Now, here’s the important part: that cold butter! Cut it into little cubes and then use a pastry blender (or your fingers, if you’re feeling brave!) to cut the butter into the dry ingredients. You want it to look like coarse crumbs. Then, stir in the egg and almond extract. Mix it all together until a dough forms. It might be a little crumbly at first, but just keep mixing! Finally, gently fold in those chopped walnuts and cherries. Don’t overmix! We want those cherries to stay nice and red!
Baking Your Christmas Cherry Bars to Perfection
Okay, preheat that oven to 350°F (175°C). Now, press the dough into an ungreased 8×8 inch baking pan. You can use your fingers or the back of a spoon to spread it evenly. Bake for 25-30 minutes, or until the edges are lightly golden brown. Keep an eye on ’em! Ovens can be sneaky. You want them set, but not rock hard. A toothpick inserted near the center should come out with just a few crumbs attached. For more baking tips, check out this guide on ingredient substitutions.
Finishing Touches for Your Christmas Cherry Bars
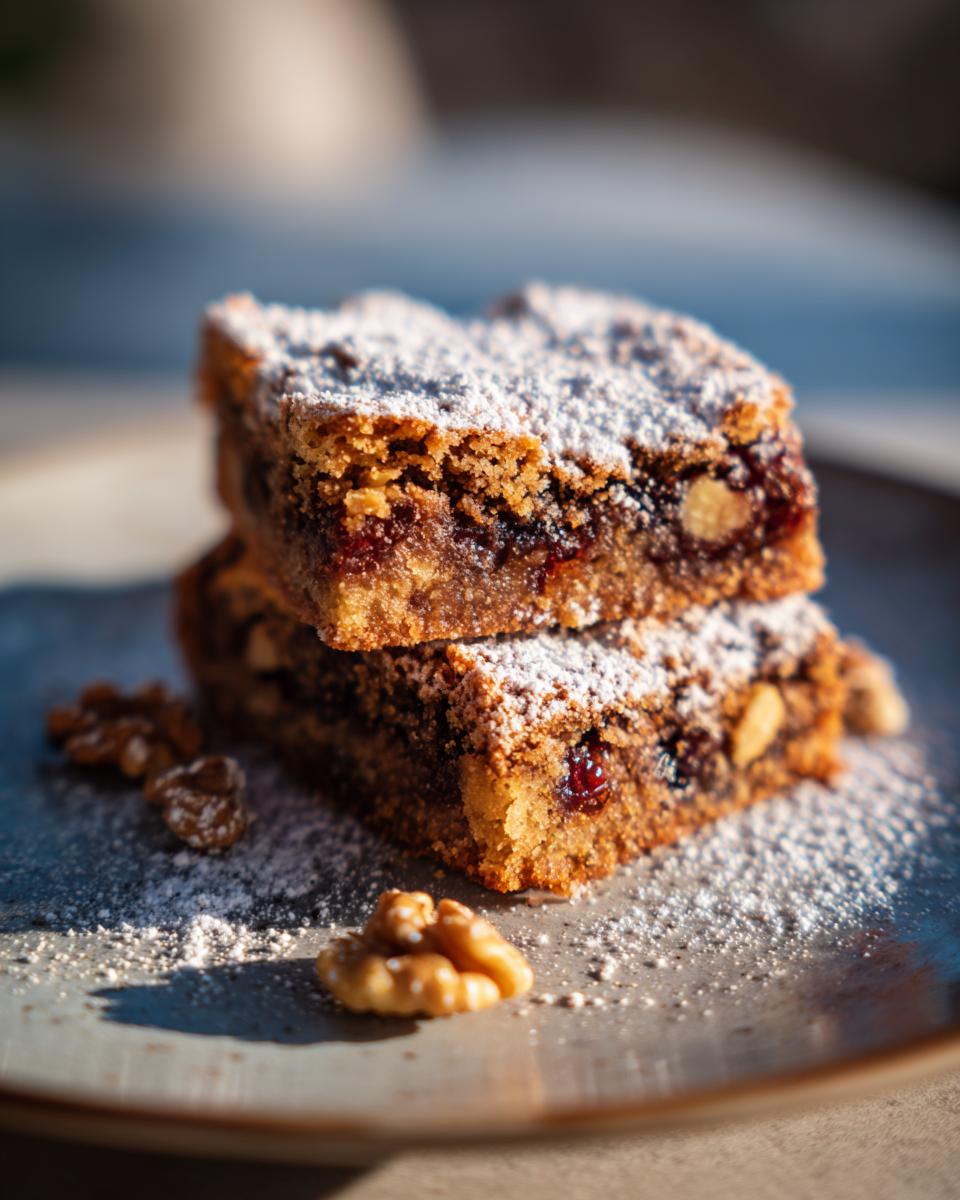
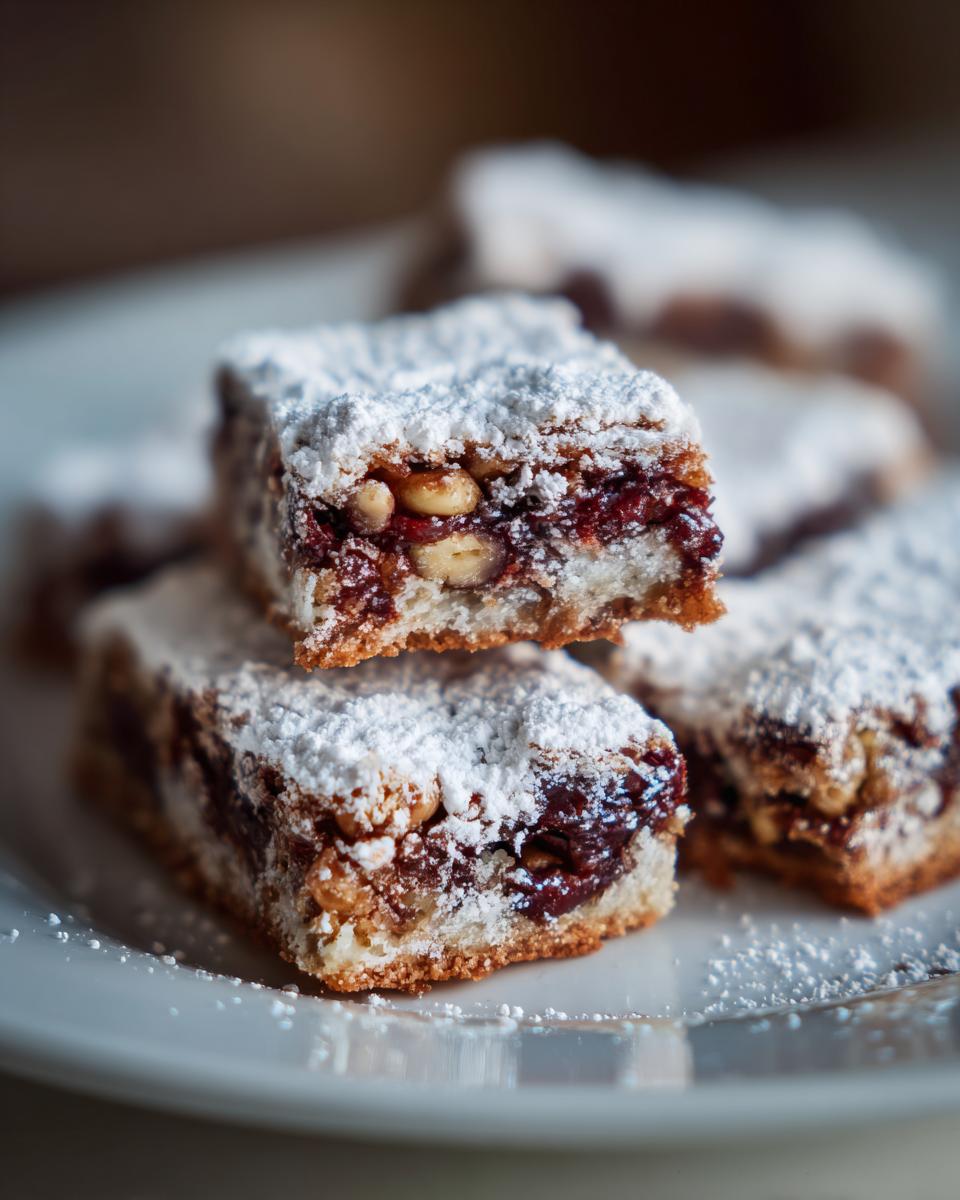
Now comes the hardest part: waiting! Let those Christmas Cherry Bars cool completely in the pan before you even *think* about cutting them. Seriously, if you cut them while they’re warm, they’ll just crumble. Once they’re cool, cut them into bars. I usually go for squares, but you do you! And finally, the pièce de résistance: dust them with powdered sugar! It makes them look so pretty and festive. And that’s it! You’re done! Now, go grab a bar and enjoy!
Tips for the Best Christmas Cherry Bars
Want to make sure your Christmas Cherry Bars are the absolute BEST they can be? Of course, you do! Here are a few little secrets I’ve learned over the years. First, seriously, make sure those cherries are DRY! I can’t stress that enough. Also, don’t overbake them! A little underbaked is better than dry and crumbly. Use good quality ingredients! It really makes a difference. And one last thing: if you have time, chilling the dough for about 30 minutes before baking can help prevent them from spreading too much. But hey, if you’re short on time, don’t sweat it! They’ll still be delicious!
Variations on Christmas Cherry Bars
Okay, so you’ve got the basic Christmas Cherry Bars down? Awesome! Now, let’s get a little crazy and mix things up! These bars are super versatile, so feel free to experiment. Wanna try different nuts? Go for it! Not a fan of almond extract? No problem! Let’s brainstorm some fun twists!
Adding Chocolate Chips to Christmas Cherry Bars
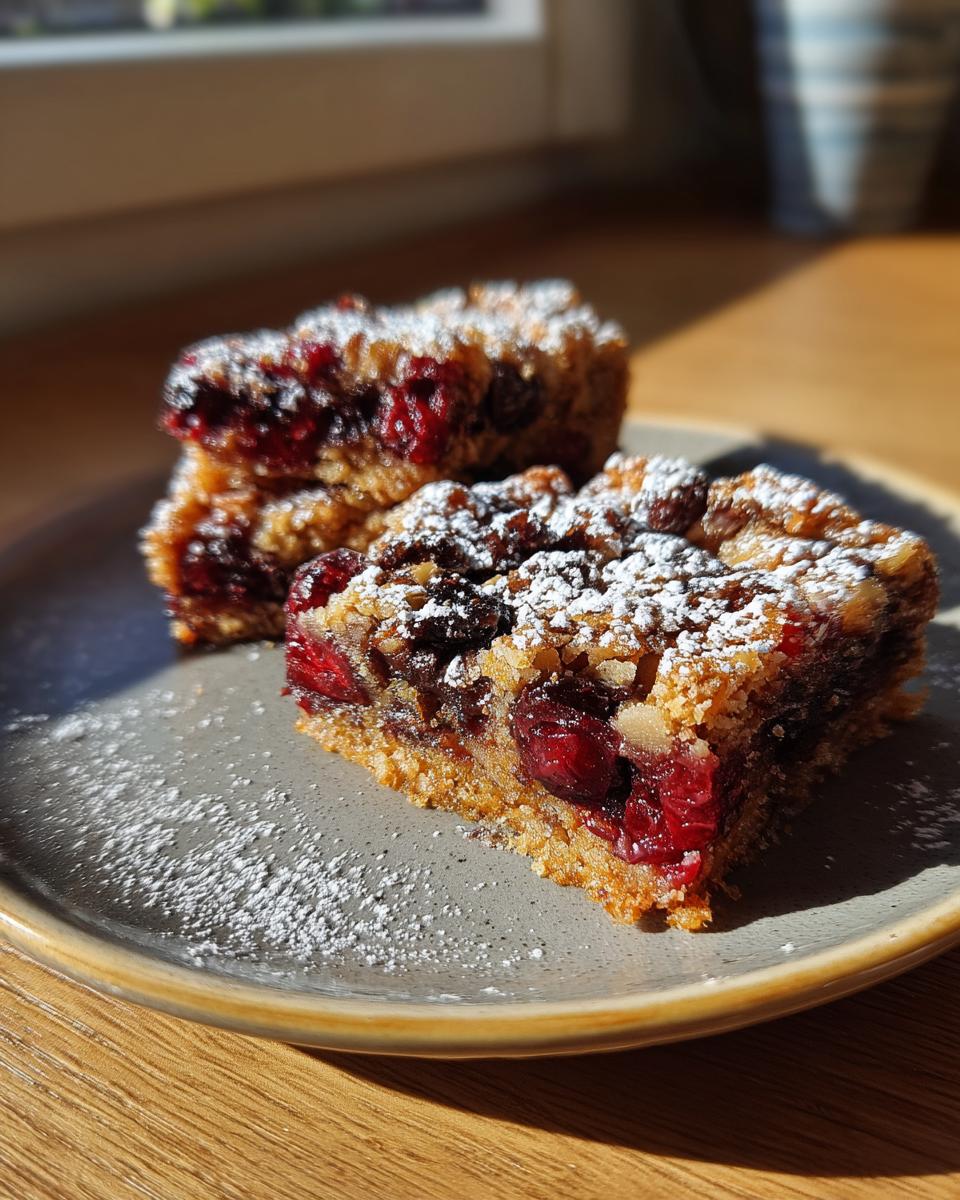
Chocolate and cherries? Yes, please! Just toss in about a 1/2 cup of your favorite chocolate chips (milk, dark, semi-sweet – whatever floats your boat!) when you add the walnuts and cherries. Easy peasy!
Other Festive Additions for Christmas Cherry Bars
Feeling extra festive? Throw in some dried cranberries for a little tartness! Or, how about some orange zest? It adds a lovely citrusy zing that’s just perfect for the holidays. Get creative and have fun!
Storing Your Christmas Cherry Bars
Got leftovers? (Okay, who are we kidding? But *if* you do…) Just pop those Christmas Cherry Bars into an airtight container. They’ll keep at room temperature for about 3-4 days. Wanna keep ’em longer? Freeze ’em! They freeze super well. Just wrap ’em individually in plastic wrap and then toss ’em in a freezer bag. They’ll be good for a couple of months. Just thaw ’em out before serving. Easy peasy!
Christmas Cherry Bars FAQs
Got questions about these Christmas Cherry Bars? I got you! Here are a few of the most common things folks ask me. Hopefully, this helps!
Can I use fresh cherries instead of maraschino cherries in these Christmas Cherry Bars?
Okay, so technically, you *could*, but it’s not really recommended. Maraschino cherries are super sweet and have that distinct flavor that makes these bars special. Fresh cherries are, well, fresh! They’re not as sweet, and they have a different texture. If you *really* want to use fresh cherries, I’d suggest adding a little extra sugar to the recipe and maybe even soaking the cherries in a simple syrup first. But honestly? Just stick with the maraschinos. Trust me!
Can I make these Christmas Cherry Bars ahead of time?
Absolutely! These Christmas Cherry Bars are actually perfect for making ahead. You can bake them a day or two in advance and then just store them in an airtight container at room temperature. Or, you can even prepare the dough ahead of time, wrap it tightly in plastic wrap, and store it in the fridge for up to 2 days. Then, just bake ’em when you’re ready! How easy is that?!
Are these Christmas Cherry Bars gluten-free?
Unfortunately, as written, no, these Christmas Cherry Bars are not gluten-free. The all-purpose flour contains gluten. However! You can easily make them gluten-free by swapping out the all-purpose flour for a gluten-free all-purpose blend. Just make sure it’s a blend that’s designed for baking! You might need to adjust the amount of liquid slightly, so keep an eye on the dough. But otherwise, it’s a pretty straightforward substitution!
Nutritional Information for Christmas Cherry Bars
Okay, so here’s the deal. I’m not a nutritionist, and the nutrition info can vary *a lot* depending on the exact brands and ingredients you use. So, the nutritional information provided is just a general estimate. Use it as a guideline, but don’t take it as gospel, okay?
Rate this Christmas Cherry Bars Recipe
Loved these Christmas Cherry Bars? Let me know! Give the recipe a rating and leave a comment below! I’d love to hear what you think!
Print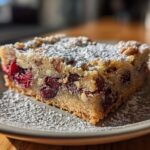
Devastatingly Delicious Christmas Cherry Bars in 30 Minutes
- Prep Time: 20 minutes
- Cook Time: 30 minutes
- Total Time: 50 minutes
- Yield: 16 bars 1x
- Category: Dessert
- Method: Baking
- Cuisine: American
- Diet: Vegetarian
Description
Festive Christmas cherry bars, perfect for holiday baking.
Ingredients
- 1 cup all-purpose flour
- 1/2 cup granulated sugar
- 1/4 teaspoon salt
- 1/2 cup cold unsalted butter, cut into cubes
- 1 large egg
- 1 teaspoon almond extract
- 1/2 cup chopped walnuts
- 1 cup chopped maraschino cherries, drained and patted dry
- 1/4 cup powdered sugar, for dusting
Instructions
- Preheat oven to 350°F (175°C).
- In a bowl, combine flour, sugar, and salt.
- Cut in cold butter until mixture resembles coarse crumbs.
- Stir in egg and almond extract until dough forms.
- Fold in walnuts and cherries.
- Press dough into an ungreased 8×8 inch baking pan.
- Bake for 25-30 minutes, or until lightly golden.
- Let cool completely before cutting into bars.
- Dust with powdered sugar before serving.
Notes
- Ensure cherries are well-drained to prevent soggy bars.
- Adjust baking time based on your oven.
- Store in an airtight container at room temperature.
Nutrition
- Serving Size: 1 bar
- Calories: 150
- Sugar: 15g
- Sodium: 30mg
- Fat: 8g
- Saturated Fat: 4g
- Unsaturated Fat: 3g
- Trans Fat: 0g
- Carbohydrates: 20g
- Fiber: 1g
- Protein: 2g
- Cholesterol: 30mg