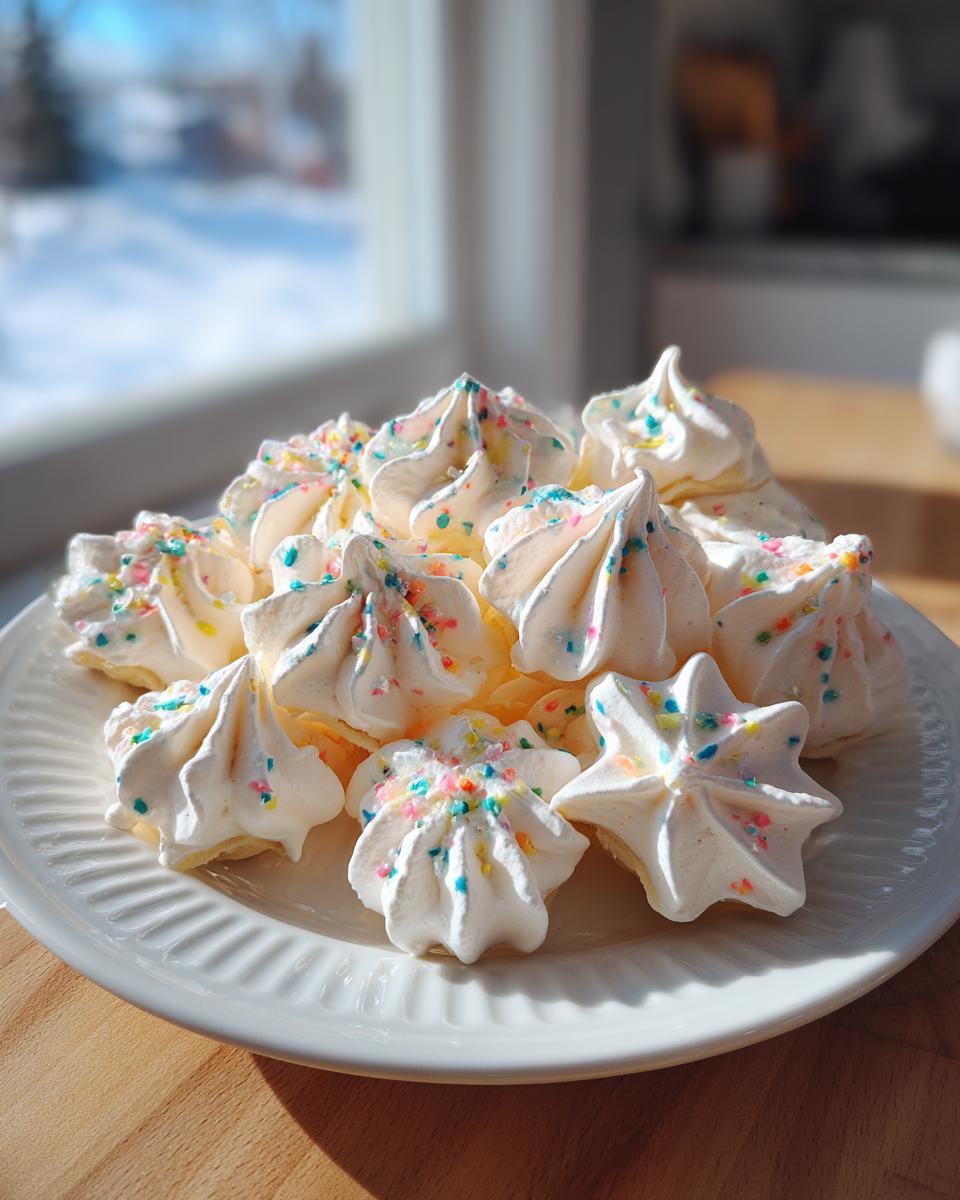
Christmas baking… it’s just *different*, isn’t it? The smells, the twinkling lights, the slightly frantic energy of trying to get everything *just* right. For me, it wouldn’t be Christmas without a batch (or three!) of something sweet. And this year, I’m all about these adorable Christmas Meringue cookies! They’re so light and festive – seriously, they look like little snowdrifts of happiness. Plus, they’re surprisingly easy to make, and naturally gluten-free, which is a win for everyone.
I remember one Christmas, I tried to make gingerbread houses with my niece and nephew. Total disaster! The meringues? Always a success. They’re the perfect treat to whip up when you want something impressive but don’t want to spend all day in the kitchen. So, if you’re ready to add a touch of sweetness to your holidays, keep reading! I’m going to walk you through every step to make *perfect* Christmas Meringues that’ll wow your family and friends. Trust me, you’ve got this!
Why You’ll Love This Christmas Meringue Recipe
Okay, so why *this* meringue recipe? Well, let me tell you! There’s a reason these little guys are my go-to for holiday parties.
-
Light and Airy Treat
Seriously, these Christmas Meringues practically melt in your mouth! They’re so light and airy; it’s like eating a sweet little cloud.
-
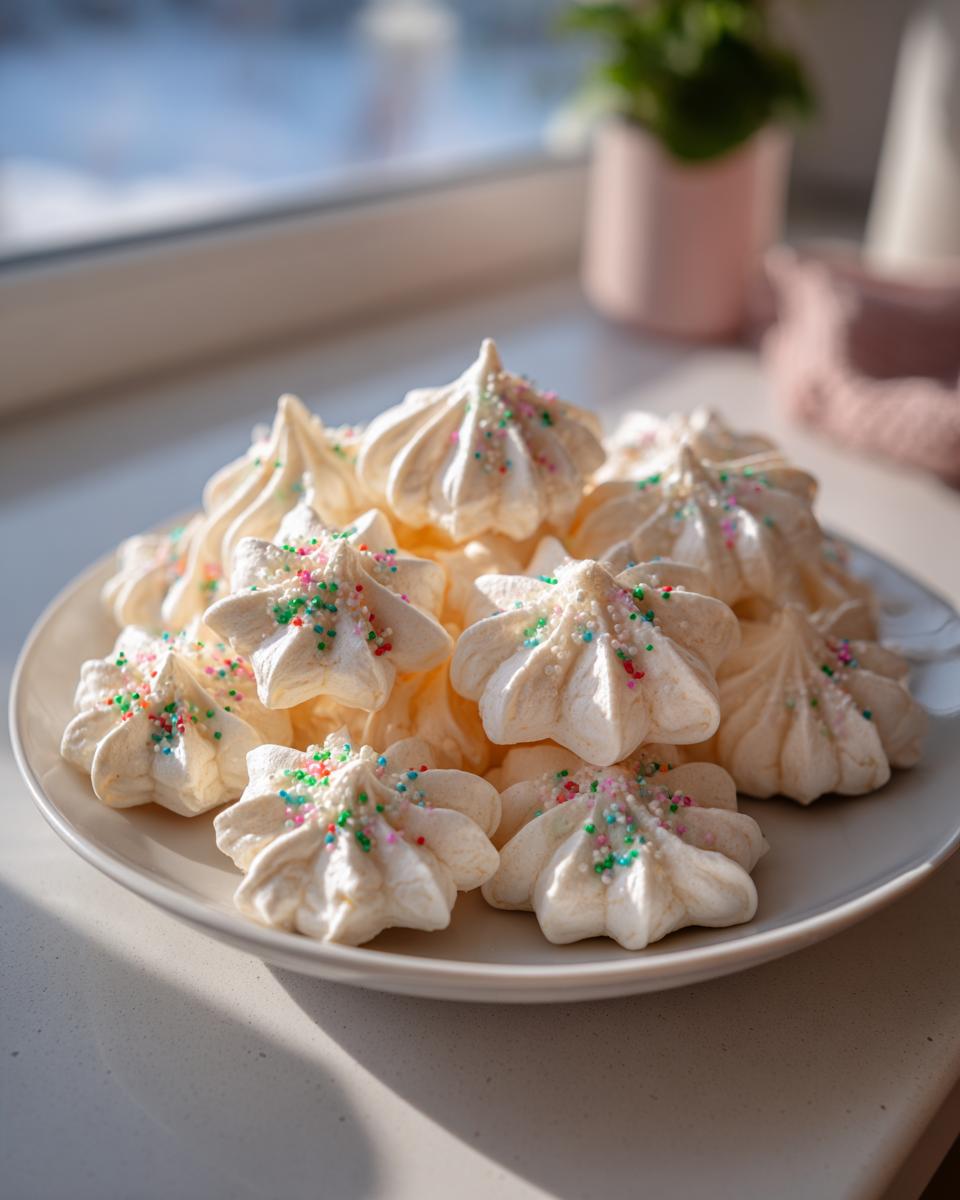
Festive Christmas Dessert
I mean, look at them! They’re so pretty and festive. You can totally customize the colors and sprinkles to match your Christmas theme. How fun is that?
-
Simple Christmas Meringue Ingredients
Don’t let meringues intimidate you. You only need a handful of ingredients, and most of them you probably already have!
-
Gluten-Free Christmas Meringue Option
Got gluten-free friends or family? No problem! These are naturally gluten-free, so everyone can enjoy them.
Essential Ingredients for Your Christmas Meringue
Alright, let’s talk ingredients! You really don’t need much to make these Christmas Meringues, which is part of the appeal, right? Here’s what you’ll need:
* **3 large egg whites:** Make sure they’re at room temperature! Trust me on this. It makes a difference.
* **3/4 cup granulated sugar:** Just plain ol’ white sugar. Nothing fancy here.
* **1/4 teaspoon cream of tartar:** This is the secret weapon that helps stabilize the egg whites. Don’t skip it!
* **1/2 teaspoon pure vanilla extract:** Adds that lovely warmth and flavor.
* **Pinch of salt:** Just a tiny pinch to balance the sweetness.
* **Optional: Gel food coloring:** I love using gel food coloring for vibrant colors. Red and green are always festive!
* **Optional: Christmas sprinkles:** Because, well, it’s Christmas! Get creative with your sprinkles. My favorite part is adding these!
How to Make Perfect Christmas Meringue: Step-by-Step Instructions
Okay, get ready to turn those simple ingredients into gorgeous Christmas Meringues! Follow these steps, and you’ll be a meringue master in no time.
Preparing for Christmas Meringue Baking
First things first, let’s preheat that oven to 200°F (95°C). This is *super* important – too hot, and your meringues will crack! Also, make sure your bowl and beaters are sparkling clean and grease-free. Any trace of grease, and your egg whites won’t whip up properly. Trust me, I’ve learned this the hard way!
Whipping the Egg Whites
Now, in that clean, dry bowl, toss in your egg whites, cream of tartar, and salt. Start beating them until soft peaks form. What are soft peaks, you ask? Well, when you lift the beaters, the peaks should curl over at the tips. They shouldn’t stand straight up yet. We’re getting there!
Adding Sugar and Flavor
This is where the magic happens! Gradually add the sugar, a little at a time, while you keep beating. This gradual addition is key – don’t dump it all in at once! Keep beating until you get stiff, glossy peaks. Now, when you lift the beaters, the peaks should stand straight up and be all shiny and gorgeous. Stir in your vanilla extract and food coloring (if you’re using it).
Piping the Meringues
Carefully transfer the meringue to a piping bag fitted with a star tip. Now, get creative! Pipe your desired shapes onto a baking sheet lined with parchment paper. You can make little stars, trees, wreaths – whatever your heart desires! If you’re feeling extra fancy, try swirling different colors together in the piping bag.

Baking to Perfection
Pop those meringues into the preheated oven and bake for 60-90 minutes, or until they’re dry and crisp. Here’s a *major* tip: Do NOT open the oven door during baking! I know, it’s tempting, but resist! Opening the door can cause them to crack. Once they’re done, turn off the oven and let the meringues cool completely inside with the door slightly ajar. This slow cooling is crucial for preventing cracks and keeping them crisp.
Decorating Your Christmas Meringue
Once they’re completely cool, it’s time to decorate! Add those sprinkles! You can use all sorts of different sprinkles – red and green, gold and silver, snowflakes, you name it! Get the kids involved; they’ll love it!
Tips for the Best Christmas Meringue
Want to take your Christmas Meringue game to the next level? Here are a few pro tips that I’ve learned over the years (and a few meringue fails!).
Room Temperature Egg Whites
Seriously, this makes a *huge* difference! Room temperature egg whites whip up so much easier and faster, giving you a better meringue structure. Take them out of the fridge at least 30 minutes before you start. Trust me; it’s worth the wait!
Avoid Overbeating
Okay, so you want stiff peaks, but don’t go overboard! Overbeating the egg whites can make them dry and grainy, and nobody wants that. Stop beating when the peaks are stiff and glossy, but not curdled.
Patience is Key
Meringues are all about patience, my friend. Don’t rush the baking or cooling process. Let them bake low and slow, and let them cool completely in the oven. This is *the* key to crispy, crack-free meringues.
Proper Christmas Meringue Storage
Meringues are notorious for getting soggy, so proper storage is essential. Store them in an airtight container at room temperature. If you live in a humid climate (like me!), add a few grains of rice to the container to absorb excess moisture. It sounds weird, but it works!
Christmas Meringue Variations to Try
Okay, so you’ve mastered the basic Christmas Meringue? Awesome! Now, let’s get a little crazy and try some fun variations. This is where you can really let your creativity shine! My favorite part is experimenting with new flavors and colors – it’s like edible art!
Peppermint Christmas Meringue
Want to add a little zing to your meringues? Try adding 1/4 teaspoon of peppermint extract along with the vanilla. It’s like a little candy cane in every bite!
Almond Christmas Meringue
Almond extract is another fantastic option. Just swap out the vanilla extract for almond extract, and you’ll get a lovely, nutty flavor. So good!
Colorful Christmas Meringue Swirls
Why stick to one color when you can have a rainbow? Divide the meringue into different bowls and add different food coloring to each. Then, gently swirl them together in the piping bag for a gorgeous marbled effect. Red and green? Blue and silver? Go wild!
Chocolate Chip Christmas Meringue
Who doesn’t love chocolate? Gently fold in some mini chocolate chips into the meringue before piping. They add a little extra sweetness and texture that’s just irresistible. Careful not to overmix, though! You still want those pretty swirls.
Serving Suggestions for Your Christmas Meringue
Okay, so you’ve got a beautiful batch of Christmas Meringues…now what? Well, these little guys are surprisingly versatile! My favorite thing is to serve them with a steaming mug of hot chocolate – the contrast of the light, airy meringue with the rich, chocolatey drink is just divine! They’re also perfect with coffee or tea. Or, you know, just pile ’em high on a dessert platter for a festive Christmas spread!
Storing and Reheating Your Christmas Meringue
Alright, so you’ve managed *not* to eat all your Christmas Meringues in one sitting? Impressive! Now, let’s keep ’em fresh. Meringues are best stored in an airtight container at room temperature. Whatever you do, don’t put them in the fridge – they’ll get all sticky and sad. And reheating? Nah, don’t even bother. They’re perfect just as they are!
Frequently Asked Questions About Christmas Meringue
Got questions about making these little Christmas Meringue miracles? Don’t worry; I’ve got answers! Here are a few of the most common questions I get asked (besides, “Can I have another one?”).
Why are my Christmas Meringues cracking?
Ugh, cracks! So frustrating, right? Usually, it’s one of two things: Your oven temperature might be a tad too high (ovens can be sneaky!), or you might be cooling them too quickly. Remember, slow and steady wins the race with meringues!
Why are my Christmas Meringues sticky?
Sticky meringues are usually a sign of humidity. If it’s a super muggy day, it can be tough to get them perfectly crisp. Also, make sure you’re baking them long enough. They should be completely dry and crisp before you turn off the oven.
Can I make Christmas Meringue ahead of time?
Absolutely! That’s one of the great things about these Christmas Meringues. You can totally make them a day or two in advance. Just store them in an airtight container at room temperature, and they’ll be good to go!
Can I freeze Christmas Meringue?
Okay, this is one I usually advise against. Freezing meringues can make them soggy, and they just don’t taste as good. It’s always best to enjoy them fresh!
Estimated Nutritional Information for Christmas Meringue
Okay, gotta be real here: this nutritional info is just an estimate! It’ll vary depending on the brands and ingredients you use, so don’t take it as gospel, okay?
Ready to Bake Your Christmas Meringue?
Alright, you’ve got all the secrets! Now, go get baking! And hey, if you try this recipe, leave a comment and let me know how they turned out! Don’t forget to rate the recipe and share your gorgeous Christmas Meringue creations on social media!
Print
Fail-Proof Christmas Meringue: 3 Secrets Revealed
- Prep Time: 15 minutes
- Cook Time: 90 minutes
- Total Time: 120 minutes
- Yield: 24 meringues 1x
- Category: Dessert
- Method: Baking
- Cuisine: American
- Diet: Gluten Free
Description
Light and airy Christmas Meringue cookies perfect for the holidays.
Ingredients
- 3 large egg whites
- 3/4 cup granulated sugar
- 1/4 teaspoon cream of tartar
- 1/2 teaspoon vanilla extract
- Pinch of salt
- Optional: Food coloring, sprinkles
Instructions
- Preheat oven to 200°F (95°C).
- In a clean, dry bowl, beat egg whites with cream of tartar and salt until soft peaks form.
- Gradually add sugar, beating until stiff, glossy peaks form.
- Stir in vanilla extract and food coloring if using.
- Transfer meringue to a piping bag fitted with a star tip.
- Pipe desired shapes onto a baking sheet lined with parchment paper.
- Bake for 60-90 minutes, or until meringues are dry and crisp.
- Turn off oven and let meringues cool completely inside with the door slightly ajar.
- Decorate with sprinkles if desired.
Notes
- Ensure your bowl and beaters are grease-free for best results.
- Do not open the oven door during baking.
- Meringues are delicate and can be stored in an airtight container at room temperature for up to a week.
Nutrition
- Serving Size: 1 meringue
- Calories: 30
- Sugar: 7g
- Sodium: 5mg
- Fat: 0g
- Saturated Fat: 0g
- Unsaturated Fat: 0g
- Trans Fat: 0g
- Carbohydrates: 7g
- Fiber: 0g
- Protein: 0g
- Cholesterol: 0mg