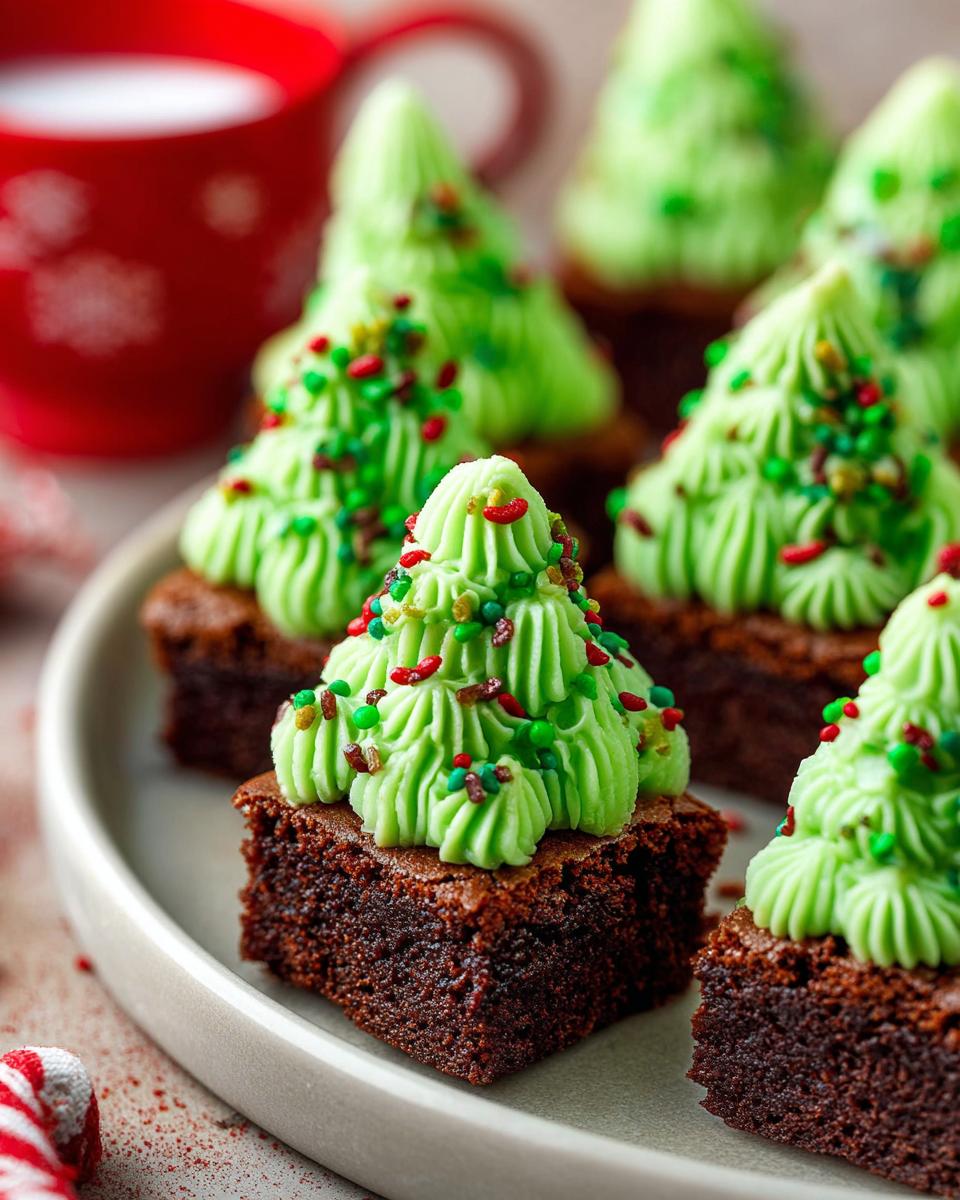
Okay, so, picture this: It’s December, snow’s coming down, and the smell of something chocolatey is wafting from the kitchen. That’s how I remember every Christmas growing up! Baking was *the* thing in our house. My grandma’s sugar cookies were legendary, but honestly? I always gravitated towards the simpler stuff. And that’s where these Christmas Tree Brownie Bites come in.
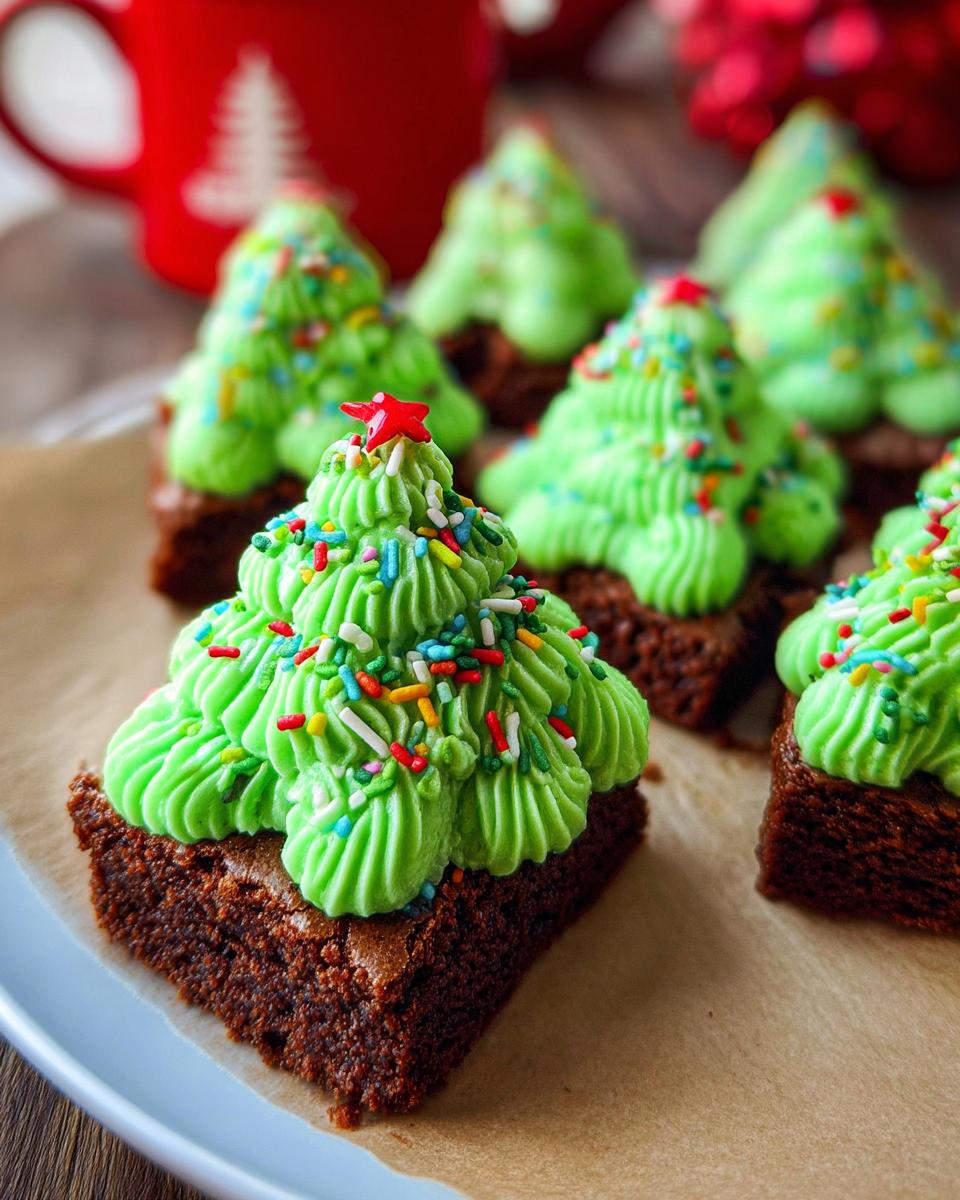
Seriously, they’re so easy, even the little ones can help. Plus, they look ridiculously festive! I mean, who can resist a mini Christmas tree made of frosting on top of a fudgy brownie? Not me, that’s for sure! These Christmas Tree Brownie Bites are guaranteed to be a hit. Let’s get baking!
Why You’ll Love These Christmas Tree Brownie Bites
Seriously, these little guys are winners. Why? Let me tell you:
-
Quick and Easy Christmas Dessert
Time is precious during the holidays, right? This recipe is FAST. We’re talking minimal effort for maximum chocolatey goodness. You can whip these up in under an hour, easy peasy!
-
Perfect for Holiday Parties
Need a crowd-pleaser? Look no further! These Christmas Tree Brownie Bites are always a hit at parties. They’re cute, they’re easy to grab, and everyone loves a good brownie. Trust me on this one!
-
Festive and Fun to Make
Get the kids involved! Frosting those little trees is seriously fun. Plus, sprinkles! Who doesn’t love sprinkles? It’s a great way to get into the holiday spirit.
-
Deliciously Chocolatey
Okay, let’s be real. It’s a brownie. Fudgy, chocolatey, and oh-so-good. What’s not to love? My favorite part is that they’re not too sweet, but just sweet enough!
Ingredients for Christmas Tree Brownie Bites
Alright, let’s gather our goodies! Don’t worry, the list isn’t scary long. We’re keeping it simple and delicious for these Christmas Tree Brownie Bites. The key is having everything prepped and ready to go. So, let’s dive in, shall we?
Brownie Base
First, you’ll need a box of brownie mix. I usually go for Ghirardelli Double Chocolate – it’s my fave! But honestly, any brownie mix will work. Just grab your go-to. You’ll also need whatever the box calls for – usually it’s water, eggs, and some oil. Easy peasy!
Christmas Tree Frosting
Now, for the fun part: the frosting! You’ll want 1 cup of unsalted butter, and it *needs* to be softened! Seriously, don’t skip that step. Then, you’ll need about 3 to 4 cups of powdered sugar (I know, it sounds like a lot, but trust me!), 3 to 4 tablespoons of heavy cream, a splash of vanilla extract, and a pinch of salt. Oh, and don’t forget the green food coloring and holiday sprinkles! Gotta make ’em festive, right?
How to Make Christmas Tree Brownie Bites: Step-by-Step Instructions
Okay, here’s where the magic happens! Don’t worry, it’s not complicated. Just follow these steps and you’ll have adorable Christmas Tree Brownie Bites in no time. Promise!
Preparing the Brownie Bites
First things first, preheat your oven to 350 degrees F. This is important! While it’s heating up, grab a mini cupcake pan and grease it *really* well with nonstick spray. I’m talking every nook and cranny! You don’t want these babies sticking.
Next, whip up your brownie mix according to the box directions. Once it’s ready, fill each cupcake cavity about two thirds full with the brownie batter. Don’t overfill them, or they’ll overflow! Then, pop ’em in the oven for about 15 to 17 minutes. You want the edges to be firm, but the center should still be slightly soft. Not gooey, though!
When they’re done, take them out and use the back of a round teaspoon to gently indent the center of each brownie cup. This creates a little well for the frosting. Let them cool in the pan for about 10 minutes, then use a paring knife to help pop them out and transfer them to a cooling rack to cool *completely* before frosting. Seriously, completely! Warm brownies + frosting = mess.
Making the Christmas Tree Frosting
While the brownies are cooling, let’s make that yummy frosting! Grab your softened butter and cream it on low speed with a paddle attachment until it’s pale and creamy. This usually takes a few minutes. Don’t rush it!
Now, slowly add in 3 cups of powdered sugar and 3 tablespoons of heavy cream, a little at a time, alternating between the sugar and the cream. Mix on low for about 3 minutes. This prevents a powdered sugar explosion! If your frosting needs to be stiffer, add the remaining sugar. If it needs to be thinned out, add the remaining cream. You want it to be pipe-able, but not too runny.
Finally, add your vanilla, salt, and green food coloring. Whip it on high speed for about 2 minutes until it’s light and fluffy. Taste it! Does it need more vanilla? More green? Now’s the time to adjust.
Assembling the Christmas Tree Brownie Bites
Alright, the moment we’ve been waiting for! Grab a piping bag fitted with a large star tip. Fill it with your gorgeous green frosting. Now, pipe the frosting onto the cooled cupcakes, twisting back and forth slightly to make a Christmas tree shape. Start at the base and work your way up, making it wider at the bottom and narrower at the top. Don’t stress about making them perfect! Remember, they’re Christmas trees – they’re supposed to be a little wonky!
Last but not least, top with sprinkles! Go crazy! They’re the ornaments on your little Christmas trees. And there you have it – adorable Christmas Tree Brownie Bites ready to impress!
Tips for Perfect Christmas Tree Brownie Bites
Want to make sure your Christmas Tree Brownie Bites are total showstoppers? Here are a few of my favorite tips to guarantee perfection. Trust me, these little things make a *huge* difference!
Cooling is Crucial
Seriously, I can’t stress this enough: let those brownies cool *completely* before frosting. If they’re even a little bit warm, the frosting will melt right off. And nobody wants a melty Christmas tree, right?
Frosting Consistency
The frosting needs to be just right – not too stiff, not too runny. If it’s too stiff, it’ll be hard to pipe. If it’s too runny, it’ll droop. Add a tiny bit more powdered sugar to stiffen it, or a tiny bit more cream to thin it out. You got this!
Sprinkles are your Friend
Don’t be shy with the sprinkles! They’re what make these brownie bites extra festive and fun. The more, the merrier, I say! Go wild and create sprinkle masterpieces. You can use any type of sprinkles you like, but I always have a soft spot for the Christmas themed ones!
Christmas Tree Brownie Bites Variations
Okay, so you’ve mastered the basic Christmas Tree Brownie Bite. Awesome! But what if you wanna mix things up a bit? No problem! Here are a few fun variations to try. Get creative! It’s the holidays, after all!
Different Frosting Flavors
Peppermint frosting? Yes, please! Or maybe a rich chocolate frosting? Yum! You can easily add a teaspoon of peppermint extract to your buttercream for a festive twist. Or melt some chocolate chips and swirl it in for a chocolate lover’s dream. So good!
Add-ins to the Brownie Batter
Want even *more* chocolate? Throw in some chocolate chips! Or how about some chopped nuts for a little crunch? Candy pieces would also be amazing! Just fold them into the brownie batter before baking. Easy peasy!
Different Sprinkles
Okay, this one’s almost too obvious, but seriously, different sprinkles can totally change the look of your Christmas Tree Brownie Bites! Try silver and gold sprinkles for a more elegant look. Or go wild with different shapes and sizes. Have fun with it!
Serving Suggestions for Your Christmas Tree Brownie Bites
Alright, so you’ve got these adorable Christmas Tree Brownie Bites…now what? Well, they’re pretty amazing on their own, but here are a few ideas to make them even more special!
Hot Chocolate
Seriously, is there anything better than a warm cup of hot chocolate and a fudgy brownie on a cold winter night? I think not! It’s the ultimate cozy combo.
Milk
Keepin’ it classic! A cold glass of milk is the perfect complement to these sweet treats. My kids always go for this option – can’t go wrong!
Coffee
For the grown-ups! A cup of coffee brings out the chocolatey flavors. It’s the perfect afternoon pick-me-up during the busy holiday season. Trust me, you deserve it!
Storing Christmas Tree Brownie Bites
Made too many Christmas Tree Brownie Bites? (Is that even possible?!) No worries! Here’s how to keep ’em fresh and delicious.
Room Temperature Storage
If you’re planning on eating them within a day or two, just pop them in an airtight container and leave them at room temperature. Easy peasy! They’ll stay nice and fudgy.
Refrigerator Storage
Need to keep them longer? Stick them in the fridge! Again, airtight container is key. They might get a little firmer, but they’ll still taste amazing. Plus, cold brownies are pretty darn good, too! Just let them warm up a bit before serving if you want ’em extra soft.
Frequently Asked Questions About Christmas Tree Brownie Bites
Got questions? I’ve got answers! Here are a few of the most common things people ask me about these adorable Christmas Tree Brownie Bites. Don’t be shy, ask away if you have more!
Can I use a Different Brownie Mix?
Absolutely! I usually reach for Ghirardelli, but really, any brownie mix will do! Just use your favorite. Boxed brownie mixes are pretty interchangeable, so don’t stress too much about it!
Can I Make These Ahead of Time?
You bet! You can definitely bake the brownie bites a day or two in advance. Just store them in an airtight container at room temperature. As for the frosting, you can also make that ahead of time! Store it in the fridge, and then let it come to room temperature and rewhip it before using. Easy peasy!
How Do I Prevent the Frosting from Melting?
Okay, this is important! Make sure your brownies are *completely* cool before frosting. Like, totally, absolutely cool. Also, don’t make the frosting too thin. If it’s too runny, it’ll be more likely to melt. Keeping the brownie bites in a cool place after frosting helps too!
What if I Don’t Have a Piping Bag?
No piping bag? No problem! You can use a zip-top bag with the corner snipped off. Just make sure the hole isn’t too big! You can also use a spoon to dollop the frosting on and then shape it with a knife or spatula. It won’t be quite as fancy, but it’ll still taste delicious!

Nutritional Information for Christmas Tree Brownie Bites
Okay, let’s talk numbers! Now, keep in mind that the nutritional information for these Christmas Tree Brownie Bites is just an estimate. It can vary *a lot* depending on the brownie mix you use, the type of sprinkles, and how heavy-handed you are with the frosting (oops!). So, take this with a grain of salt, okay?
Rate this Christmas Tree Brownie Bites Recipe
Loved these little Christmas trees? Let me know! Leave a comment below, give the recipe a star rating, or share your creations on social media! I wanna see those sprinkles!
Print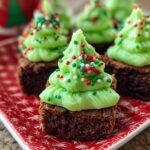
Easy Christmas Tree Brownie Bites: Just 4 Steps
- Prep Time: 20 minutes
- Cook Time: 17 minutes
- Total Time: 60 minutes
- Yield: 24 brownie bites 1x
- Category: Dessert
- Method: Baking
- Cuisine: American
- Diet: Vegetarian
Description
Festive Christmas Tree Brownie Bites are easy to make and perfect for holiday parties.
Ingredients
- 1 box brownie mix plus ingredients called for on the back of the box (usually water, eggs, oil)
- 1 cup unsalted butter, softened to room temperature
- 3 to 4 cups powdered sugar
- 3 to 4 tablespoons heavy cream
- 1 tablespoon vanilla extract
- 1/4 teaspoon salt
- Green food coloring
- Holiday sprinkles
Instructions
- Preheat the oven to 350 degrees F and grease a mini cupcake pan well with nonstick spray and set aside.
- Prepare the brownie mix according to the box directions and fill each cupcake cavity about two thirds full with brownie batter.
- Bake for about 15 to 17 minutes until the edges are firm but the center is still slightly soft but not gooey.
- Remove from the oven and use the back of a round teaspoon to indent the center of each of the brownie cups. Let them cool in the pan for 10 minutes.
- Use a paring knife to help pop them out of the pan and transfer them to a cooling rack to cool completely before frosting.
- While they are cooling, cream the butter on low speed with a paddle attachment until pale and creamy.
- Slowly add in 3 cups of powdered sugar and 3 tablespoons heavy cream a little at a time, alternating between each, while mixing on low over the course of about 3 minutes.
- If your frosting needs a more stiff consistency, add remaining sugar. If your frosting needs to be thinned out, add the remaining cream.
- Add vanilla, salt, and food coloring and whip on high speed for 2 minutes.
- Fill a piping bag fitted with a large star tip with the frosting.
- Pipe the frosting onto the cooled cupcakes, twisting back and forth slightly to make a Christmas tree shape.
- Top with sprinkles.
Notes
- For best results, ensure the brownies are completely cool before frosting.
- Adjust the amount of food coloring to achieve your desired shade of green.
Nutrition
- Serving Size: 1 brownie bite
- Calories: 200
- Sugar: 25g
- Sodium: 50mg
- Fat: 10g
- Saturated Fat: 6g
- Unsaturated Fat: 3g
- Trans Fat: 0g
- Carbohydrates: 30g
- Fiber: 1g
- Protein: 2g
- Cholesterol: 30mg