Okay, let’s talk Christmas! For me, nothing screams “holidays” quite like the smell of something sweet baking in the kitchen. And you know what’s ALWAYS a hit? Fudge! But who has time for complicated recipes during the busiest time of the year? That’s where this Easy Christmas Fudge comes to the rescue!
Seriously, this recipe is so simple, even the kids can help (and trust me, they *love* to “help”!). I’ve been making this Easy Christmas Fudge for years, and it’s always the first thing to disappear at our family gatherings. There’s just something about that rich, chocolatey goodness that brings everyone together. It’s quick, it’s easy (hence the name!), and it’s guaranteed to put a smile on everyone’s face. Plus, clean up is a breeze – bonus points for that during the holidays, right?
Why You’ll Love This Easy Christmas Fudge Recipe
Okay, so why should you even bother making this Easy Christmas Fudge? Well, let me tell you, it’s not just ’cause I said so! This recipe is seriously a lifesaver during the crazy holiday season. Here’s the lowdown:
Quick and Easy Dessert
Time is precious, especially in December! This fudge comes together in minutes – seriously, just a few zaps in the microwave and you’re practically done! No fancy techniques, no hours slaving away in the kitchen. It’s the perfect “I need a dessert NOW” kind of recipe.
Perfect for Holiday Gifting
Need a last-minute gift? Bam! This fudge is your answer. Wrap it up in cute little boxes, tie a ribbon around it, and you’ve got a sweet treat that everyone will adore. Trust me, homemade goodies are always appreciated! My favorite part is layering different flavors in the same box.
Customizable to Your Tastes
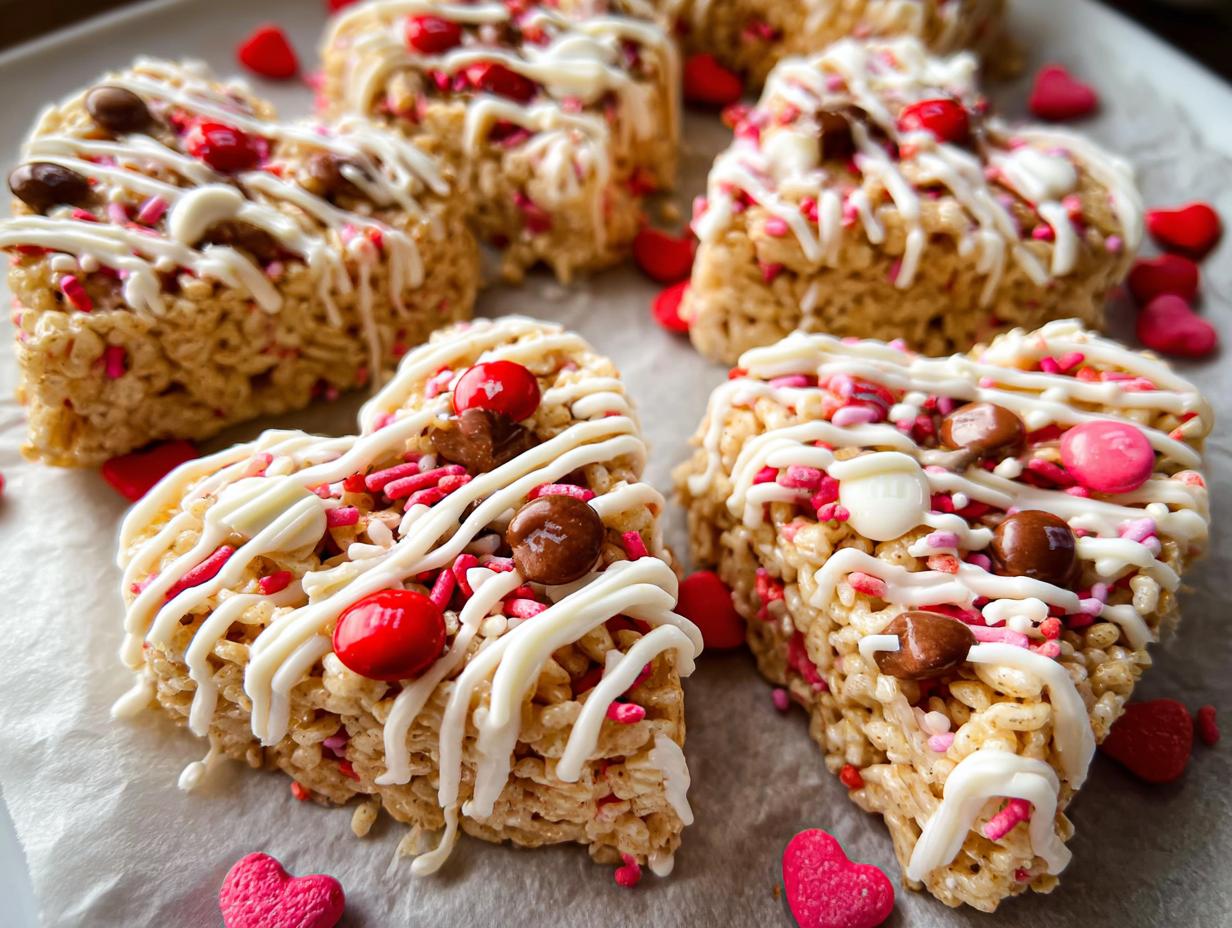
Don’t like sprinkles? No problem! Want to add nuts? Go for it! This Easy Christmas Fudge is like a blank canvas for your taste buds. You can swap out chocolate chips, add different extracts, or pile on your favorite toppings. The possibilities are endless – have fun with it!
Ingredients for Your Easy Christmas Fudge
Alright, let’s get down to business! Here’s what you’ll need to whip up this amazing Easy Christmas Fudge. Don’t worry, the list is super short and sweet!
- Grab 1 (14 ounce) can of sweetened condensed milk – not evaporated milk, okay? Big difference!
- You’ll also want 3 cups of semi-sweet chocolate chips. I usually just grab a big bag from the store.
- Next up, 1/2 cup of butter, and make sure it’s softened! You want it nice and squishy, not straight from the fridge.
- Don’t forget 1 teaspoon of vanilla extract. It really brings out the chocolatey flavor.
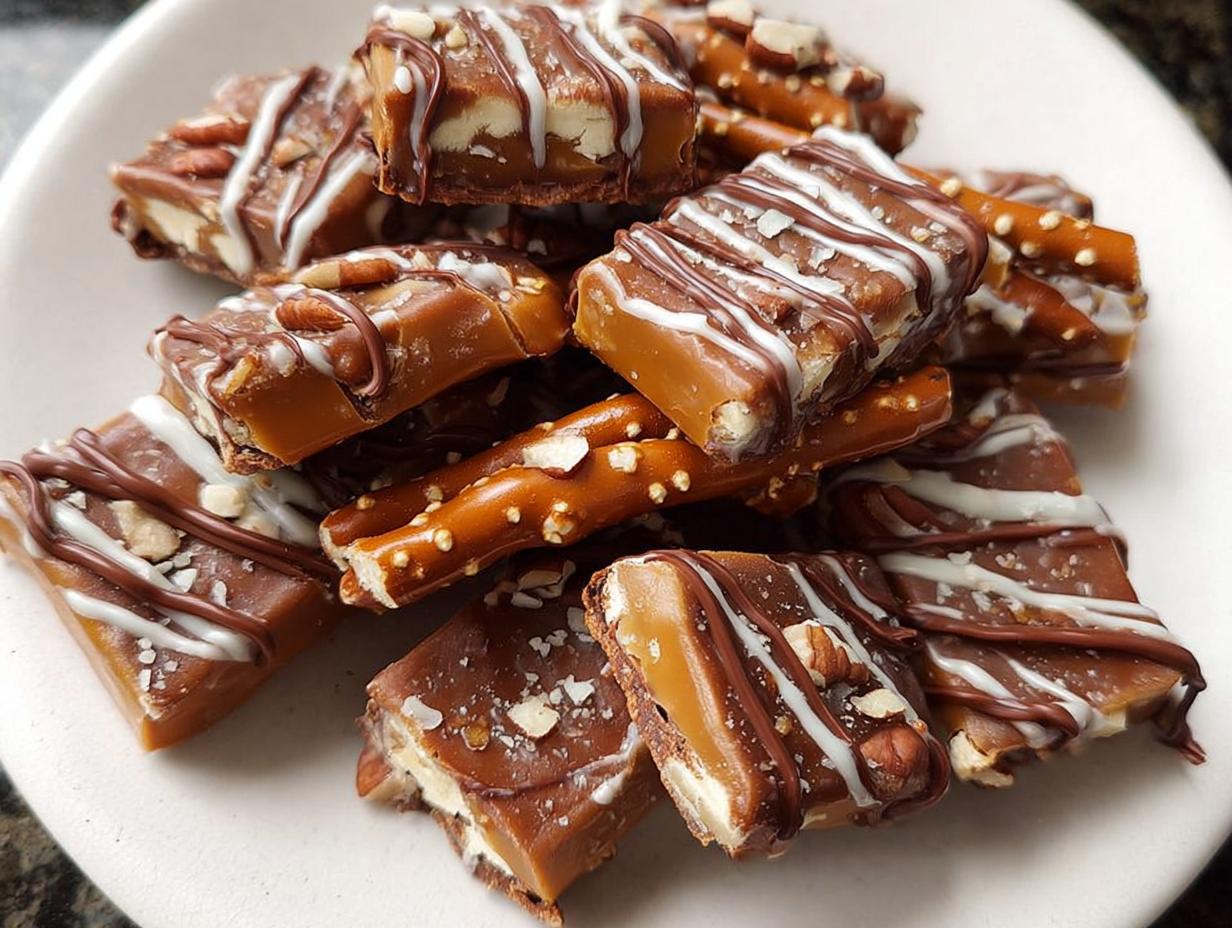
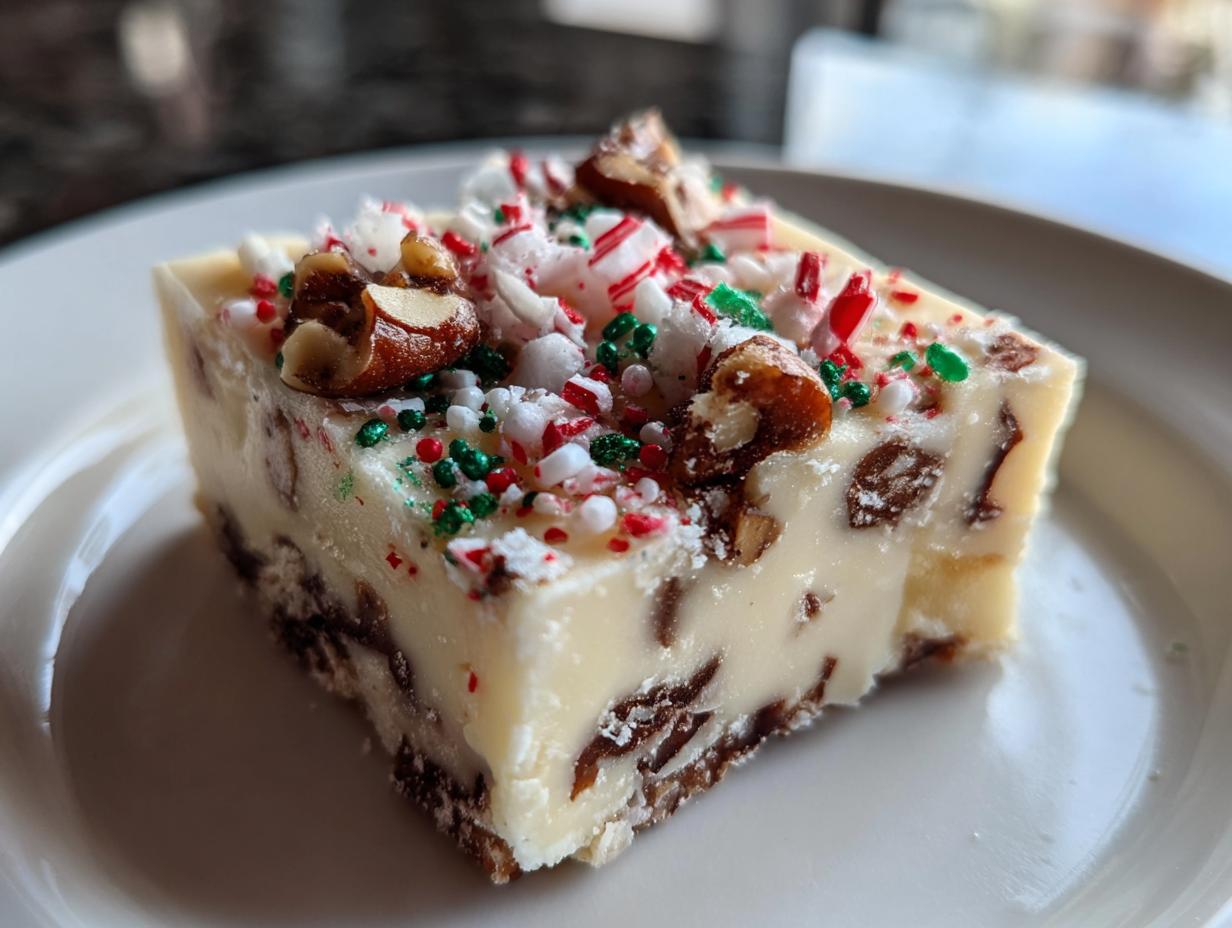
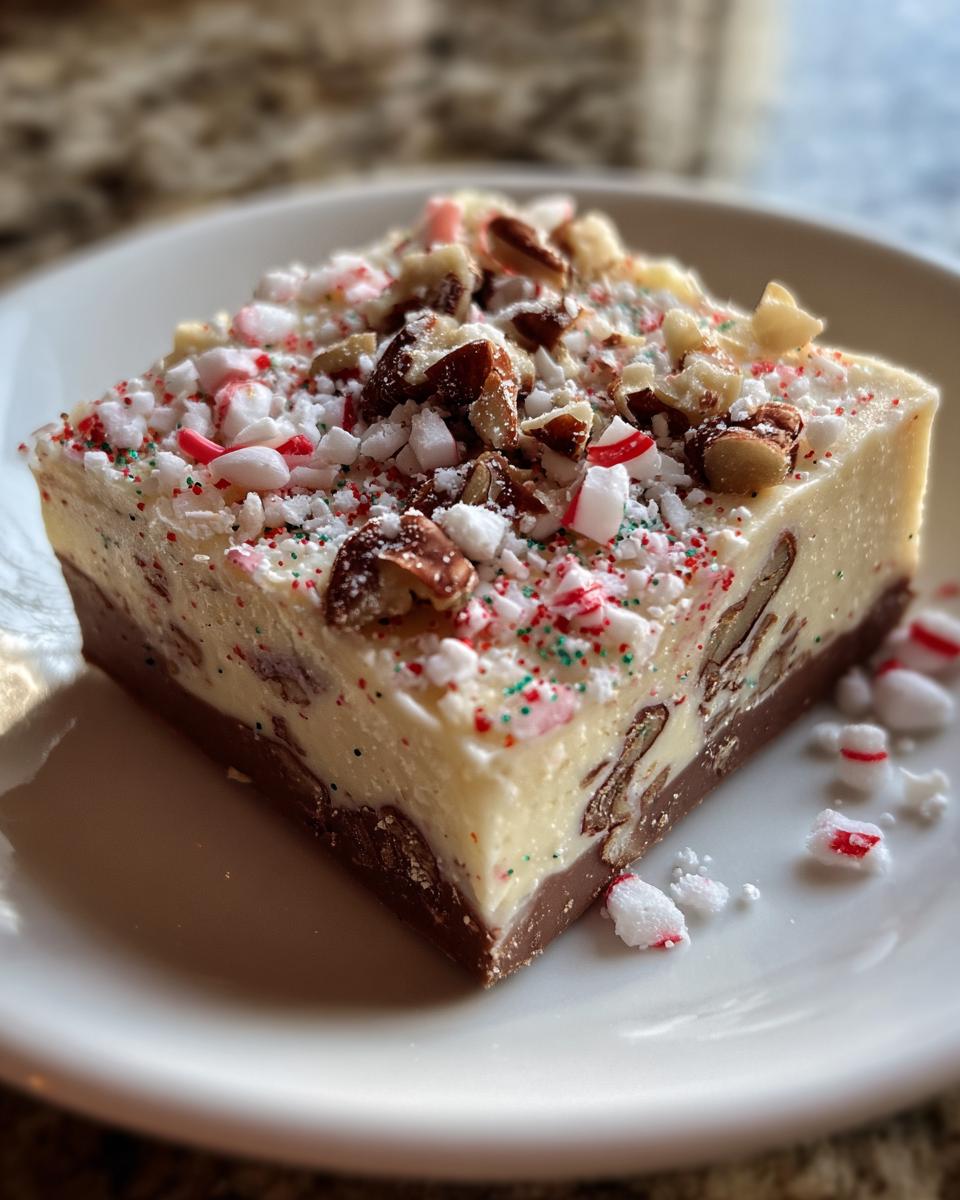
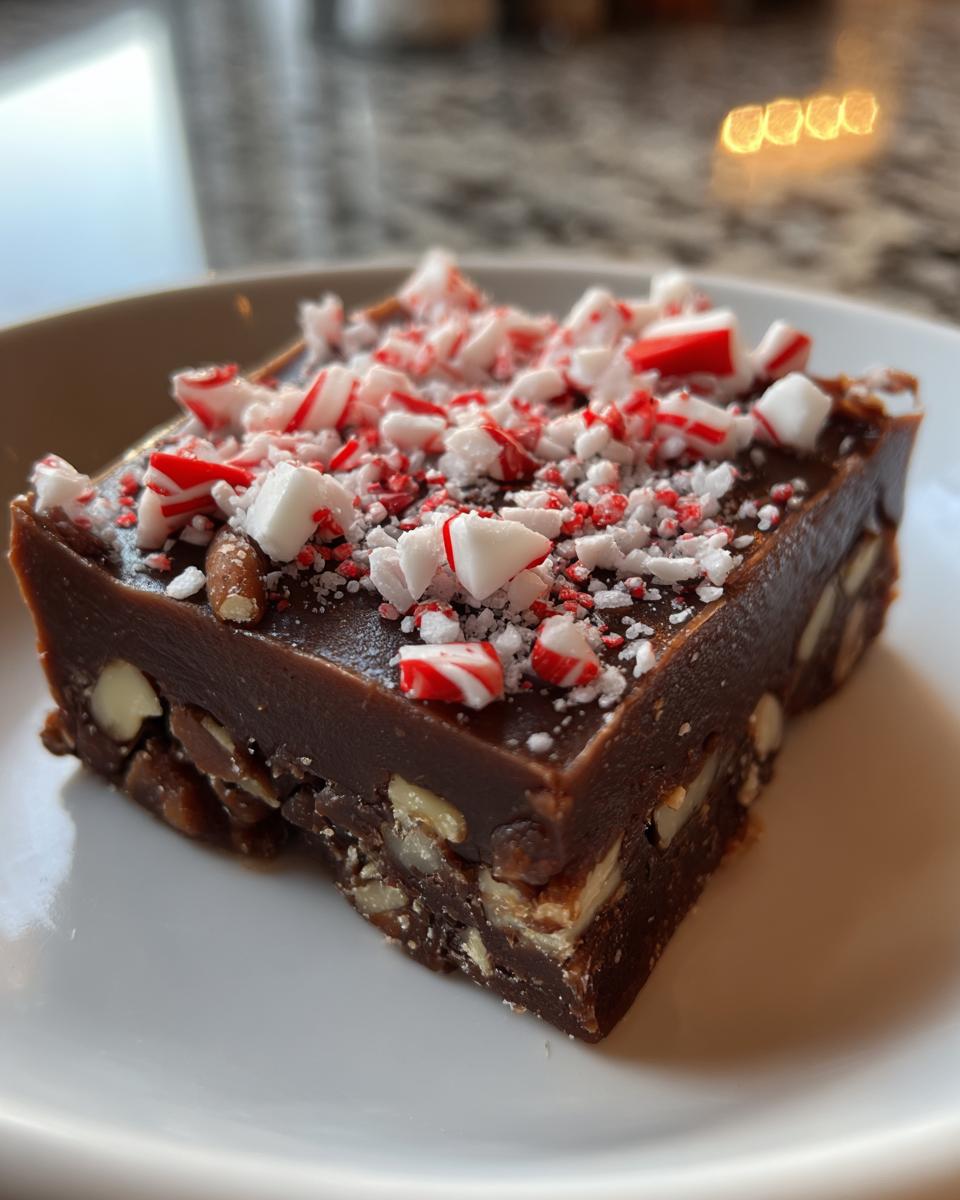
- And finally, your favorite toppings! Sprinkles, chopped nuts, crushed peppermint…whatever your heart desires!
That’s it! See? Told ya it was easy! Now, let’s get cooking!
Equipment You’ll Need
Okay, before we dive headfirst into fudge-making, let’s make sure you’ve got all the right tools! You’ll need an 8×8 inch baking pan (glass or metal works!), some parchment paper (trust me, you’ll thank me later for easy cleanup!), a microwave-safe bowl (nothing fancy!), and of course, your trusty measuring cups and spoons. That’s it! Told you this was simple!
How to Make Easy Christmas Fudge: Step-by-Step Instructions
Alright, here’s where the magic happens! Don’t worry, it’s not complicated magic, just the Easy Christmas Fudge kind. Follow these steps, and you’ll be swimming in delicious fudge in no time!
Preparing the Pan
First things first, grab that 8×8 inch pan and let’s get it ready. We’re gonna line it with parchment paper. Why, you ask? Because nobody wants fudge stuck to the bottom of the pan! Trust me on this one. Just cut a piece big enough to hang over the edges a bit – makes it super easy to lift the fudge out later. No sticking, no scraping – just pure fudgey goodness!
Melting the Ingredients
Now for the fun part! Toss your sweetened condensed milk, chocolate chips, and softened butter into that microwave-safe bowl. Pop it in the microwave for 30 seconds at a time. Yep, you heard me right – 30 seconds! Take it out and stir, even if it doesn’t look like much is happening. Then, back in for another 30 seconds. Keep doing this until everything is completely melted and smooth. Careful, the bowl might get hot! You want it all melty and gorgeous. If you see any clumps, just keep stirring – it’ll come together, I promise!
Adding Vanilla Extract
Once your chocolate mixture is all smooth and dreamy, stir in that teaspoon of vanilla extract. It doesn’t seem like much, but it really enhances the flavor. Just give it a good stir until it’s all mixed in.
Setting the Fudge
Okay, pour that beautiful chocolate mixture into your prepared pan. Spread it out evenly so you have a nice, even layer of fudge. Now, for the really fun part – the toppings! Sprinkle on whatever your heart desires – sprinkles, nuts, crushed peppermint…go wild! Gently press the toppings into the fudge so they stick. Now, cover the pan and pop it in the fridge for at least 2 hours. This is the hardest part – waiting! But trust me, it’s worth it.
Cutting and Serving
After those loooong 2 hours (or more!), your fudge should be nice and firm. Lift it out of the pan using those parchment paper overhangs – see? Told ya it was a good idea! Place it on a cutting board and cut it into squares. How big or small is totally up to you! And that’s it! You’ve made Easy Christmas Fudge! Serve it up and watch it disappear!
Tips for the Best Easy Christmas Fudge
Want to take your Easy Christmas Fudge to the next level? Of course, you do! Here are a few little secrets I’ve learned over the years to make it absolutely perfect:
- Splurge on good chocolate chips! Seriously, it makes a HUGE difference. The better the chocolate, the better the fudge, trust me!
- Store your leftover fudge in an airtight container in the fridge. It’ll stay fresh and delicious for days (if it lasts that long!).
- Don’t be afraid to get creative with your flavor combos! Try different extracts like peppermint or almond. Or add a swirl of peanut butter for extra yum!
Seriously, these little tweaks can make all the difference. Happy fudging!
Easy Christmas Fudge Variations
Okay, so you’ve mastered the basic Easy Christmas Fudge – awesome! Now, let’s get a little crazy and explore some fun variations! The best part about this recipe is how easy it is to customize. Here are a few ideas to get your creative juices flowing:
- Swap out the semi-sweet chocolate chips for dark chocolate or even white chocolate! Ooh, white chocolate fudge with cranberries would be so festive!
- Extracts are your friend! A few drops of peppermint extract will give you a classic Christmasy flavor. Or try almond extract for a more sophisticated twist.
- Toppings, toppings, toppings! Don’t just stick to sprinkles. Think chopped dried fruit, pretzels for a salty-sweet kick, or even crumbled Oreos! Seriously, anything goes!
See? So many possibilities! Don’t be afraid to experiment and create your own signature Easy Christmas Fudge!
Storing Your Easy Christmas Fudge
Made a whole batch of Easy Christmas Fudge? Awesome! If you somehow manage to have leftovers (ha!), just pop them in an airtight container. Keep it in the fridge, and it’ll stay yummy for up to a week. But honestly? It never lasts that long at my house!
Frequently Asked Questions About Easy Christmas Fudge
Got questions about making this amazing Easy Christmas Fudge? I bet you do! Don’t worry, I’ve got answers! Here are a few of the most common questions I get asked about this recipe:
Can I use different types of chocolate for this Easy Christmas Fudge?
Absolutely! In fact, I encourage it! If you’re not a fan of semi-sweet chocolate chips, feel free to swap them out for dark chocolate for a richer, more intense flavor. Or, if you’re feeling adventurous, try white chocolate! Just remember that white chocolate is sweeter, so you might want to adjust the amount of toppings you add.
How long does Easy Christmas Fudge last?
Well, let’s be honest, it probably won’t last long at all! But if you do manage to have leftovers, store your Easy Christmas Fudge in an airtight container in the refrigerator, and it should stay good for up to a week. Although, in my experience, it’s usually gone way before then!
Can I freeze Easy Christmas Fudge?
Yep, you sure can! If you want to make a big batch of Easy Christmas Fudge ahead of time, just wrap it tightly in plastic wrap and then place it in a freezer bag. It’ll keep in the freezer for up to 2 months. When you’re ready to eat it, just thaw it in the refrigerator overnight. It might not be quite as creamy as fresh fudge, but it’ll still be delicious!
Nutritional Information for Easy Christmas Fudge
Okay, quick disclaimer! The nutritional info for this Easy Christmas Fudge? It’s just an estimate, okay? It can totally change based on the brands you use, how big you cut the squares, and how many sprinkles you pile on! So, just keep that in mind – it’s not an *exact* science!
Enjoy Your Delicious Easy Christmas Fudge
There you have it! Super simple, right? Now go whip up a batch of this Easy Christmas Fudge and spread some holiday cheer! And hey, if you try it, leave a comment below and let me know what you think! Don’t forget to rate the recipe, and share your fudge creations on social media – I’d love to see them!
Print
Unbelievably Easy Christmas Fudge: Just 5 Ingredients
- Prep Time: 10 minutes
- Cook Time: 5 minutes
- Total Time: 2 hours 15 minutes
- Yield: About 36 squares 1x
- Category: Dessert
- Method: Microwave
- Cuisine: American
- Diet: Vegetarian
Description
Make delicious and Easy Christmas Fudge with this simple recipe.
Ingredients
- 1 (14 ounce) can sweetened condensed milk
- 3 cups semi-sweet chocolate chips
- 1/2 cup butter, softened
- 1 teaspoon vanilla extract
- Optional toppings: sprinkles, chopped nuts, crushed peppermint
Instructions
- Line an 8×8 inch baking pan with parchment paper.
- In a microwave-safe bowl, combine sweetened condensed milk, chocolate chips, and butter.
- Microwave in 30-second intervals, stirring in between, until completely melted and smooth.
- Stir in vanilla extract.
- Pour mixture into prepared pan and spread evenly.
- Sprinkle with desired toppings.
- Refrigerate for at least 2 hours, or until firm.
- Cut into squares and serve.
Notes
- For best results, use high-quality chocolate chips.
- Store fudge in an airtight container in the refrigerator.
- Customize your fudge with different extracts and toppings.
Nutrition
- Serving Size: 1 square
- Calories: 120
- Sugar: 15g
- Sodium: 20mg
- Fat: 7g
- Saturated Fat: 4g
- Unsaturated Fat: 2g
- Trans Fat: 0g
- Carbohydrates: 18g
- Fiber: 1g
- Protein: 1g
- Cholesterol: 10mg