Is there anything better than a warm scone, fresh from the oven? Seriously! Especially when it’s one of *those* days, you know? But let’s be real, gluten-free baking can be… finicky. That’s why I’m SO excited to share this recipe for easy Gluten-Free Scones!
I’ve been tweaking my grandma’s classic scone recipe for years, trying to get that perfect balance of crumbly and tender, *without* the gluten. Trust me, it’s been a journey! But after countless batches (and a few kitchen mishaps, oops!), I finally nailed it. These Gluten-Free Scones are seriously simple to make, even if you’re new to gluten-free baking. And the best part? They taste AMAZING. My family devours them every time I make a batch. I’m confident yours will too!
I’ve been baking for over 20 years, and experimenting with gluten-free recipes for the past 5, so I’ve learned a thing or two about what works (and what definitely doesn’t!). With this recipe, you’re getting all that experience rolled into one delicious, easy-to-bake treat. So grab your mixing bowl, and let’s get started!
Why You’ll Love These Gluten-Free Scones
Okay, so why *this* Gluten-Free Scones recipe? Let me tell you – it’s a game-changer! Here’s the deal:
Quick and Easy Gluten-Free Scones
Seriously, you don’t need to be a pro baker for this! Minimal steps, and you’ll have warm scones in under an hour. Score!
Delicious and Flaky Gluten-Free Scones
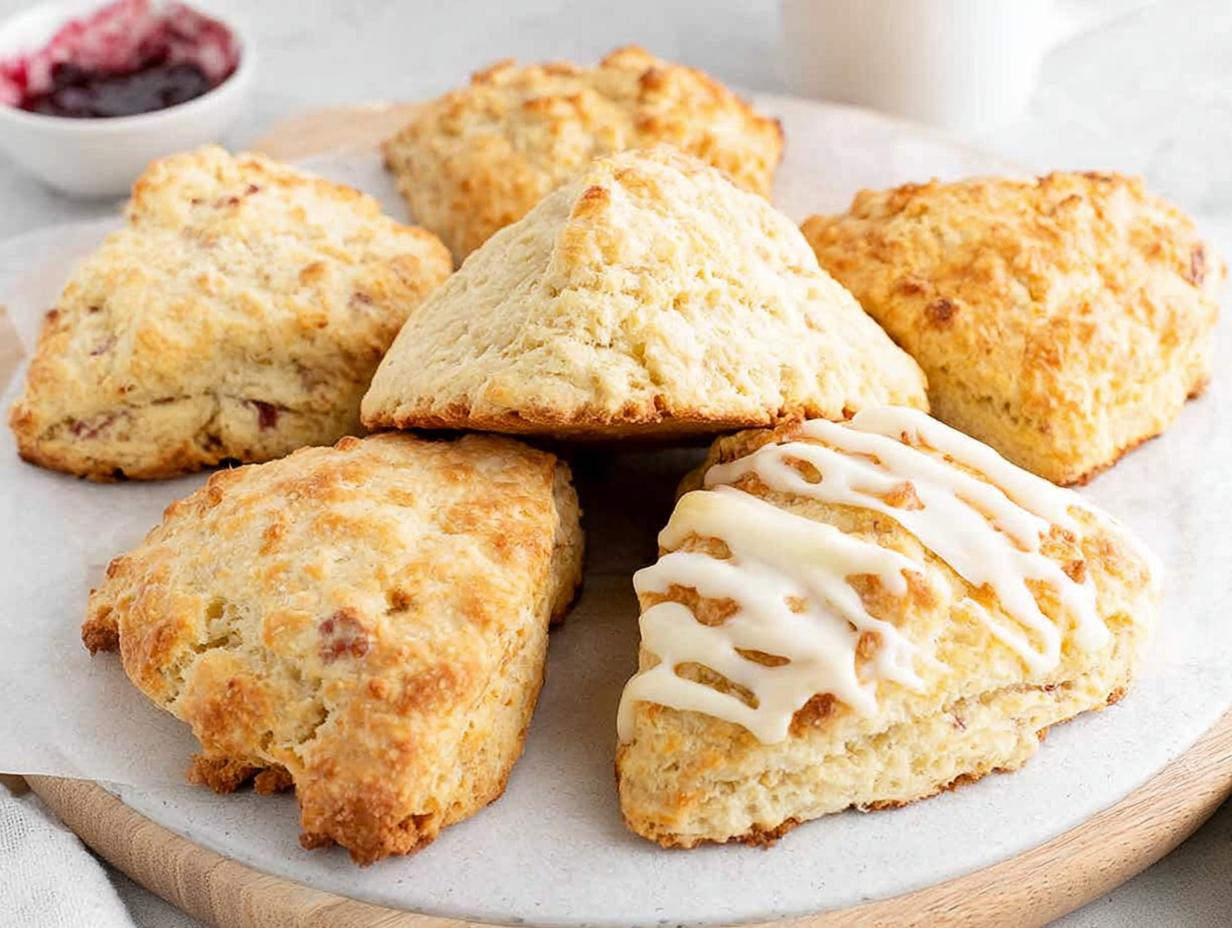
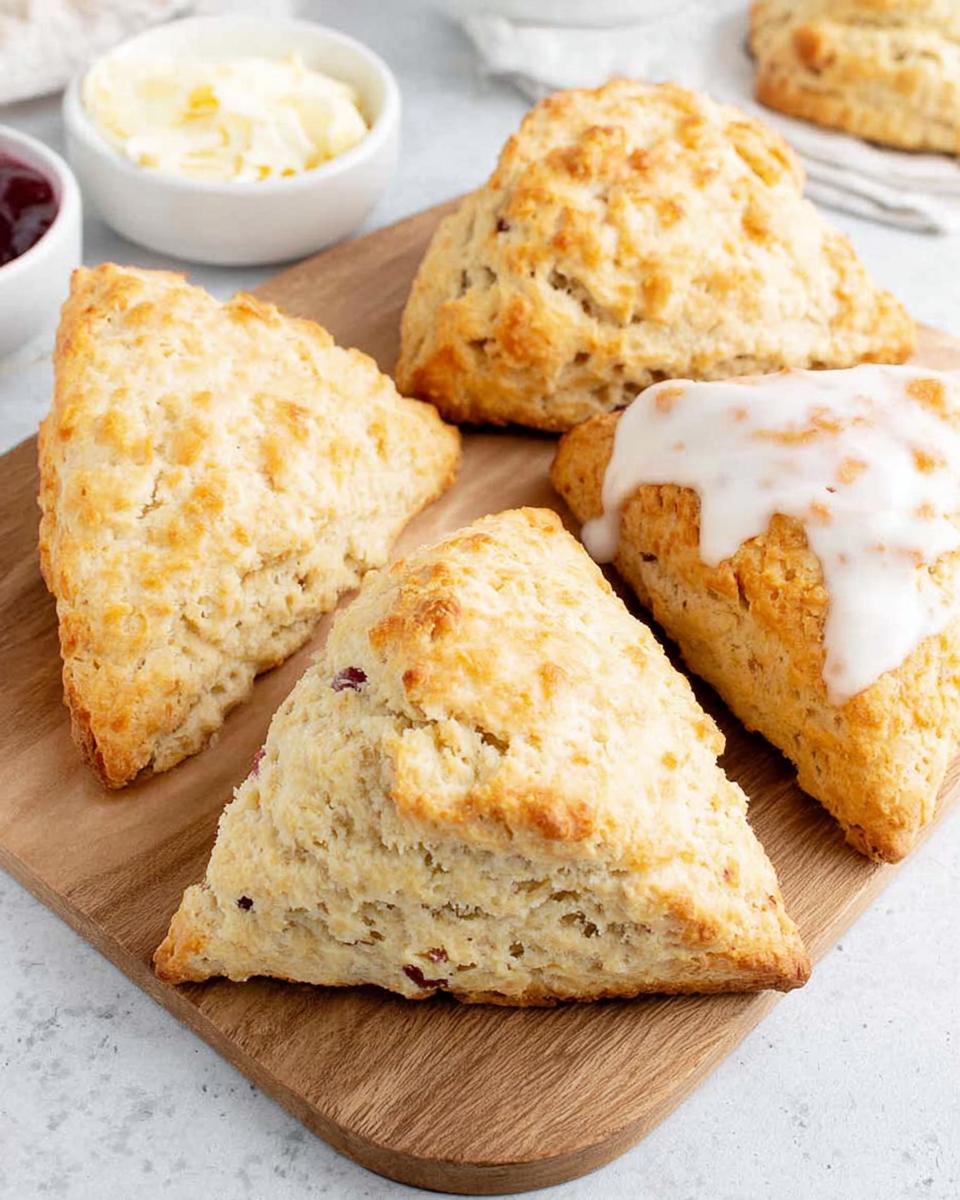
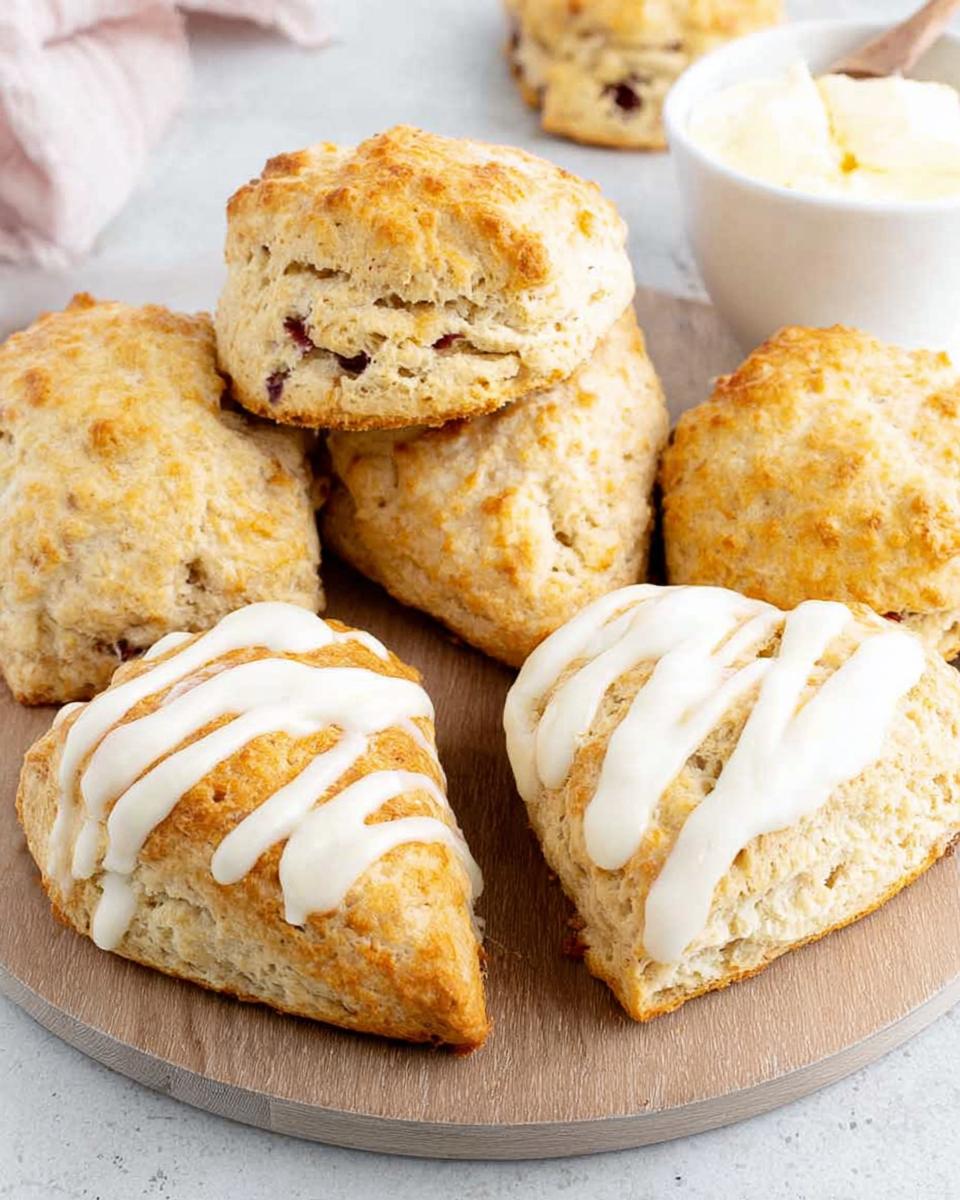
Forget dry, crumbly gluten-free disasters. These are tender, flaky, and bursting with flavor. My favorite part is that they actually taste like *real* scones!
Perfect for Breakfast or Dessert
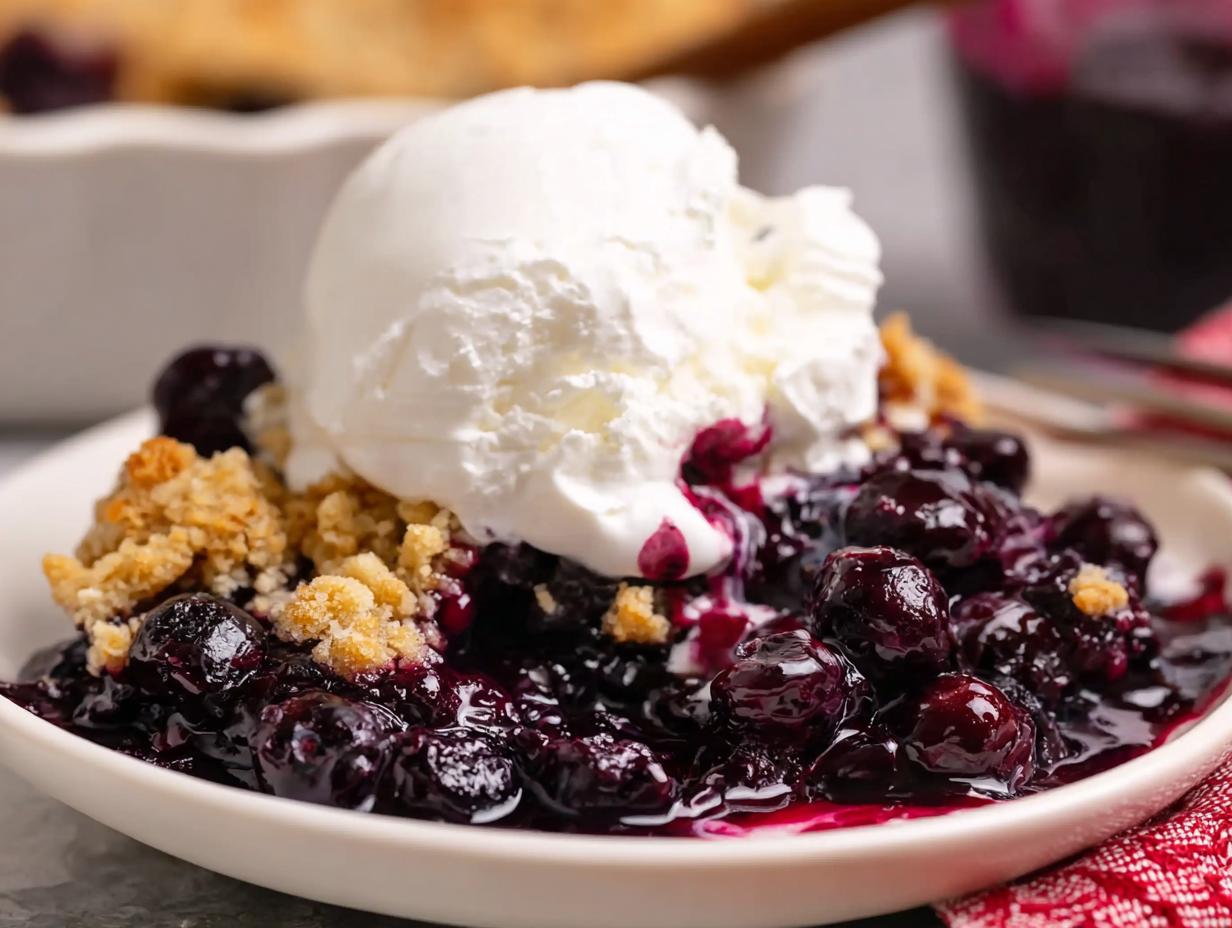
Need a quick breakfast? Done. Craving something sweet after dinner? Sorted! These Gluten-Free Scones are perfect anytime.
A Gluten-Free Scones Recipe That Actually Works
We’ve all been there – gluten-free recipes that just… fail. But trust me, this one WORKS. No weird textures, no gummy insides, just perfectly baked goodness.
Ingredients for the Best Gluten-Free Scones
Alright, let’s talk ingredients! Getting these right is KEY to amazing Gluten-Free Scones. Don’t worry, nothing too crazy – just gotta be precise. Here’s what you’ll need:
Gluten-Free Flour Blend
This is super important: you *need* a 1:1 gluten-free baking flour. The blends already have xanthan gum and stuff added, which is what we want! Trust me on this one.
Sweeteners for Gluten-Free Scones
Good ol’ granulated sugar works perfectly here. You’ll want ¼ cup (50g) – not too much, just enough sweetness.
Leavening and Salt
Baking powder is our friend! You’ll need 1 tablespoon. And don’t forget ½ teaspoon of kosher salt. It balances the sweetness, ya know?
Fat Content
Frozen butter is the secret weapon! 8 tablespoons (113g) to be exact. Freezing it is *crucial* for flaky scones, so don’t skip that step!
Mix-ins
Here’s where you get to be creative! Grab ⅓-½ cup of whatever you like – berries, chocolate chips, dried fruit… the possibilities are endless!
Wet Ingredients
For the wet stuff, you’ll need ⅔ cup of sour cream (makes ’em super tender!), 1 large egg, and 1 teaspoon of vanilla extract. Yum!
Topping
Sparkling sugar! It’s optional, but it adds a lovely little sparkle and crunch. I’m a sucker for it!
How to Make Gluten-Free Scones: Step-by-Step Instructions
Okay, ready to bake some amazing Gluten-Free Scones? I promise, it’s easier than you think! Just follow these steps, and you’ll be golden (literally!).
Preparing the Dry Ingredients for Gluten-Free Scones
First things first, grab a big bowl and whisk together 1 ½ cups of that gluten-free flour, ¼ cup of sugar, 1 tablespoon of baking powder, and ½ teaspoon of salt. Make sure it’s all mixed evenly – no pockets of baking powder allowed!
Incorporating the Butter
This is where the frozen butter comes in! Grate those 8 tablespoons using a box grater. Then, using a pastry cutter (or your fingers, if you’re feeling brave!), cut the butter into the flour until it looks like pea-sized crumbs. This is what makes ’em flaky!
Adding Mix-Ins to Your Gluten-Free Scones
Now for the fun part! Stir in your favorite mix-ins – about ⅓-½ cup. I love blueberries, but chocolate chips are always a win, too!
Combining Wet and Dry Ingredients
In a separate bowl, whisk together ⅔ cup of sour cream, 1 egg, and 1 teaspoon of vanilla. Then, gently stir this into the dry ingredients until *just* combined. Don’t overmix! It’s okay if there are a few streaks of flour.
Shaping and Chilling the Dough for Gluten-Free Scones
Spread out some plastic wrap, and with wet hands (this is important!), transfer the dough to the wrap. Pat it into a 6-inch round, about 1-inch thick. Wrap it up tight and chill in the fridge for 20-30 minutes, then pop it in the freezer for 15. This chilling is KEY for those perfect scones!
Baking Your Perfect Gluten-Free Scones
Preheat your oven to 500°F (yes, really!). Line a baking sheet with parchment paper. Take the dough out of the freezer, spray a knife with cooking spray, and cut it into 6 wedges. Arrange them on the sheet, sprinkle with sparkling sugar (if you’re using it), and bake for 12-14 minutes, but *immediately* lower the oven temp to 425°F as soon as you put the scones in. Bake until golden brown. Enjoy!
Tips for Perfect Gluten-Free Scones Every Time
Want your Gluten-Free Scones to be *amazing* every single time? Of course, you do! Here are a few little secrets I’ve learned along the way:
Using Frozen Butter for Flaky Gluten-Free Scones
Seriously, people, FREEZE that butter! Cold butter = flaky scones. As it melts in the oven, it creates little pockets of steam that give you that amazing texture. Don’t even think about using softened butter!
Don’t Overmix the Dough for Gluten-Free Scones
I know, I know, it’s tempting to mix until everything’s perfectly smooth. But trust me on this one: don’t! Overmixing develops the gluten (even in gluten-free flour!), and you’ll end up with tough, chewy scones. Yuck!
The Importance of Chilling the Dough for Gluten-Free Scones
Chilling the dough is *not* optional! It helps the butter stay cold, prevents the scones from spreading too much in the oven, and gives them a better texture. So, be patient and let that dough chill!
Gluten-Free Scones Variations to Try
Okay, so you’ve mastered the basic Gluten-Free Scones recipe? Awesome! Now it’s time to get creative! These scones are like a blank canvas, ready for your flavor masterpieces. Here are a few ideas to get you started:
Fruity Gluten-Free Scones
Berries are a classic! Blueberries, raspberries, strawberries… yum! You could also try dried cranberries or chopped apricots. A little lemon or orange zest is *amazing* too!
Savory Gluten-Free Scones
Who says scones have to be sweet? Add some shredded cheddar cheese, chopped chives, and a pinch of garlic powder for a savory treat. Trust me, they’re addictive!
Chocolate Chip Gluten-Free Scones
Because chocolate makes everything better, right? Use your favorite chocolate chips (milk, dark, or even white chocolate!), or chop up a chocolate bar for extra decadence.
Storing and Reheating Your Gluten-Free Scones
So, you’ve baked a batch of these amazing Gluten-Free Scones, but you can’t eat them all at once? (I mean, I *could*, but I try not to!). Here’s how to keep them fresh and delicious:
How to Store Leftover Gluten-Free Scones
Pop those leftover scones into an airtight container. Then, stick ’em in the fridge. They’ll stay good for about 2-3 days. Easy peasy!
Reheating Gluten-Free Scones for Best Results
Want that “fresh from the oven” taste again? I get it! You can warm them up in a low oven (300°F) for a few minutes. Or, if you’re in a hurry, a quick zap in the microwave works too. Just be careful not to overdo it, or they’ll get a bit tough.
Frequently Asked Questions About Gluten-Free Scones
Got questions about making these Gluten-Free Scones? I got you! Here are a few answers to the most common questions I get asked. Hopefully, this helps!
Can I use a different gluten-free flour blend for these Gluten-Free Scones?
Okay, so while I *highly* recommend a 1:1 blend (it just works best!), you *can* experiment. Just be aware that different blends have different textures and might need more or less liquid. You might have to play around with the amount of sour cream a little to get the right consistency. Just watch the dough!
How do I prevent my Gluten-Free Scones from being dry?
Moisture is KEY! That’s why the sour cream is so important. Also, don’t overbake them! Check them frequently towards the end of the baking time, and take them out as soon as they’re golden brown. A toothpick inserted into the center should come out with just a few moist crumbs.
Can I make these Gluten-Free Scones ahead of time?
Yep! You can totally make the dough ahead of time and keep it wrapped tightly in the fridge for up to 24 hours. Or, you can even freeze the unbaked scones for up to a month. Just thaw them in the fridge overnight before baking. Easy peasy!
Estimated Nutritional Information for Gluten-Free Scones
Okay, so here’s the deal: I’m no nutritionist, but each Gluten-Free Scone’s roughly around 300 calories, 15g fat, 5g protein, and 40g carbs. Keep in mind, it’s just an estimate!
Enjoy Your Homemade Gluten-Free Scones!
There you have it! I hope you love these Gluten-Free Scones as much as my family does! Let me know in the comments what you think, and be sure to share your creations!
Print
Foolproof Gluten-Free Scones: End Your Baking Fears
- Prep Time: 20 minutes
- Cook Time: 14 minutes
- Total Time: 69 minutes
- Yield: 6 scones 1x
- Category: Baked Goods
- Method: Baking
- Cuisine: American
- Diet: Gluten Free
Description
Easy to make Gluten-Free Scones recipe.
Ingredients
- 1 ½ cups (240g) gluten-free 1:1 baking flour
- ¼ cup (50g) granulated sugar
- 1 tablespoon baking powder
- ½ teaspoon kosher salt
- 8 tablespoons (113g) butter frozen
- ⅓–½ cup mix-ins of choice
- ⅔ cup sour cream
- 1 large egg
- 1 teaspoon vanilla extract
- sparkling sugar for topping
Instructions
- In a large mixing bowl, whisk together the gluten-free flour, sugar, baking powder and salt.
- Grate the frozen butter using a box grater. Add the butter to the flour mixture and combine with a pastry cutter, two forks, or your fingers until the mixture resembles pea-sized crumbs.
- Stir the mix-ins into the flour mixture until evenly distributed.
- In a separate bowl, whisk together the sour cream, egg and vanilla until well-combined.
- Using a rubber spatula, stir the sour cream mixture into the flour mixture until no dry bits of flour remain.
- Spread out a large piece of plastic wrap. Using wet hands, transfer the dough to the plastic wrap. Clean and wet your hands again then pat the dough to form a 6-inch round that is 1-inch thick.
- Wrap the dough tightly in plastic wrap and refrigerate for 20-30 minutes. Then freeze for 15 minutes.
- Preheat the oven to 500°F. Line a large baking sheet with parchment paper or a silicone baking mat.
- Take the dough out of the freezer. Spray a sharp knife with cooking spray and cut the dough into 6 equal wedges. Arrange the scones on the prepared baking sheet. Sprinkle with coarse sugar, if desired.
- Place the scones in the oven, then immediately lower the oven temperature to 425°F. Bake for 12-14 minutes until golden brown.
- Remove from the oven. Transfer the scones to a wire rack and let cool for 20 minutes before serving.
Notes
- Adjust sugar for savory scones.
- Use frozen butter for best results.
- Refrigerate and freeze dough as instructed.
Nutrition
- Serving Size: 1 scone
- Calories: 300
- Sugar: 15g
- Sodium: 300mg
- Fat: 15g
- Saturated Fat: 10g
- Unsaturated Fat: 4g
- Trans Fat: 0g
- Carbohydrates: 40g
- Fiber: 2g
- Protein: 5g
- Cholesterol: 50mg