

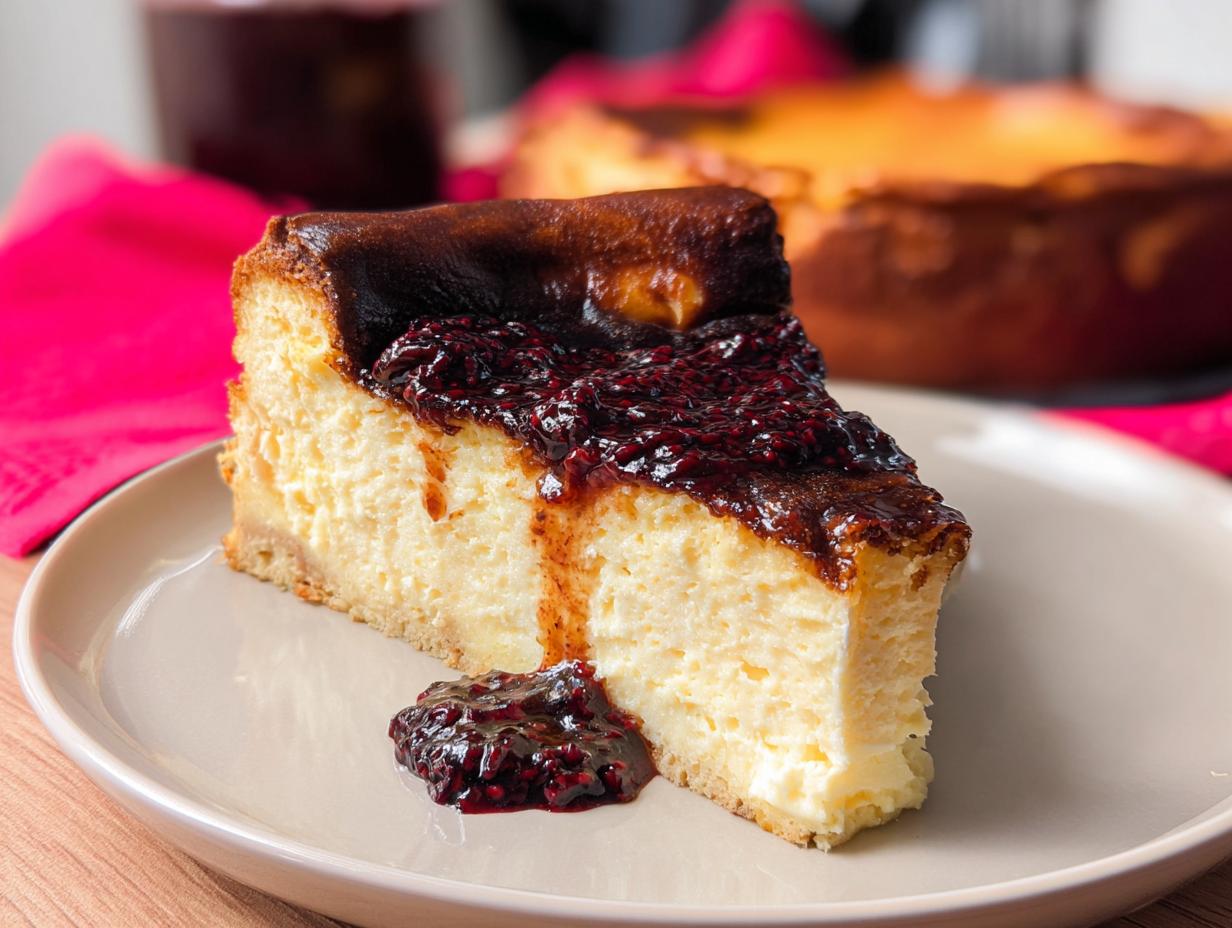
Okay, friends, let me tell you about the *easiest* fancy dessert you’ll ever make: Basque Cheesecake! Seriously, if you can stir, you can nail this. I know, I know, “cheesecake” sounds intimidating, right? But trust me, this isn’t your average fussy cheesecake. This one is *supposed* to look a little… rough around the edges.
The best part? That “burnt” top! Don’t freak out – it’s not burnt, it’s caramelized to perfection. That dark top gives it this amazing bittersweet flavor that balances the super creamy inside *perfectly*. Seriously, it’s like the creme brûlée of cheesecakes.
I first had this at a tiny little tapas bar on vacation, and I was hooked. I HAD to recreate it. And guess what? It’s ridiculously simple. This Basque Cheesecake recipe is so forgiving, you almost can’t mess it up. So ditch the water bath, forget about cracking, and get ready for the most delicious, effortlessly impressive dessert. You’re gonna love this!
Why You’ll Love This Basque Cheesecake
Okay, so why *this* Basque Cheesecake recipe? Let me tell you:
- No Crust, No Fuss! Seriously, ditch the graham crackers. This is all about that creamy center, baby!
- Easiest Cheesecake Ever! Forget water baths and complicated steps. This recipe is practically foolproof. I promise!
- Dreamy Creamy Texture: We’re talking melt-in-your-mouth, cloud-like perfection. Seriously, it’s *that* good.
- That “Burnt” Top = Flavor Bomb: Don’t be scared! That dark top gives it this amazing, unique, almost caramel-y flavor that’s totally addictive. My favorite part is that contrast between the top and the inside!
- Impressive Dessert, Zero Effort: Wanna wow your friends? This looks like you spent hours, but shhh… it’s our little secret how easy it is.
- Super Forgiving Recipe: A few lumps? A little unevenness? Doesn’t matter! This cheesecake is meant to be rustic and imperfect. Yay!
Ingredients for Your Basque Cheesecake
Alright, let’s gather our goodies! Here’s what you’ll need to make this magical Basque Cheesecake happen. Pay attention to these details – they matter!
- 32 ounces (908g) cream cheese, room temperature and full-fat *ONLY*! Seriously, don’t even think about using low-fat. And room temp is key – we don’t want any lumps!
- 1 1/2 cups (300g) granulated sugar. Just your regular white sugar here. Nothing fancy needed.
- 5 large eggs, room temperature. Room temperature eggs incorporate better, trust me on this.
- 1 1/2 cups (360mL) heavy cream, room temperature. Again, room temperature is important! And make sure it’s *heavy* cream, not half-and-half.
- 1 tablespoon vanilla extract. The good stuff! Don’t skimp on the vanilla, it adds so much flavor.
- 1 teaspoon salt. Just a pinch to balance the sweetness. Don’t skip it!
- 1/3 cup all-purpose flour, sifted. Sifting helps prevent lumps. Who wants lumpy cheesecake? Not me!
That’s it! See? Nothing too crazy. Now, let’s get baking!
How to Make Basque Cheesecake: Step-by-Step Instructions
Okay, pay close attention! This looks like a lot of steps, but I promise, it’s mostly just waiting. Let’s do this!
Preparing the Pan for Basque Cheesecake
First things first: preheat that oven to 425 degrees F! Now, the pan. You’ll need a 9 or 10-inch springform pan. The *secret* to lining it? Parchment paper! But here’s the trick: you need a double layer, criss-crossed. And get this – wet, scrunch, and *then* dry the parchment! Seriously, this makes it SO much easier to mold into the pan. You want the parchment sticking up about 2 inches above the top of the pan – this helps support the cheesecake as it bakes and gives it that rustic look. Trust me, don’t skip this step, or you’ll have a mess!
Mixing the Basque Cheesecake Batter
Alright, now for the fun part! In a large bowl (or your stand mixer – I love my KitchenAid!), whip that 32 ounces of cream cheese for about 2 minutes. We want it nice and smooth. Next, add in the 1 1/2 cups of granulated sugar, mixing on medium speed for another 2 minutes. Make sure you scrape down the sides of the bowl! We don’t want any sugary lumps hiding in there. Now, the eggs! Add them one at a time, mixing on *low* speed. And here’s a little tip: make sure almost all of the yellow from the last egg is mixed in before you add the next one. We don’t want to overmix, okay? With the mixer still on low, pour in the 1 1/2 cups of heavy cream, the tablespoon of vanilla extract, and the teaspoon of salt. Mix until everything is just combined. Finally, sift in the 1/3 cup of all-purpose flour – this helps prevent lumps! Mix it in for about 20 seconds. Don’t overmix at this stage, just until it’s combined.
Baking Your Basque Cheesecake to Perfection
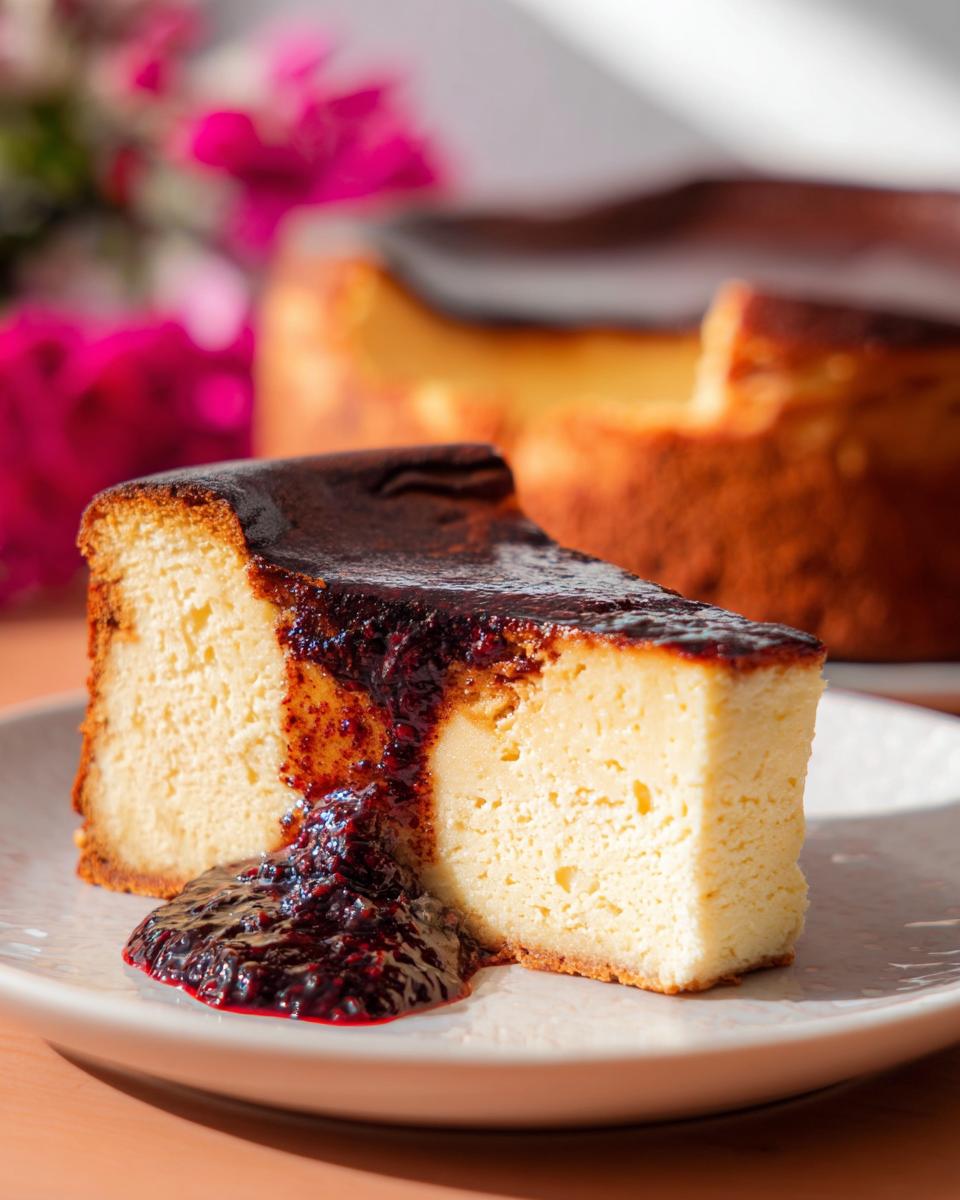
Carefully pour that beautiful batter into your prepared pan. Now, place the pan on a rimmed baking sheet (this is important in case of leaks!) and pop it into the oven. Bake for 50 to 65 minutes. Here’s what you’re looking for: the top should be a gorgeous golden brown, almost “burnt” looking, and the center should still be pretty jiggly. Don’t worry, it’ll firm up as it cools! It’s totally normal for the cheesecake to puff up while baking and then sink back down as it cools. Don’t panic! That’s exactly what we want.
Cooling and Chilling the Basque Cheesecake
Once it’s done baking, take it out of the oven and let it cool completely on a wire rack. Then – and this is crucial – put it in the fridge to chill for at least 8 hours, but overnight is even better. This is when the magic happens! The chilling is what gives it that perfect creamy texture. Don’t rush this step!
Serving Your Perfect Basque Cheesecake
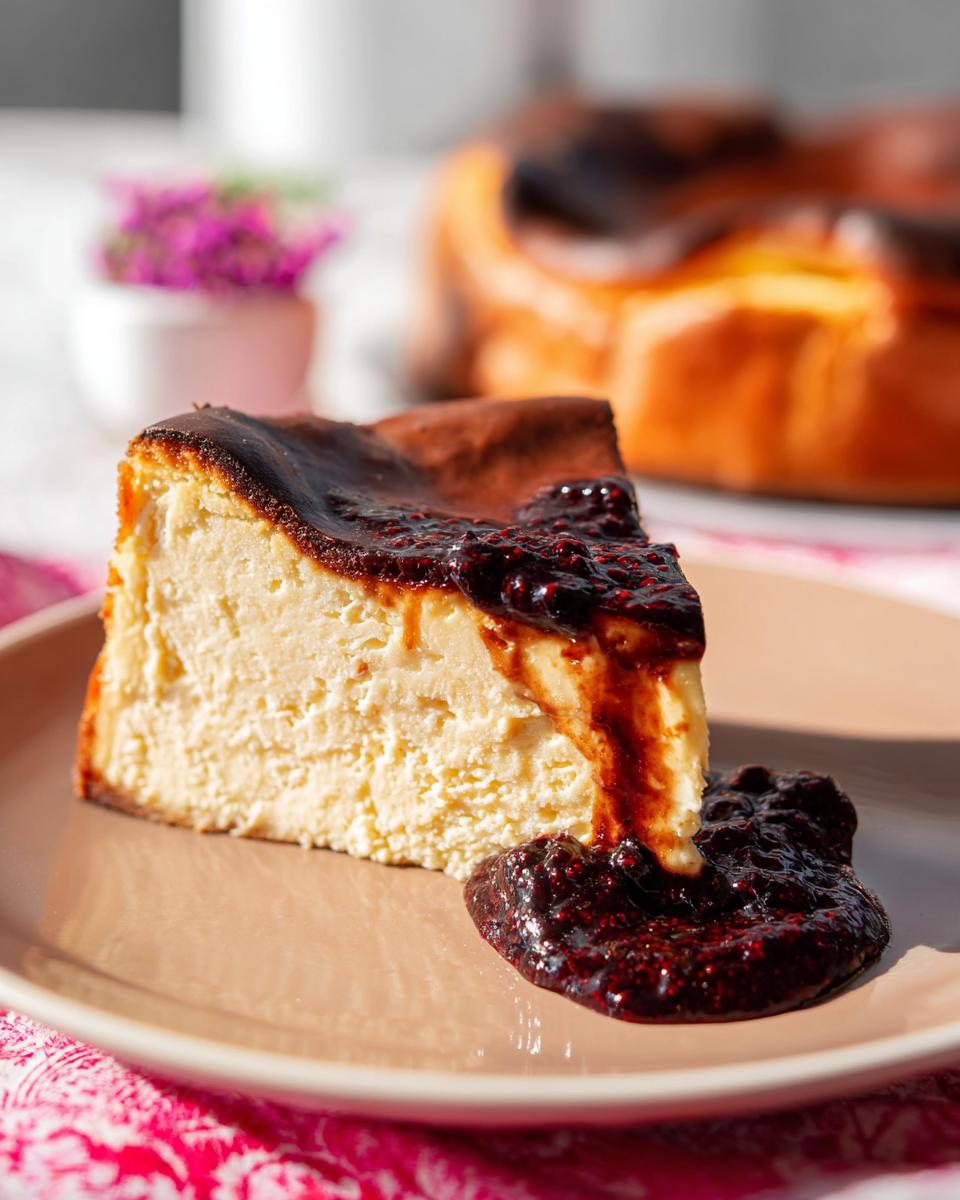
Okay, the waiting is the hardest part, but now it’s time to eat! Take the cheesecake out of the fridge about 1 to 2 hours before serving – it’s best served at room temperature. Use the parchment paper edges to gently lift the cheesecake out of the pan. For super clean slices, heat a big knife under hot water before each cut. Serve it plain – it’s amazing on its own! – or top it with your favorite fruit compote, chocolate sauce, anything goes, really!
Tips for the Best Basque Cheesecake
Want to take your Basque Cheesecake game to the *next level*? Here are a few little things I’ve learned along the way:
- Cream Cheese is KEY! Seriously, make *sure* that cream cheese is truly room temperature. If it’s even a little cold, you’ll end up with lumps, and nobody wants that. I usually take mine out like, an hour or two before I start.
- Don’t Overmix! I know I keep saying it, but it’s *so* important. Overmixing develops gluten, and that’s the enemy of creamy cheesecake. Mix just until everything is combined.
- Parchment Paper Pro! Seriously, wetting and scrunching that parchment paper makes a HUGE difference. It’ll be so much easier to mold into the pan, I promise. Plus, that extra parchment sticking up helps create that beautiful rustic look. I’ve tried it without doing that and it’s just not the same!
- Trust Your Gut (and the Jiggle!) Don’t be afraid of that “burnt” top! That’s where all the flavor is. And remember, the center should still be jiggly when you take it out of the oven. It’ll firm up as it cools, I swear!
- Patience, Grasshopper! I know it’s hard, but that chilling time is *essential* for the perfect texture. Don’t even think about slicing into it before it’s had a good 8 hours (or overnight!) in the fridge. Trust me, it’s worth the wait!
Basque Cheesecake Variations
Okay, so you’ve mastered the basic Basque Cheesecake (and I know you have!). Now, let’s get a little crazy and mix things up! Here are a few ideas to get your creative juices flowing:
- Citrus Zest Zing! My *absolute favorite* is adding the zest of one orange or lemon to the batter. It gives it this bright, fresh flavor that’s just amazing. You could even add a little juice!
- Chocolate Swirl Sensation! Melt some dark chocolate (like, a few ounces) and swirl it into the batter before baking. Don’t overmix! You want ribbons of chocolate, not a completely chocolate cheesecake. Trust me, it’s divine!
- Spiced Up! Add a teaspoon of cinnamon, nutmeg, or even a little bit of ginger to the batter for a warm, cozy vibe. Perfect for fall!
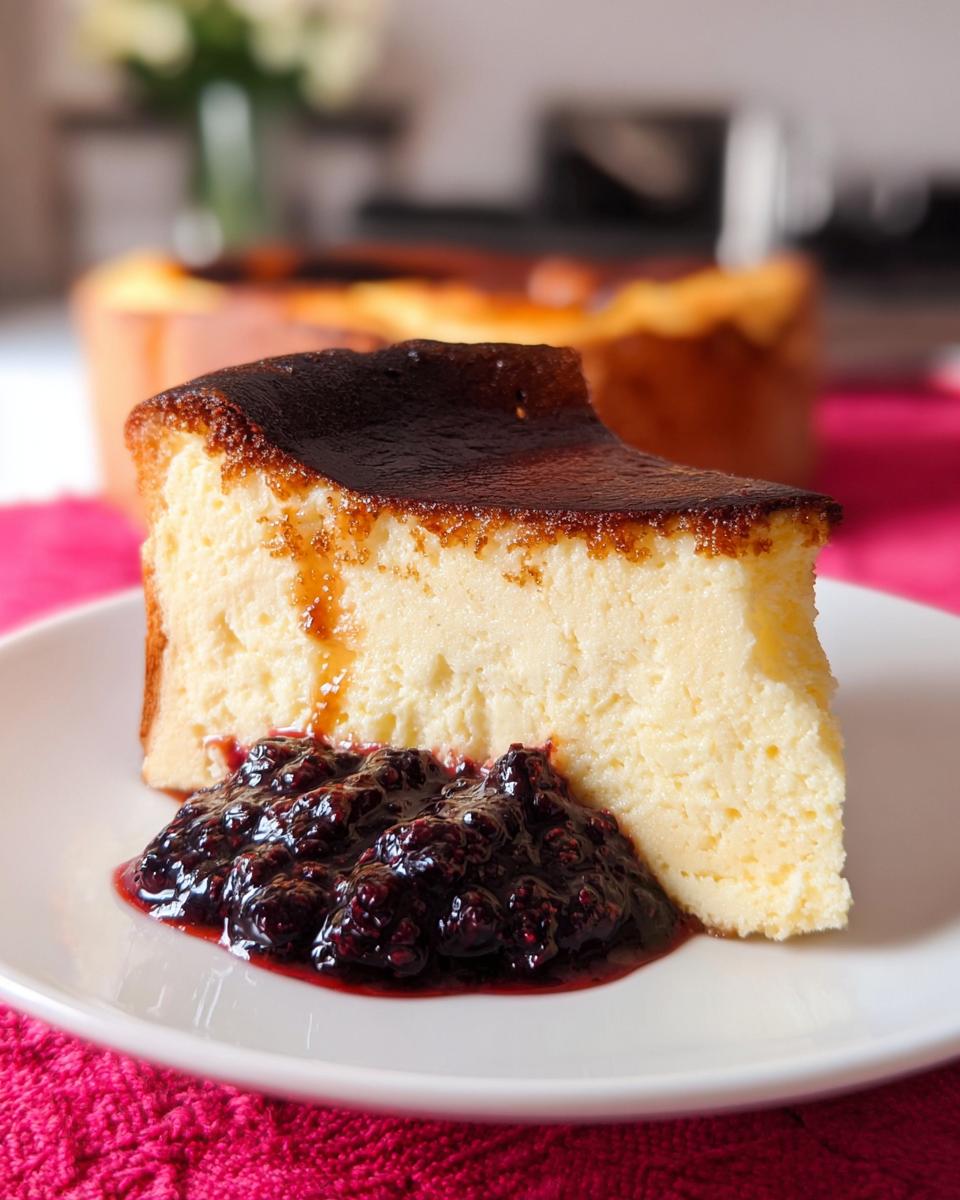
- Berry Good! Swirl in some berry compote (raspberry or blueberry are my go-tos) before baking, or top the finished cheesecake with fresh berries. So pretty and delicious!
- Espresso Yourself! Add a tablespoon or two of instant espresso powder to the batter for a coffee-flavored kick. Coffee and cheesecake? Yes, please!
Seriously, the possibilities are endless! Don’t be afraid to experiment and make it your own. And hey, if you come up with something amazing, let me know in the comments!
Frequently Asked Questions About Basque Cheesecake
Got questions? I got answers! Here are a few of the most common things people ask me about Basque Cheesecake:
What makes Basque Cheesecake different?
Okay, so the *big* thing is that “burnt” top! Seriously, that’s what makes it a Basque Cheesecake and not just any old cheesecake. Also, it’s crustless! Yep, no graham cracker crust here. It’s all about that super creamy interior and that amazing caramelized flavor from the top. It’s kinda like the rebel of the cheesecake world, and I’m here for it!
Can I use a different size pan for this Basque Cheesecake Recipe?
You *can*, but it’ll affect things a bit. If you use a smaller pan, your cheesecake will be taller and might need a little extra baking time. If you use a bigger pan, it’ll be thinner and might bake a little faster. Keep an eye on it! The key is that jiggly center and that nice dark top. Honestly, I’d stick with a 9 or 10-inch pan for the best results, but if you’re feeling adventurous, go for it! Just watch it like a hawk, okay?
How do I prevent my Basque Cheesecake from cracking?
Cracking? Don’t sweat it! Basque Cheesecake is *supposed* to look a little rustic. But if you’re really worried about it, the biggest culprit is usually overbaking. Make sure you take it out when the center is still jiggly! Also, sudden temperature changes can cause cracking too. Try to let it cool gradually on the counter before you put it in the fridge. But honestly? A few cracks just add character!
Can I freeze Basque Cheesecake?
Yep, you totally can! If you want to freeze it, wrap it really well in plastic wrap and then in aluminum foil. It’ll keep in the freezer for up to 3 months. When you’re ready to eat it, thaw it in the fridge overnight. It might lose a little bit of that super creamy texture, but it’ll still be delicious! I like to slice it before freezing so I can just grab a piece whenever I want a little treat.
Storing and Reheating Your Basque Cheesecake
Okay, so you’ve made this amazing Basque Cheesecake, and somehow, you have leftovers (lucky you!). Here’s how to keep it fresh and delicious:
First, pop it in the fridge! It’ll keep for up to a week, covered, of course. I usually just put the whole springform pan in a big ziplock bag – easy peasy! And remember, this cheesecake is best served at room temperature, so take it out of the fridge an hour or two before you want to dig in. That’s key!
Now, reheating… Honestly, I rarely reheat it. It’s so good cold (or, more accurately, room temp!) that I just grab a slice straight from the fridge. But if you *really* want to warm it up, do it gently! Pop a slice in the microwave for like, 10-15 seconds max. You don’t want it to get all melty and weird. Or, even better, just let it sit out at room temperature for a bit. Patience is a virtue, my friends!
Nutritional Information for Basque Cheesecake
Okay, let’s talk numbers! Now, this is just an *estimate*, okay? It’ll depend on the exact ingredients you use and how big you slice it. But here’s a rough idea of what you’re looking at per slice (and we’re assuming 12 slices per cheesecake here!):
- Serving Size: 1 slice
- Calories: Around 450 (yeah, it’s a treat!)
- Sugar: Roughly 30g (told ya!)
- Sodium: About 200mg
- Fat: Around 35g (but it’s the *good* kind of fat… mostly!)
- Saturated Fat: About 20g
- Unsaturated Fat: Around 10g
- Trans Fat: Maybe 1g (watch out for those!)
- Carbohydrates: Around 30g
- Fiber: Like, 1g (don’t expect a health food here!)
- Protein: About 8g (every little bit helps, right?)
- Cholesterol: Around 200mg
So, yeah, it’s not exactly a health food. But hey, life’s too short to skip dessert! Just enjoy it in moderation, and savor every single delicious bite. It’s all about balance, right?
Enjoyed This Basque Cheesecake Recipe?
So, did you love it? I *hope* you did! If you made this Basque Cheesecake, I wanna hear all about it! Seriously, leave a comment below and tell me how it turned out. Did you try any fun variations? Did you impress your friends and family? Spill the beans!
And hey, if you *really* loved it (and I know you did!), give it a rating! Those little stars really help other people find this recipe, and it makes me feel all warm and fuzzy inside. Plus, you can share it on social media! Tag me (@YourSocialMediaHandle – just pretend!), so I can see your beautiful creations. Let’s spread the Basque Cheesecake love!
Happy baking, friends! And remember, life’s too short for boring desserts!
Print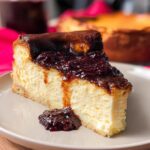
Easiest Basque Cheesecake: 7 Ingredients, Zero Stress
- Prep Time: 15 minutes
- Cook Time: 1 hour
- Total Time: 11 hours 15 minutes
- Yield: 12 servings 1x
- Category: Dessert
- Method: Baking
- Cuisine: Spanish
- Diet: Vegetarian
Description
This is a recipe for Basque Cheesecake, a crustless cheesecake known for its burnt top and creamy interior.
Ingredients
- 32 ounces (908g) cream cheese, room temperature and full-fat only
- 1 1/2 cups (300g) granulated sugar
- 5 large eggs, room temperature
- 1 1/2 cups (360mL) heavy cream, room temperature
- 1 tablespoon vanilla extract
- 1 teaspoon salt
- 1/3 cup all-purpose flour, sifted
Instructions
- Preheat the oven to 425 degrees F and line a 9 or 10-inch springform pan with a criss-crossed double layer of parchment paper. Wetting, scrunching, and drying the parchment paper will make it easier to work with. You want the parchment to stick up about 2 inches above the top of the pan. Set aside.
- In a large bowl or stand mixer fitted with a whisk attachment, whip the 32 ounces cream cheese for 2 minutes.
- Add 1 1/2 cups granulated sugar on medium speed until smooth, about 2 minutes. Scrape down the sides as necessary and make sure no lumps remain.
- Add 5 large eggs one at a time, mixing on low speed. Ensure only a little yellow remains from the previous egg before adding the next.
- With the mixer on low speed, add in 1 1/2 cups heavy cream, 1 tablespoon vanilla extract, and 1 teaspoon salt and mix until fully incorporated.
- Sift the 1/3 cup all-purpose flour into the mixing bowl and mix in the flour for about 20 seconds.
- Pour the cheesecake batter into the prepared pan.
- Place the cheesecake on a rimmed baking sheet on the middle oven rack and bake for 50 to 65 minutes. The cheesecake will puff up when baking and then sink when it cools, this is normal. The cheesecake is done once the top has turned a nice golden brown, and the center is still pretty jiggly. It will continue to brown as it cools, and the center of the cheesecake will set up once chilled.
- Transfer the cheesecake in the pan to a wire rack to cool to room temperature.
- Transfer the cheesecake in the pan to the refrigerator to chill for at least 8 hours, preferably overnight. Remove the cheesecake from the refrigerator 1 to 2 hours before slicing and serving. Use the parchment edges to lift the cheesecake off of the pan base.
- For super clean cheesecake slices, heat a large chef knife under hot water and slice the cheesecake.
- Serve plain or topped with fruit compote or your favorite cheesecake topping.
Notes
- If you have farm fresh double cream available locally, use that in place of regular heavy cream.
- Do not remove the cheesecake from the pan until it has completely cooled.
- This cheesecake should be served at room temperature but stored in the refrigerator.
- Store in the refrigerator for up to 1 week.
- Pay attention to the mixing speeds and time. You do not want to overwhip the eggs or cream.
- You can freeze this cheesecake for up to 3 months. Wrap with plastic wrap and aluminum foil.
- This cheesecake recipe is extremely forgiving and is meant to have an imperfect and rustic look.
- You can increase or reduce the sugar depending on the sweetness level desired.
Nutrition
- Serving Size: 1 slice
- Calories: 450
- Sugar: 30g
- Sodium: 200mg
- Fat: 35g
- Saturated Fat: 20g
- Unsaturated Fat: 10g
- Trans Fat: 1g
- Carbohydrates: 30g
- Fiber: 1g
- Protein: 8g
- Cholesterol: 200mg






