

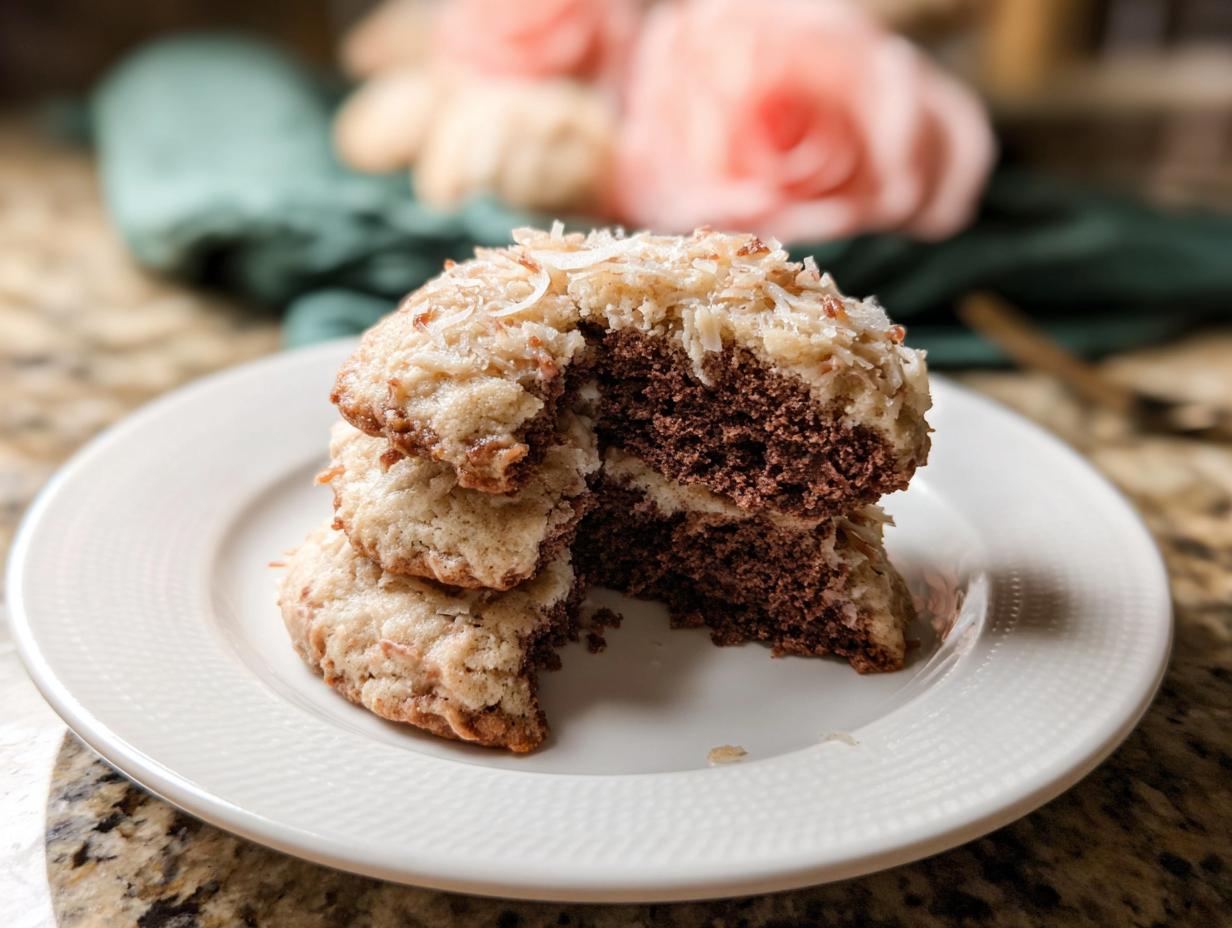
Okay, friends, let’s talk cookies! I’m not usually one for “healthy” desserts, but trust me on this one. These Cocoa Chickpea Cookies with Banana are seriously mind-blowing. I stumbled upon the recipe when I was trying to use up some leftover chickpeas (don’t judge!). I thought, “Cocoa Chickpea Cookies with Banana? No way!” But WOW, was I wrong. They’re soft, chocolatey, and almost fudge-like. You honestly can’t taste the chickpeas, I swear! They’re now a staple in our house. Even my picky kids gobble them up. Seriously, you HAVE to try these!
Why You’ll Love These Cocoa Chickpea Cookies with Banana
Okay, so aside from the fact that they taste amazing, here’s why you’re gonna be obsessed:
- They’re actually kinda healthy!
- Naturally sweetened – no refined sugar here!
- Super easy to whip up.
- They’re gluten-free, if you’re into that kinda thing.
- And, most importantly, even the kiddos love ’em!
Health Benefits of Cocoa Chickpea Cookies with Banana
Seriously, you can feel good about eating these! The chickpeas give you a boost of fiber (bye-bye, tummy rumbles!), and the banana is packed with potassium. Plus, that cocoa powder? It’s loaded with antioxidants! I mean, they’re still cookies, but way better for you than the usual sugar bombs, you know?
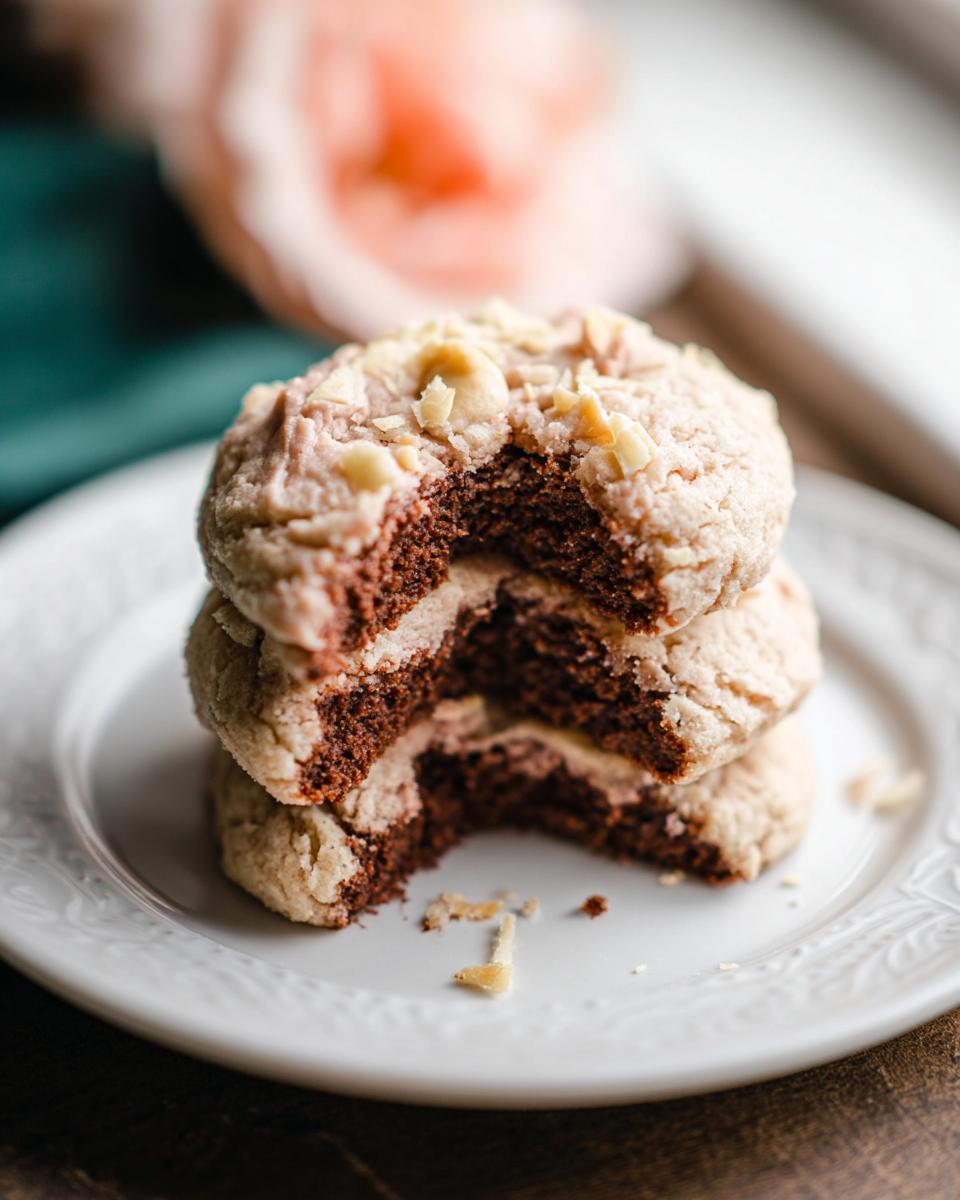
Ingredients for Cocoa Chickpea Cookies with Banana
Alright, let’s gather our goodies! Here’s what you’ll need to make these magical cookies:
- 1 can (15 ounces) chickpeas, drained and rinsed. (Don’t skip the rinsing, trust me!)
- 1 ripe banana, mashed. (The riper, the sweeter!)
- 1/4 cup unsweetened cocoa powder. (For that chocolatey goodness!)
- 1/4 cup peanut butter. (Or any nut butter you like!)
- 1/4 cup honey. (Agave or maple syrup works too!)
- 1 teaspoon vanilla extract. (Adds that little somethin’ somethin’!)
- 1/2 teaspoon baking soda. (Helps ’em rise!)
- 1/4 teaspoon salt. (Balances the sweetness!)
- 1/4 cup chocolate chips. (Because, duh!)
How to Make Cocoa Chickpea Cookies with Banana
Ready to get baking? This is the fun part! The process is super simple, I promise. We’re basically just mashing, mixing, and baking our way to cookie heaven. Don’t forget to preheat that oven – it’s important!
Step-by-Step Instructions for Perfect Cocoa Chickpea Cookies with Banana
- First things first: Preheat your oven to 350°F (175°C). This is key! You don’t want to put your cookies in a cold oven.
- Grab a large bowl and mash that banana! Get all your frustrations out, haha! Make sure there aren’t any big chunks left.
- Now, add those drained and rinsed chickpeas to the bowl with the mashed banana. Get ready for a little arm workout! Mash them together until it’s relatively smooth. It’s okay if it’s not PERFECTLY smooth, a little texture is fine.
- Next, stir in the cocoa powder, peanut butter, honey, vanilla extract, baking soda, and salt. Make sure everything is well combined.
- Okay, almost there! Gently fold in the chocolate chips. Don’t overmix! We want those chocolate chips to stay nice and chunky.
- Grab a baking sheet and line it with parchment paper. This will prevent the cookies from sticking and make cleanup a breeze.
- Drop the cookie dough by rounded tablespoons onto the prepared baking sheet. Give them a little space, they’ll spread a bit.
- Bake for 10-12 minutes, or until the edges are set. Keep a close eye on them, you don’t want to overbake these!
- Let the cookies cool on the baking sheet for a few minutes before transferring them to a wire rack to cool completely. This is important! If you try to move them too soon, they might fall apart.
Tips for the Best Cocoa Chickpea Cookies with Banana
Wanna take these cookies from good to AMAZING? Here are a few of my secret weapons:
- Don’t overbake them! Slightly underbaked is better than overbaked. You want them to be soft and fudgy.
- Use a really ripe banana. It’ll add more sweetness and moisture.
- Make sure your chickpeas are well-drained. Nobody wants soggy cookies!
- Adjust the sweetness to your liking. If you like your cookies sweeter, add a little more honey.
- Store these in an airtight container. They’ll stay fresh for a few days (if they last that long!).

Variations of Cocoa Chickpea Cookies with Banana
Okay, so you’ve mastered the basic recipe? Let’s get a little crazy and mix things up! These cookies are like a blank canvas, ready for your creative touch. Seriously, the possibilities are endless! Here are a few ideas to get you started:
- Add some chopped nuts! Walnuts or pecans would be amazing.
- Throw in some dried fruit! Raisins or cranberries would add a nice chewy texture.
- Spice things up! A little cinnamon or nutmeg would give these cookies a warm, cozy vibe.
- Try a different nut butter! Almond butter or cashew butter would be delicious.
Make it Vegan Cocoa Chickpea Cookies with Banana
Want to make these cookies vegan? No problem! Just swap the honey for maple syrup (it works perfectly!) and make sure your chocolate chips are dairy-free. Easy peasy!
Storing Your Cocoa Chickpea Cookies with Banana
Alright, you’ve made your cookies – congrats! Now, how do you keep ’em fresh? Easy! Just pop ’em in an airtight container. They’ll last at room temperature for about 3 days. Wanna keep ’em longer? Stash ’em in the fridge for up to a week. Trust me, though, they probably won’t last that long!
Frequently Asked Questions About Cocoa Chickpea Cookies with Banana
Got questions? I got answers! Here are a few things folks often ask me about these yummy cookies:
Are Cocoa Chickpea Cookies with Banana Healthy?
Well, let’s be real, they’re still cookies! But, compared to your average store-bought kind, these are definitely a healthier option. You’re getting fiber, potassium, and antioxidants, plus, they’re naturally sweetened. So, yeah, I’d say they’re a pretty guilt-free treat! You can feel good about enjoying one (or two!).
Can I Freeze Cocoa Chickpea Cookies with Banana?
Absolutely! If you wanna make a big batch and save some for later, just pop ’em in a freezer-safe bag or container. They’ll last for a couple of months. When you’re ready to eat ’em, just let them thaw at room temperature. They might be a little softer, but they’ll still be delicious!
Can I Substitute Ingredients in Cocoa Chickpea Cookies with Banana?
Sure thing! Feel free to experiment. Don’t have peanut butter? Almond butter or sunflower seed butter works great. Out of honey? Maple syrup or agave will do the trick. Just keep in mind that substitutions might slightly change the taste and texture.
Nutritional Information for Cocoa Chickpea Cookies with Banana
Okay, so here’s the deal: I’m not a nutritionist, and the nutritional info can vary a LOT depending on the brands you use. So, I can’t give you exact numbers, sorry! Just keep in mind it’s an estimate!
Rate This Cocoa Chickpea Cookies with Banana Recipe!
So, what’d ya think? Did you love these Cocoa Chickpea Cookies with Banana as much as I do? Leave a comment and let me know! And hey, if you make ’em, snap a pic and share it on social media! I wanna see your cookie creations!
Print
Disgustingly Good Cocoa Chickpea Cookies with Banana
- Prep Time: 35 minutes
- Cook Time: 22 minutes
- Total Time: 1 hour 57 minutes
- Yield: 12 servings 1x
- Category: Dessert
- Method: Baking
- Cuisine: American
- Diet: Vegetarian
Description
This Coconut Cake features moist coconut-flavored cake layers and creamy coconut frosting. Enjoy a slice of this tropical dessert.
Ingredients
- 2 and 1/2 cups (285g) cake flour(spooned & leveled)
- 2 teaspoons baking powder
- 1/2 teaspoon baking soda
- 1 teaspoon salt
- 3/4 cup (12 Tbsp; 170g) unsalted butter, softened to room temperature
- 1 and 2/3 cups (330g) granulated sugar
- 5 large egg whites, at room temperature
- 1/2 cup (120g) sour cream, at room temperature
- 2 teaspoons pure vanilla extract
- 1 teaspoon coconut extract
- 1 cup (226g/240ml) unsweetened canned coconut milk, at room temperature
- 1 cup (80g) sweetened shredded coconut
- 1 cup (16 Tbsp; 226g) unsalted butter, softened to room temperature
- 8 ounces (226g) full-fat brick cream cheese, softened to room temperature
- 5 cups (600g) confectioners’ sugar
- 2 Tablespoons (30ml) canned coconut milk
- 1/2 teaspoon pure vanilla extract
- 1/2 teaspoon coconut extract
- 1/8 teaspoon salt
- 2 cups (160g) sweetened shredded coconut
Instructions
- Preheat oven to 350°F (177°C). Grease three 8-inch cake pans, line with parchment paper rounds, then grease the parchment paper. Parchment paper helps the cakes seamlessly release from the pans.
- Make the cake: Whisk the cake flour, baking powder, baking soda, and salt together. Set aside.
- Using a handheld or stand mixer fitted with a paddle or whisk attachment, beat the butter and sugar together on medium-high speed until smooth and creamy, about 2 minutes. Scrape down the sides and up the bottom of the bowl with a rubber spatula as needed. Beat in the egg whites until combined, then add the sour cream, vanilla extract, and coconut extract. Beat until combined. Mixture will look curdled as a result of the varying textures and solid butter combining. Scrape down the sides and up the bottom of the bowl as needed. With the mixer on low speed, slowly add the dry ingredients and coconut milk. Beat on low speed until combined, then add the shredded coconut. Whisk it all by hand to make sure there are no butter lumps at the bottom of the bowl. The batter will be slightly thick.
- Pour batter evenly into cake pans. Weigh them to ensure accuracy, if desired. Bake for 21–24 minutes or until the cakes are baked through. To test for doneness, insert a toothpick into the center of the cake. If it comes out clean, it’s done. Allow cakes to cool in the pans set on a cooling rack for 1 hour, then remove from the pans and place the cakes directly on the rack to continue cooling. The cakes must be completely cool before frosting and assembling.
- Make the frosting: In a large bowl using a handheld or stand mixer fitted with a whisk or paddle attachment, beat the butter and cream cheese together on medium speed until creamy and smooth, about 2 minutes. Add confectioners’ sugar, coconut milk, vanilla extract, coconut extract, and salt with the mixer running on low. Increase to high speed and beat for 3 minutes. Add more confectioners’ sugar if frosting is too thin, more coconut milk if frosting is too thick, or an extra pinch of salt if frosting is too sweet.
- Assemble and decorate: Using a large serrated knife, slice a thin layer off the tops of the cakes to create a flat surface. Discard (or crumble over ice cream!). Place 1 cake layer on your cake stand, cake turntable, or serving plate. Evenly cover the top with 1 heaping cup (about 250–300g) of frosting. Top with second cake layer and evenly cover the top with another heaping cup of frosting. Top with the third cake layer. Spread the remaining frosting all over the top and sides. I use and recommend an icing spatula to apply the frosting and a bench scraper to smooth the sides. Sprinkle coconut on top of the cake and apply it to the sides. This can get a little messy and you can watch me do it in the video tutorial. See blog post above about buttercream rose decoration.
- Refrigerate cake for at least 20 minutes before slicing. This helps the cake hold its shape when cutting, though it’s still a pretty fluffy cake!
- Cover leftover cake tightly and store in the refrigerator for up to 5 days.
Notes
- Ensure all ingredients are at room temperature for best results.
- Use parchment paper for easy cake removal.
- Refrigerate the cake before slicing for cleaner cuts.
Nutrition
- Serving Size: 1 slice
- Calories: Unknown
- Sugar: Unknown
- Sodium: Unknown
- Fat: Unknown
- Saturated Fat: Unknown
- Unsaturated Fat: Unknown
- Trans Fat: Unknown
- Carbohydrates: Unknown
- Fiber: Unknown
- Protein: Unknown
- Cholesterol: Unknown






