


Is there anything better than sharing a plate of freshly baked cookies? Seriously, I don’t think so! And these Decorated Italian Ricotta Cookies? They’re not just *any* cookie. They’re kinda magical. They’ve got this amazing, soft, almost cake-like texture that just melts in your mouth. Plus, with that sweet lemon glaze and a shower of sprinkles? They’re like little edible celebrations!
I remember baking these for my niece’s birthday party last year. I was a *little* stressed trying to get everything done (you know how it is!), but as soon as I pulled these babies out of the oven, the whole kitchen smelled incredible. And when I saw the look on her face when she saw all those colorful sprinkles? Totally worth it. Everyone devoured them! That’s when I knew I had to share this recipe. Because everyone deserves a little sprinkle-covered joy in their life, right?
So, get ready to bake up a batch of these beauties. Trust me, once you try these Decorated Italian Ricotta Cookies, they’ll become a new favorite!
Why You’ll Love These Decorated Italian Ricotta Cookies
Okay, so why are these cookies about to become your new obsession? Let me break it down for you:
Soft and Cake-like Texture
Seriously, forget everything you know about regular cookies. These are *soft*. Like, melt-in-your-mouth kinda soft. That ricotta cheese? It’s the secret weapon!
Easy to Make
Don’t let the fancy name fool you. These are surprisingly simple to whip up. I promise, even if you’re not a baking pro, you can totally nail this!
Perfect for Any Occasion
Need a treat for a holiday? Got a party coming up? Just feel like baking on a Tuesday? These Decorated Italian Ricotta Cookies are always a good idea. Always!
Delicious Lemon Glaze
That bright, lemony glaze? It’s the perfect complement to the soft cookie. It’s sweet, it’s tangy, it’s just… *chef’s kiss*.
Beautifully Decorated
And those sprinkles! Who can resist a sprinkle? They just make everything more fun, don’t they? Plus, they make these Decorated Italian Ricotta Cookies look absolutely gorgeous.
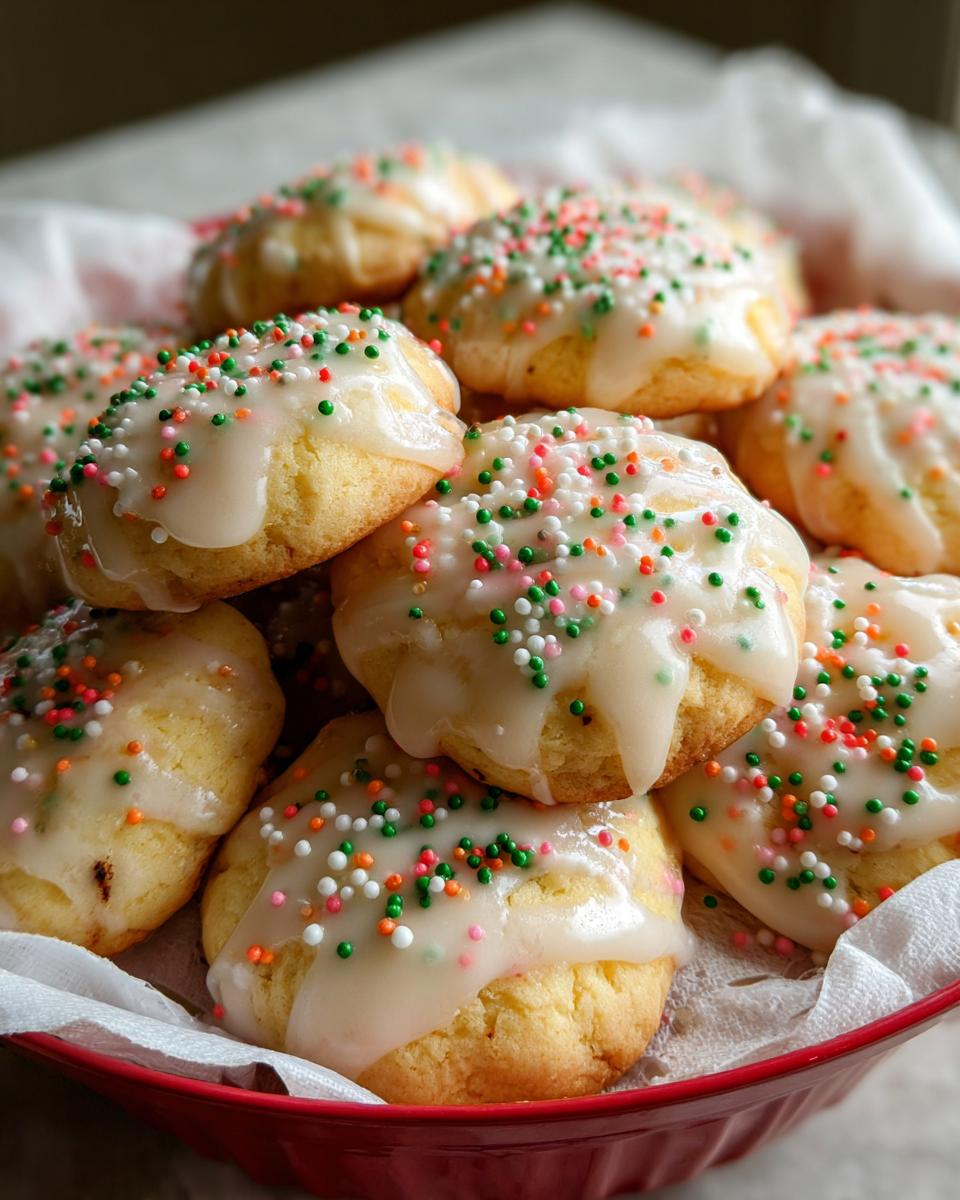
Ingredients for Decorated Italian Ricotta Cookies
Alright, let’s talk ingredients! Nothing too crazy here, but using the right stuff really makes a difference. Trust me on this! Here’s what you’ll need:
Cookie Ingredients
Okay, for the cookies themselves, you’re gonna need:
- 3 1/2 cups (495g) all-purpose flour. Don’t pack it! Just spoon it in and level it off.
- 2 1/2 tsp baking powder. Make sure it’s not expired!
- 3/4 tsp salt. Just regular table salt is fine.
- 1 cup (226g) unsalted butter, at room temperature. This is KEY! Soft butter mixes so much better.
- 1 3/4 cups (350g) granulated sugar. Good ol’ white sugar.
- 1 tsp lemon zest. Zest it right before you use it for the best flavor!
- 15 oz ricotta, whole milk or fresh (1 3/4 cups). I usually go for whole milk – it makes them extra rich!
- 1 Tbsp vanilla extract. Pure vanilla is the way to go!
- 2 large eggs. Gotta have ’em!
Icing Ingredients
And for that dreamy lemon glaze:
- 1 Tbsp butter (salted or unsalted), melted. I usually use salted, but unsalted works too!
- 3 1/2 cups (420g) powdered sugar. Sift it if it’s lumpy!
- 2 Tbsp fresh lemon juice. Freshly squeezed is always best!
- 1 tsp vanilla extract. More vanilla goodness!
- 4 – 6 Tbsp milk. Start with 4 and add more until you get the right consistency.
How to Make Decorated Italian Ricotta Cookies: Step-by-Step
Okay, ready to get baking? Here’s the lowdown on how to make these amazing Decorated Italian Ricotta Cookies. Don’t worry, I’ll walk you through every step!
Preparing the Cookie Dough
- First, whisk together 3 1/2 cups (495g) all-purpose flour, 2 1/2 tsp baking powder, and 3/4 tsp salt in a mixing bowl. Whisk it for like, 20 seconds. Just to get everything combined. Then set it aside.
- Now, in your stand mixer (paddle attachment, please!), whip together 1 cup (226g) of softened butter, 1 3/4 cups (350g) granulated sugar, and 1 tsp lemon zest. You want it pale and fluffy. This usually takes a few minutes. And hey, don’t forget to scrape down the sides and bottom of the bowl every now and then – we want everything to mix evenly!
- Next, mix in 15 oz ricotta and 1 Tbsp vanilla extract. Blend it well! Then, add those 2 large eggs, one at a time, mixing after each addition.
- Alright, set the mixer to low speed and *slowly* add in that flour mixture. Mix just until everything is combined. Don’t overmix! Overmixing = tough cookies. And nobody wants that.
- Now, cover the bowl with plastic wrap and chill that dough! You’ll want to chill it for at least 2 hours, but you can even chill it for up to 2 days. This is super important – it makes the dough easier to handle. Trust me on this one!
Baking the Decorated Italian Ricotta Cookies
- During the last 20 minutes of chilling, preheat your oven to 350 degrees F.
- Scoop out the chilled dough, about 1 Tbsp at a time, and shape it into balls. If it’s too sticky, don’t panic! Just drop it onto the baking sheet using two spoons. Place them on a baking sheet lined with parchment paper. Don’t use dark baking sheets – they can make the bottoms burn!
- Bake in the preheated oven until the cookies are set, about 12-14 minutes. The bottoms will be lightly golden brown. You don’t want them to get too brown!
- Cool the cookies on the baking sheet for a few minutes, then transfer them to a wire rack to cool completely.
Making the Lemon Glaze
- While the cookies are cooling, whisk together 3 1/2 cups (420g) powdered sugar, 1 Tbsp melted butter, 2 Tbsp fresh lemon juice, 1 tsp vanilla extract, and 4 Tbsp milk in a mixing bowl. Whisk until smooth.
- Add more milk, 1 tsp at a time, to thin the glaze as needed. You want it to be thick, but still pourable. Think doughnut glaze consistency.
Decorating the Italian Ricotta Cookies
- Once the cookies are completely cool, spoon the glaze over each cookie.
- Return the glazed cookies to the wire rack.
- Immediately add sprinkles! Because sprinkles make everything better, right?
- Let the icing set at room temperature. This usually takes about an hour.
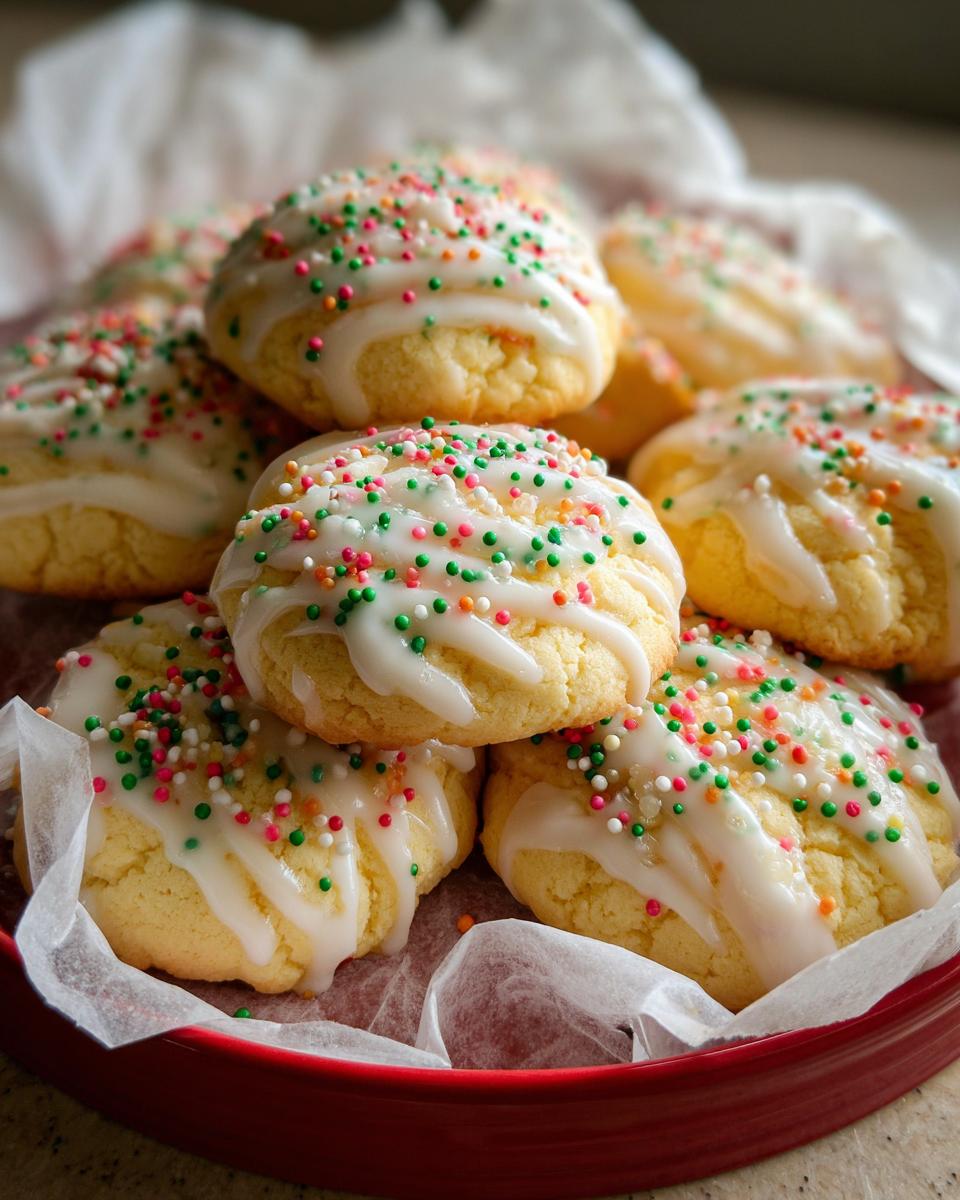
Tips for Perfect Decorated Italian Ricotta Cookies
Want your Decorated Italian Ricotta Cookies to be *amazing*? Of course, you do! Here are a few little secrets I’ve learned along the way:
Use Room Temperature Ingredients
Seriously, this makes a HUGE difference! Especially the butter. Room temperature butter creams so much better, which means your cookies will be lighter and fluffier. Don’t skip this step!
Don’t Overbake
These cookies are best when they’re soft and cake-like. So, keep a close eye on them in the oven! You want them to be set, but still a little soft to the touch. A toothpick inserted into the center should come out with moist crumbs, not wet batter.
Chill the Dough
I know, I know, chilling dough is annoying. But trust me on this one! Chilling the dough prevents the cookies from spreading too much in the oven. Plus, it makes the dough way easier to handle. So be patient!
Glaze Consistency
The glaze should be thick enough to coat the cookies nicely, but thin enough to drizzle smoothly. If it’s too thick, add a tiny bit more milk. If it’s too thin, add a bit more powdered sugar. You got this!
Ingredient Notes and Substitutions for Decorated Italian Ricotta Cookies
Okay, let’s chat about some of these ingredients and what you can swap out if you’re in a pinch! I get it, sometimes you gotta make do with what you’ve got!
Ricotta Cheese
So, I usually use whole milk ricotta because it makes the cookies super moist. But you *can* use part-skim if you’re trying to lighten things up a bit. Just know that your cookies might not be quite as rich and tender. Don’t use the super watery stuff though, make sure to drain it well if it seems wet!
Lemon Zest
Lemon zest gives these cookies that amazing bright flavor! To zest a lemon, just use a microplane or a fine grater and scrape off the yellow part of the peel. Be careful not to get the white pith underneath – it’s bitter! If you don’t have a lemon, you can use a little lemon extract, but fresh is always best!
Flour
I always use all-purpose flour for these Decorated Italian Ricotta Cookies, and honestly, it works great! I haven’t tested it with other flours, but I *think* you could probably get away with using a 1:1 gluten-free blend if you need to. Just keep an eye on the texture, it might need a little more or less liquid.
Storing Your Decorated Italian Ricotta Cookies
So, you’ve baked a batch of these amazing Decorated Italian Ricotta Cookies, and (miraculously!) you have some leftovers? Here’s how to keep them fresh and delicious!
Best Storage Practices
The key is an airtight container! Seriously, don’t just leave them out on the counter. Pop them in a container and store them in the fridge. They’ll stay fresh for several days this way. Trust me!
Reheating Instructions
“Reheating?” you might ask. Well, they’re best at room temperature! So, just take them out of the fridge about 30 minutes before you want to eat them. That way, they’ll be nice and soft and that glaze will be perfectly melty. Yum!
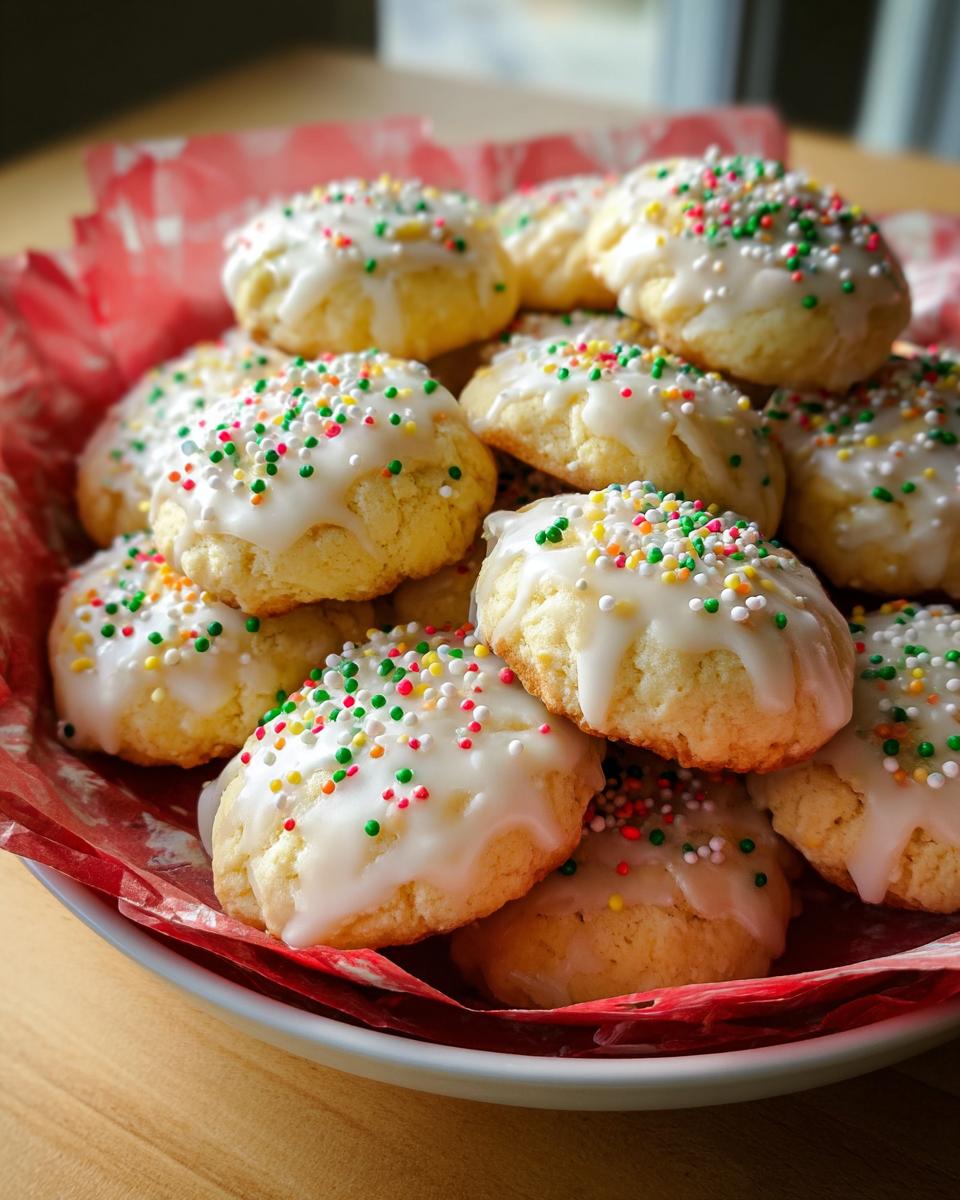
Common Questions About Decorated Italian Ricotta Cookies
Got questions about these Decorated Italian Ricotta Cookies? I got you! Here are a few of the most common things people ask me:
Can I freeze the Decorated Italian Ricotta Cookies?
Yep! You totally can. If you wanna freeze them *baked*, just let them cool completely, then pop them in a freezer-safe container. They’ll keep for a couple of months. You can also freeze the *unbaked* cookie dough! Just scoop it into balls, freeze them on a baking sheet, then transfer them to a freezer bag. When you’re ready to bake, just pop them straight into the oven (you might need to add a minute or two to the baking time).
Why are my Decorated Italian Ricotta Cookies dry?
Oh no! Dry cookies are the worst. It could be a couple of things. First, make sure you’re not overbaking them! They should be soft, not crispy. Also, make sure you’re using enough ricotta cheese, and that your butter is at room temperature. And hey, double-check that your baking powder isn’t expired!
Can I use a different extract in the glaze of these Decorated Italian Ricotta Cookies?
Absolutely! The lemon glaze is classic, but you can totally get creative. Almond extract is amazing! Or, a little bit of orange extract would be delicious too. Go wild! Just don’t use too much – extracts can be strong!
Nutritional Information for Decorated Italian Ricotta Cookies
Okay, just a quick note: the nutrition info below is just an estimate! It’ll change depending on the exact brands and ingredients you use. So, just keep that in mind, okay?
Love These Decorated Italian Ricotta Cookies? Leave a Review!
Tried these cookies? I’d love to hear what you think! Leave a comment and let me know how they turned out!
Print
Irresistible Decorated Italian Ricotta Cookies in 1 Hour
- Prep Time: 2 hours 30 minutes
- Cook Time: 14 minutes
- Total Time: 2 hours 44 minutes
- Yield: About 36 cookies 1x
- Category: Dessert
- Method: Baking
- Cuisine: Italian
- Diet: Vegetarian
Description
These Decorated Italian Ricotta Cookies are soft, cake-like cookies with a sweet lemon glaze and sprinkles. They are perfect for any occasion.
Ingredients
- 3 1/2 cups (495g) all-purpose flour
- 2 1/2 tsp baking powder
- 3/4 tsp salt
- 1 cup (226g) unsalted butter, at room temperature
- 1 3/4 cups (350g) granulated sugar
- 1 tsp lemon zest
- 15 oz ricotta, whole milk or fresh (1 3/4 cups)
- 1 Tbsp vanilla extract
- 2 large eggs
Icing
- 1 Tbsp butter (salted or unsalted), melted
- 3 1/2 cups (420g) powdered sugar
- 2 Tbsp fresh lemon juice
- 1 tsp vanilla extract
- 4 – 6 Tbsp milk
Instructions
- In a mixing bowl whisk together flour, baking powder and salt for 20 seconds, set aside.
- In the bowl of an electric stand mixer fitted with the paddle attachment whip together butter, granulated sugar and lemon zest until pale and fluffy (scrape down sides and bottom of bowl occasionally throughout entire mixing process).
- Mix in ricotta and vanilla extract then blend in eggs one at a time.
- Set mixer on low speed and slowly add in flour mixture and mix just until combined.
- Cover bowl with plastic wrap and chill 2 hours or up to 2 days.
- Preheat oven to 350 degrees during last 20 minutes of dough chilling.
- Scoop chilled dough out 1 Tbsp at a time and shape into balls (if it’s too sticky just drop onto sheet using two spoons), drop onto a baking sheet lined with parchment paper (don’t use dark baking sheets).
- Bake in preheated oven until set, 12 – 14 minutes (bottoms will be lightly golden brown).
- Cool on baking sheet several minutes then transfer to a wire rack to cool completely.
- Once cool spoon icing over cookies and return to wire rack, immediately add sprinkles if using.
- Allow icing to set at room temperature.
- Store in an airtight container preferably in a single layer and preferably store in the fridge (bring to room temperature before serving). Bring to room temperature before serving.
For the glaze:
- In a mixing bowl whisk together powdered sugar, melted butter, lemon juice or almond extract, vanilla and 4 Tbsp milk until smooth.
- Add in more milk 1 tsp at a time to thin as needed (you don’t want it to be very thin, it should be quite a bit thicker than a doughnut glaze).
Notes
- Use room temperature butter for best results.
- Chill the dough for at least 2 hours for easier handling.
- Don’t overbake the cookies, they should be soft and cake-like.
- Store the cookies in an airtight container in the refrigerator.
Nutrition
- Serving Size: 1 cookie
- Calories: 150
- Sugar: 15g
- Sodium: 50mg
- Fat: 7g
- Saturated Fat: 4g
- Unsaturated Fat: 2g
- Trans Fat: 0g
- Carbohydrates: 20g
- Fiber: 0g
- Protein: 2g
- Cholesterol: 30mg






