


Oh, gingerbread! Is there anything that screams “holidays” louder? The smell alone just wraps you up in a cozy blanket of cinnamon and spice, doesn’t it? And that’s exactly what I wanted to capture with this amazing Gingerbread Village Cake. It’s not just a cake; it’s a whole *experience*. Seriously, picture this: layers of moist, spiced cake, slathered in dreamy cream cheese frosting, and then…bam! Adorable little gingerbread houses perched all over. It’s like a winter wonderland you can eat!
I remember being a kid, painstakingly building gingerbread houses with my family. The wonky walls, the rivers of icing… it was all part of the fun! And this cake? It takes that nostalgic joy and elevates it to a whole new level. Trust me, this Gingerbread Village Cake is guaranteed to be the star of your holiday dessert table!
Why You’ll Love This Gingerbread Village Cake
Okay, so why *should* you spend an afternoon making this Gingerbread Village Cake? Let me tell you, it’s not just another cake recipe. It’s:
- Visually stunning – seriously, your guests will gasp!
- Bursting with delicious, spiced flavor – it’s like a hug in cake form.
- The perfect centerpiece for holiday gatherings – get ready for the compliments!
- Actually fun to make and decorate – think of it as edible art therapy!
A Showstopper for Holiday Gatherings
Seriously, this cake? It’s *the* showstopper. People will be taking pictures of it all night long, trust me! It’s not just a dessert; it’s a conversation starter. Get ready to be the star baker of the holidays!
Essential Ingredients for Your Gingerbread Village Cake
Alright, let’s talk ingredients! Don’t worry, you probably have a lot of this stuff already. But let’s make sure we’re all on the same page, okay? Here’s what you’ll need for each component of this glorious cake:
Cake Ingredients
- 200 g salted butter (that’s about 1 cup, softened!)
- 360 g all-purpose flour (about 3 cups, plus extra for dusting the pans)
- 1 1/2 tsp baking soda
- 1/4 tsp flaky salt (trust me, it makes a difference!)
- 1 tbsp ground cinnamon
- 1 tbsp ground ginger
- 1 tsp freshly ground cardamom (freshly ground is best, but pre-ground works too!)
- 2 tsp freshly ground cloves
- 1 tsp allspice (optional, but adds a nice kick!)
- 4 large eggs
- 360 g granulated sugar (about 1 3/4 cups)
- 250 ml sour cream (about 1 cup)
- 150 ml lingonberry jam (about 2/3 cup – if you can’t find it, cranberry sauce works in a pinch!)
Gingerbread House Ingredients
- 500 g gingerbread dough (store-bought is totally fine! I won’t tell!)
- 150 g powdered sugar (for icing – about 1 1/4 cups)
- 1 1/2 – 2 tbsp lemon juice (for the icing – adjust to get the right consistency)
Cream Cheese Frosting Ingredients
- 200 g softened salted butter (about 1 cup, seriously soft!)
- 250 g powdered sugar (for frosting – about 2 cups, sifted!)
- 300 g cream cheese, at room temperature (super important! About 1 1/4 cups)
- 1/4 tsp vanilla bean powder (or 1 tsp vanilla extract)
- Zest from 1 orange (smells SO good!)
- 2 tbsp black sesame seeds
- 2 tbsp maple syrup (optional, but yummy!)
- 2 tsp blueberry powder
- 1/4 tsp baking soda (sounds weird, but trust me!)
- 1-2 tsp water (for frosting – just a splash!)
How to Make a Gingerbread Village Cake: Step-by-Step Instructions
Okay, deep breaths! This looks like a lot, but I promise, it’s totally doable. We’re going to break it down into manageable chunks, and you’ll be amazed at what you can create. Ready? Let’s get baking!
Baking the Spiced Cake Layers
- First things first, preheat your oven to 175°C (350°F). Grease and flour two 23-24 cm (9 inch) springform pans. Trust me, you don’t want the cake sticking!
- Melt the butter and set it aside to cool slightly. You don’t want it hot, or it’ll cook the eggs!
- In a bowl, whisk together the flour, baking soda, salt, cinnamon, ginger, cardamom, cloves, and allspice (if you’re using it). This makes sure the spices are evenly distributed.
- In a separate bowl, beat the eggs and sugar until they’re light and fluffy. This usually takes about 3-4 minutes.
- Now, gradually add the dry ingredients and melted butter to the egg mixture, mixing until everything is just combined. Don’t overmix! Then, stir in the sour cream and lingonberry jam (or cranberry sauce).
- Divide the batter evenly between the prepared pans. Bake for 25-27 minutes, or until a cake tester comes out clean.
- Let the cakes cool in the pans for 15 minutes before inverting them onto a wire rack to cool completely. Patience is key!
Constructing the Gingerbread Houses
- While the cakes are cooling, knead your gingerbread dough (store-bought, remember? No judgment!). Roll it out to about 2-3 mm thickness.
- Cut out your house shapes. I like to make them about 5-8 cm high, but get creative!
- Bake the gingerbread houses at 175°C (350°F) for 5-8 minutes, or until they’re golden brown. Watch them carefully; they burn easily!
- Let the gingerbread houses cool completely. Then, mix the powdered sugar and lemon juice until you have a nice piping consistency. If it’s too thick, add a tiny bit more lemon juice. Too thin? Add more powdered sugar.
- Transfer the icing to a piping bag and decorate your little houses! Let the icing harden completely before moving on.
Making the Cream Cheese Frosting
- Beat the softened butter and powdered sugar together until they’re pale and fluffy. This takes a few minutes, so don’t rush it!
- Add the room-temperature cream cheese and vanilla bean powder (or extract) and beat until smooth. Don’t overbeat, or it’ll get runny!
- Stir in the orange zest. It smells so good!
- In a small bowl, crush the sesame seeds and maple syrup into a paste. Then, stir this into the frosting. It gives it a really unique flavor!
- If the frosting is too soft, pop it in the fridge for a bit to firm up.
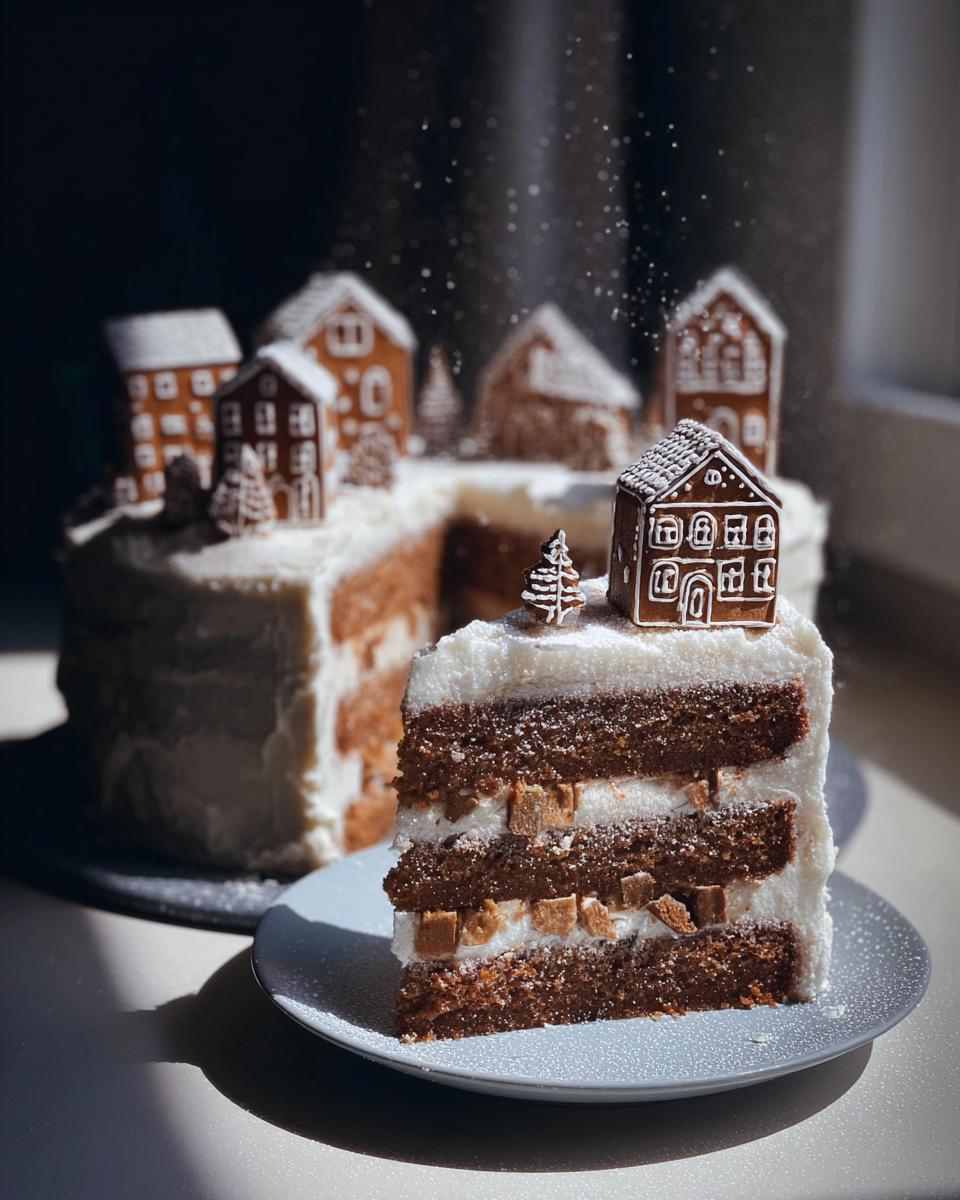
Assembling Your Gingerbread Village Cake
- Carefully cut each cake layer in half horizontally, so you have four layers in total.
- Place the first layer on your serving board or cake stand. Spread a generous amount of frosting over it. Repeat with the remaining layers.
- Spread a thin “crumb coat” of frosting over the entire cake. This helps to seal in any crumbs and create a smooth surface. Refrigerate the cake for about 30 minutes to let the crumb coat set. If the frosting is soft, refrigerate it at this point too.
- In a small bowl, mix the blueberry powder, baking soda, and water. Stir this into the remaining frosting. The color is gorgeous!
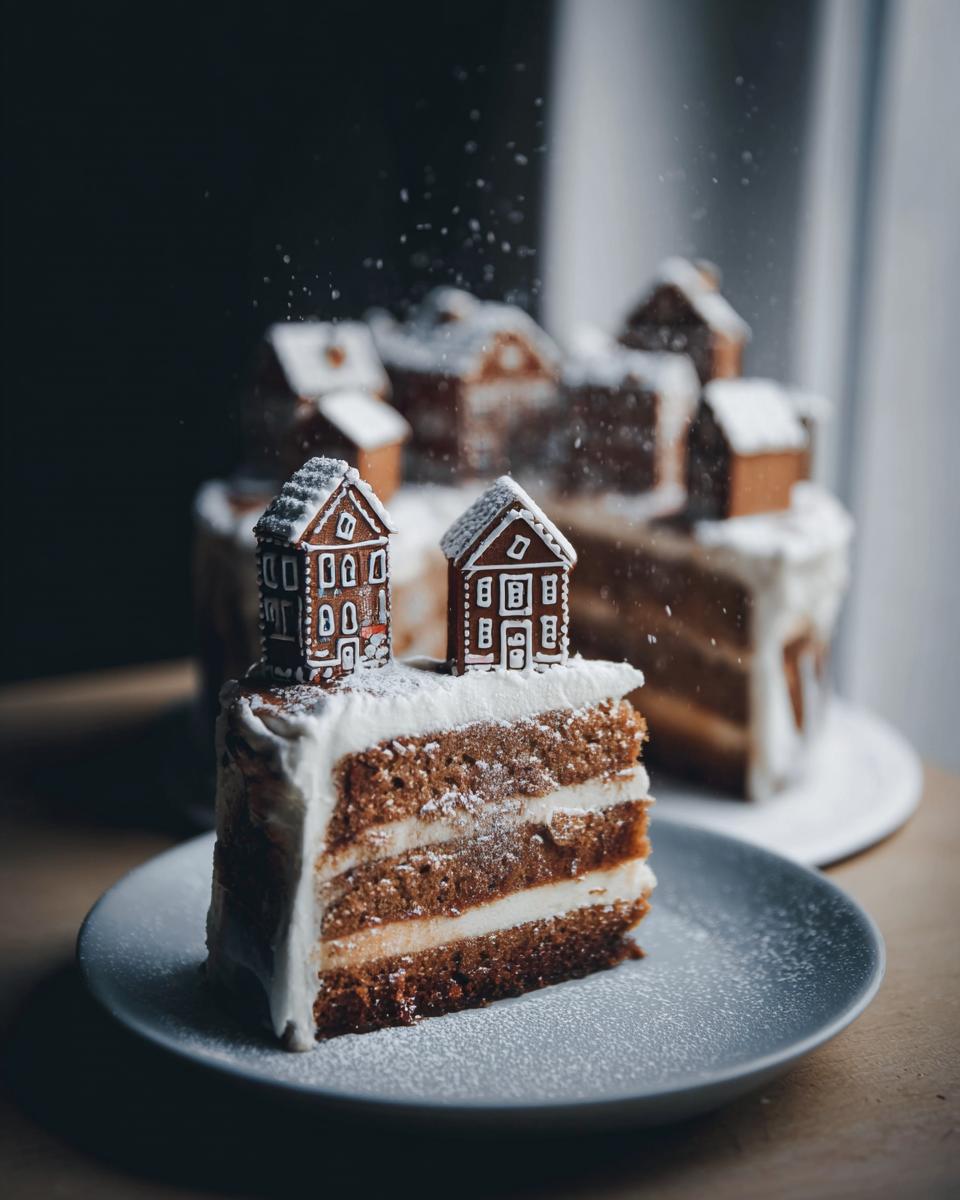
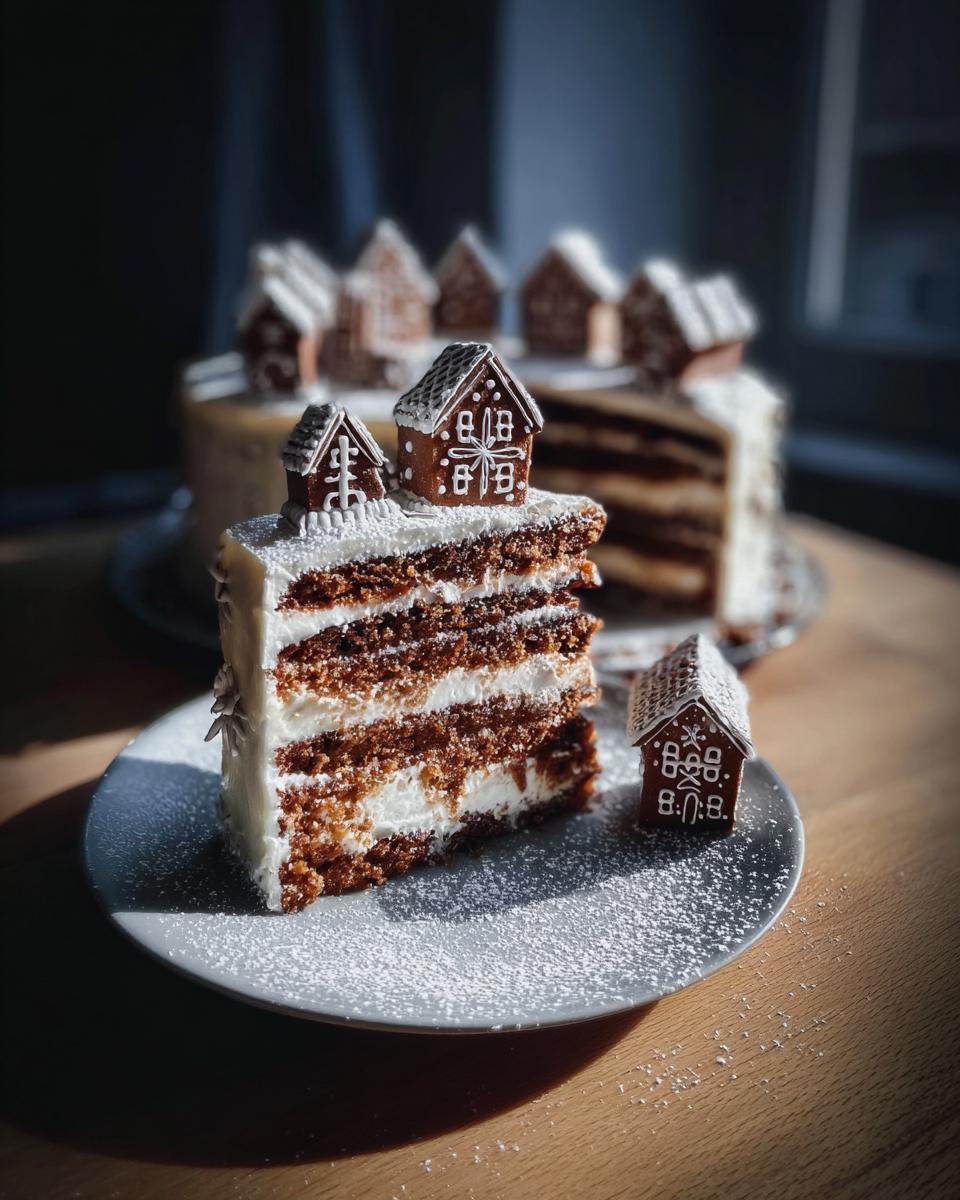
- Cover the cake with the blueberry frosting. Then, carefully arrange your decorated gingerbread houses all over the cake. Use toothpicks to help support them if needed.
- Finally, dust the whole thing with powdered sugar. It looks like snow!
Tips for the Perfect Gingerbread Village Cake
Okay, you’ve got the steps down, but let’s chat about some insider secrets, okay? For the gingerbread, make sure your dough isn’t too sticky! A little flour on your work surface goes a long way. Frosting too soft? Don’t panic! Just chill it. And those gingerbread houses? A little extra icing “glue” on the bottom and strategically placed toothpicks are your best friends for keeping them upright. Trust me!
Gingerbread Village Cake Variations
Okay, so you’ve nailed the basic Gingerbread Village Cake? Awesome! Now, let’s get a little wild, shall we? The best part about baking is putting your own spin on things! You could swap out the lingonberry jam for apricot preserves, or throw in some chopped walnuts for a little crunch. How about a lemon cream cheese frosting instead of the maple-sesame? Ooh, possibilities!
Alternative Decorations
Forget the powdered sugar snowstorm! Okay, don’t *forget* it, but maybe add some pizzazz! Think colorful sprinkles, little candy canes propped against the houses, or even edible glitter for a truly magical effect. I’m telling you, go wild! It’s your Gingerbread Village Cake, so make it your own!
Storing Your Gingerbread Village Cake
Alright, so you’ve got this amazing Gingerbread Village Cake… and somehow, there are leftovers (I know, hard to believe!). Don’t worry, it’ll keep! Just pop it in the fridge, covered, for up to 3 days. Want to freeze it? Slice it up, wrap each slice individually, and it’ll be good for a month or two. Just let it thaw in the fridge before enjoying. But honestly? It’s best fresh. So, you know… maybe eat it all!
Gingerbread Village Cake FAQs
Got questions? I’ve got (hopefully!) answers! Here are a few things people always ask me about this Gingerbread Village Cake:
Can I make the gingerbread houses ahead of time?
Absolutely! That’s what I usually do, actually. Just bake and decorate them, then store them in an airtight container at room temperature. They’ll keep for several days, no problem. That way, you’re not scrambling to do *everything* at once!
What if my frosting is too soft?
Ah, the dreaded soft frosting! Don’t panic! Just pop it in the fridge for about 30 minutes. The cold will firm up the butter and cream cheese. If it’s *still* too soft, you can add a tablespoon or two of powdered sugar, beating it in well. But honestly, a little chill time usually does the trick!
How do I prevent the gingerbread houses from falling over?
Okay, this is a big one! First, make sure your gingerbread houses are completely cool and the icing is totally dry before you start assembling your cake. Then, use a generous dollop of frosting as “glue” to attach the houses to the cake. For extra support, stick a toothpick or two into the base of each house, pushing them down into the cake. Just remember to tell people about the toothpicks before they start eating!
Nutritional Information for Gingerbread Village Cake
Okay, let’s be real, this is cake! But for those who are curious, just remember that nutritional info varies *a lot* based on brands and your mad baking skills. So, consider any numbers you find online a friendly *estimate*!
Share Your Gingerbread Village Cake Creation!
Okay, you made it! Now, show off your masterpiece! Leave a comment, rate the recipe, and tag me in your pics on social media! I can’t WAIT to see your Gingerbread Village Cakes!
Print
Gingerbread Village Cake: Build a Delicious Memory
- Prep Time: PT30M
- Cook Time: PT35M
- Total Time: PT65M
- Yield: 1 9-inch layer cake 1x
- Category: Dessert
- Method: Baking
- Cuisine: European
- Diet: Vegetarian
Description
Create a stunning Gingerbread Village Cake with layers of spiced cake, cream cheese frosting, and decorated gingerbread houses.
Ingredients
- 200 g salted butter
- 360 g all-purpose flour
- 1 1/2 tsp baking soda
- 1/4 tsp flaky salt
- 1 tbsp ground cinnamon
- 1 tbsp ground ginger
- 1 tsp freshly ground cardamom
- 2 tsp freshly ground cloves
- 1 tsp allspice (optional)
- 4 large eggs
- 360 g granulated sugar
- 250 ml sour cream
- 150 ml lingonberry jam
- 500 g gingerbread dough (store-bought)
- 150 g powdered sugar (for icing)
- 1 1/2 – 2 tbsp lemon juice
- 200 g softened salted butter (for frosting)
- 250 g powdered sugar (for frosting)
- 300 g cream cheese, at room temperature
- 1/4 tsp vanilla bean powder
- Zest from 1 orange
- 2 tbsp black sesame seeds
- 2 tbsp maple syrup (optional)
- 2 tsp blueberry powder
- 1/4 tsp baking soda (for frosting)
- 1–2 tsp water (for frosting)
Instructions
- Preheat oven to 175°C (350°F). Grease and flour two 23-24 cm (9 inch) springform pans.
- Melt the butter and set aside.
- Mix flour, baking soda, salt, and spices in a bowl.
- Beat eggs and sugar until fluffy, about 3-4 minutes.
- Add dry ingredients and butter to the egg mixture, stir until smooth. Stir in sour cream and lingonberry jam.
- Divide batter between pans. Bake for 25-27 minutes, or until a cake tester comes out clean.
- Cool in pans for 15 minutes, then unmold onto a rack to cool completely.
- Knead gingerbread dough. Roll out to 2-3 mm thickness.
- Cut out house-shaped cookies (5-8 cm high). Bake at 175°C (350°F) for 5-8 minutes. Cool completely.
- Stir powdered sugar and lemon juice until icing reaches piping consistency.
- Transfer icing to a piping bag. Decorate cookies and let icing harden.
- Beat butter and powdered sugar until pale and fluffy. Add cream cheese and vanilla, beat until smooth. Stir in orange zest.
- Crush sesame seeds and maple syrup into a paste. Stir into frosting.
- Refrigerate frosting if too soft.
- Cut cake layers in half to get four layers.
- Place first layer on a board. Spread frosting. Repeat until all layers are used.
- Spread a thin layer of frosting over the cake. Refrigerate if frosting is soft.
- Mix blueberry powder, baking soda, and water. Add to remaining frosting. Stir until smooth.
- Cover cake with frosting and decorate with gingerbread cookies. Use toothpicks to support cookies. Dust with powdered sugar.
Notes
- Use store-bought gingerbread dough for convenience.
- Adjust lemon juice in icing for desired consistency.
- Refrigerate frosting if it becomes too soft.
- Toothpicks can help gingerbread houses stand up.
Nutrition
- Serving Size: 1 slice
- Calories: 650
- Sugar: 60g
- Sodium: 300mg
- Fat: 40g
- Saturated Fat: 25g
- Unsaturated Fat: 10g
- Trans Fat: 1g
- Carbohydrates: 70g
- Fiber: 2g
- Protein: 5g
- Cholesterol: 150mg






