


Let’s be honest, gluten-free baking can feel like navigating a minefield, right? Especially when you’re craving that classic comfort food: pie! I’ve tried so many Gluten-Free Pie Crust Recipes that ended up as a crumbly, sad mess. But trust me, THIS one? It’s a game-changer. My daughter developed a gluten intolerance a few years back, and finding a decent pie crust became my mission. After countless attempts (and a few kitchen disasters!), I finally cracked the code. This Gluten-Free Pie Crust Recipe is easy, reliable, and actually tastes like… well, PIE CRUST! Seriously, you won’t believe it’s gluten-free. Get ready for pie perfection!
Why You’ll Love This Gluten-Free Pie Crust Recipe
Benefits of This Gluten-Free Pie Crust Recipe
Okay, so why *this* gluten-free pie crust and not a million others? Let me tell you!
- Easy peasy to make – even if you’re a gluten-free newbie!
- It’s actually flaky! Seriously, no more cardboard crusts.
- Tastes like the real deal. My family can’t even tell the difference (shhh!).
- Super versatile. Use it for sweet or savory pies.
- Reliable. It works. Every. Single. Time. Need I say more?
Ingredients for the Perfect Gluten-Free Pie Crust Recipe
Ingredient Checklist for a Gluten-Free Pie Crust Recipe that Works
Alright, listen up! This isn’t the time to be a rebel. For a truly amazing gluten-free pie crust, you gotta stick to the script with these ingredients. Trust me on this one.
- Gluten-Free All-Purpose Flour Blend: 1 1/4 cups. Now, this is important! I swear by Bob’s Red Mill Gluten Free 1-to-1 Baking Flour. It just works. Other blends *might* work, but I can’t promise anything!
- Salt: 1/2 teaspoon. Just regular ol’ table salt is perfect.
- Cold Unsalted Butter: 1/2 cup (that’s one stick), cut into cubes. Make sure it’s COLD. Like, straight-from-the-fridge cold! I even pop mine in the freezer for 10 minutes sometimes.
- Cold Vegetable Shortening: 1/4 cup, also cut into cubes. Crisco is my go-to. Same deal – keep it COLD!
- Ice Water: 1/4 – 1/2 cup. And I mean *ice* water. Water plus ice cubes = happy pie crust. You’ll add this gradually, so don’t just dump it all in at once!
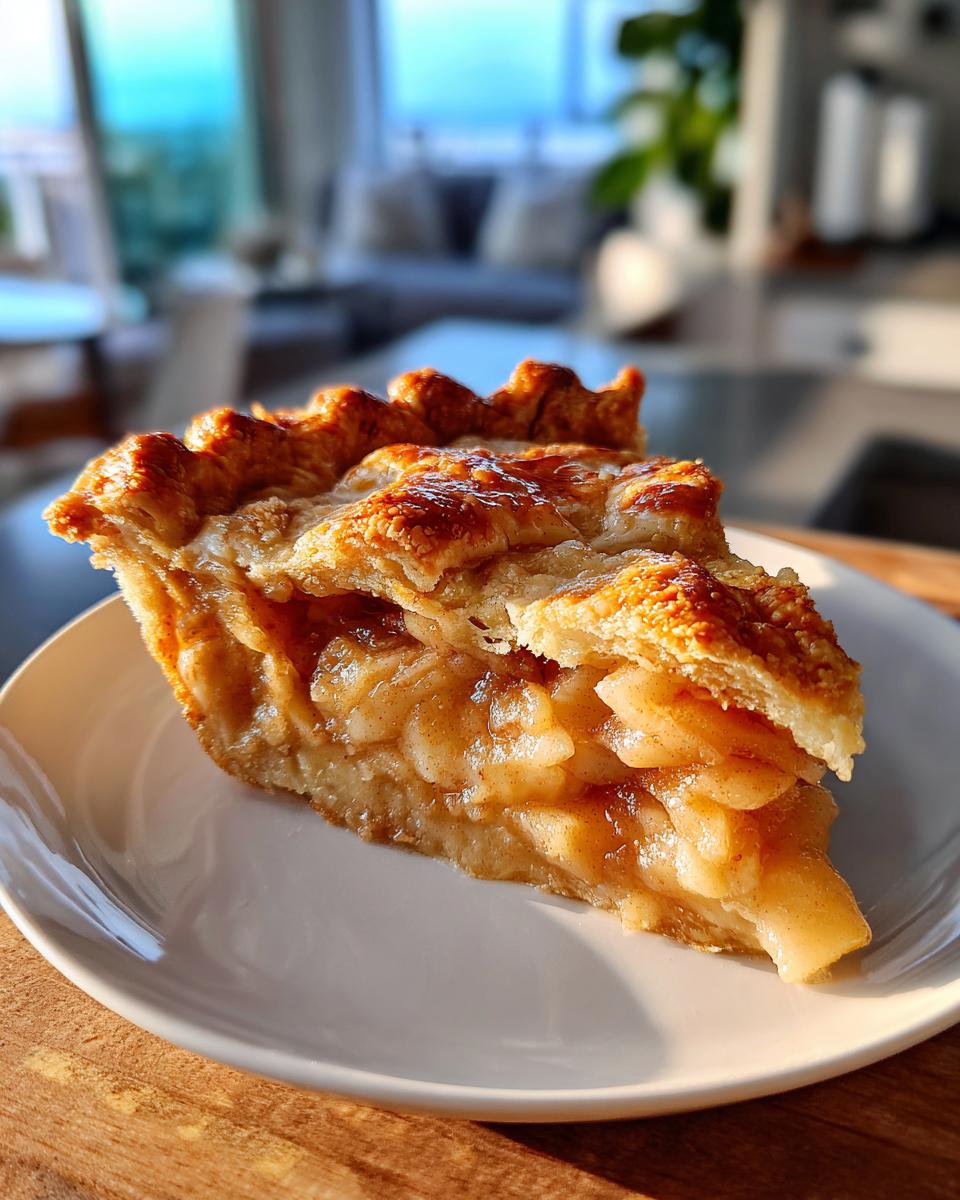
Step-by-Step Guide: How to Make a Gluten-Free Pie Crust Recipe
Preparing the Dough for Your Gluten-Free Pie Crust Recipe
Okay, here’s where the magic happens! Don’t be scared – I’ll walk you through it. First, grab a big bowl and whisk together that gluten-free flour and salt. Get it nice and mixed up!
Next, the fun part: cutting in the butter and shortening. You can use a pastry blender (if you’re fancy!), but honestly, I just use my fingers. Work those cold fats into the flour until it looks like coarse crumbs. The smaller the pieces of fat, the flakier your crust will be!
Now, the ice water. Add it *gradually*, like a tablespoon at a time. Mix until the dough *just* comes together. Don’t overmix! You want it to be slightly shaggy, not a smooth ball. It’s okay if it looks a little dry – it’ll come together when it chills.
Form the dough into a disc, wrap it up tight in plastic wrap (don’t skip this step!), and chill it in the fridge. For at least 30 minutes. Seriously, don’t rush this! Chilling is key for a tender, flaky crust.
Time to roll! Lightly flour your work surface (I use more gluten-free flour, of course!), and roll out the dough to your desired size and thickness. Be gentle! Gluten-free dough can be a little fragile. If it cracks, just patch it up with your fingers.

Baking Your Gluten-Free Pie Crust Recipe
Alright, almost there! Carefully transfer the crust to your pie dish. Crimp the edges – get creative! Or just use a fork, whatever floats your boat.
Now, depending on your pie filling, you might need to pre-bake the crust. For a custard or pumpkin pie, I definitely recommend it. Just poke some holes in the bottom with a fork (to prevent it from puffing up), and bake at 350°F (175°C) for about 15 minutes, or until lightly golden.
Fill your pie with your favorite filling (apple, cherry, chocolate – go wild!), and bake according to your filling recipe. Keep an eye on that crust – if it starts to get too brown, just cover the edges with foil. No one likes a burnt pie crust!
Let the pie cool completely before slicing and serving. This is the hardest part, I know! But trust me, it’s worth the wait.
Tips for Success with Your Gluten-Free Pie Crust Recipe
Common Mistakes to Avoid When Making a Gluten-Free Pie Crust Recipe
Okay, listen up, buttercup! Want that perfect gluten-free pie crust? Here’s the inside scoop on what *not* to do! First off, don’t skip the chilling time. Seriously! That cold dough is way easier to work with. Also, resist the urge to add more flour than you need. Too much flour = dry, crumbly crust. And for the love of pie, don’t overmix the dough! Treat it gently, and you’ll be rewarded with flaky goodness!
Gluten-Free Pie Crust Recipe Variations
Wanna jazz things up? Of course, you do! Try adding a teaspoon of cinnamon to the flour for an apple pie. Or, for a savory pie, throw in some dried herbs like rosemary or thyme. My favorite? A little lemon zest for a bright, fresh flavor. Get creative – it’s your pie!
Frequently Asked Questions About This Gluten-Free Pie Crust Recipe
Can I use a different gluten-free flour blend for this Gluten-Free Pie Crust Recipe?
Okay, so you’re thinking of swapping out the flour? Totally get it! While I highly recommend Bob’s Red Mill 1-to-1 Baking Flour (it’s what I’ve tested and perfected this recipe with!), you *can* try other gluten-free all-purpose blends. Just be aware that results might vary! Some blends absorb more liquid than others, so you may need to adjust the amount of ice water. Start with less water and add more gradually until the dough comes together. And hey, let me know how it turns out!
How do I prevent my Gluten-Free Pie Crust Recipe from being too crumbly?
Ah, the dreaded crumbly crust! The key here is moisture and not overworking the dough. Make sure your butter and shortening are super cold! Add the ice water gradually, and stop mixing as soon as the dough *just* comes together. Overmixing develops gluten (which we don’t want in a gluten-free crust!), leading to a tough, crumbly result. Also, chilling the dough is crucial – it helps the fats solidify, which creates a flakier, less crumbly crust.
Can I make this Gluten-Free Pie Crust Recipe ahead of time?
You betcha! Making the dough ahead of time is a lifesaver, especially during the holidays. Just form the dough into a disc, wrap it tightly in plastic wrap, and store it in the fridge for up to 2 days. You can also freeze it for up to a month! Just thaw it in the fridge overnight before rolling it out. Easy peasy!
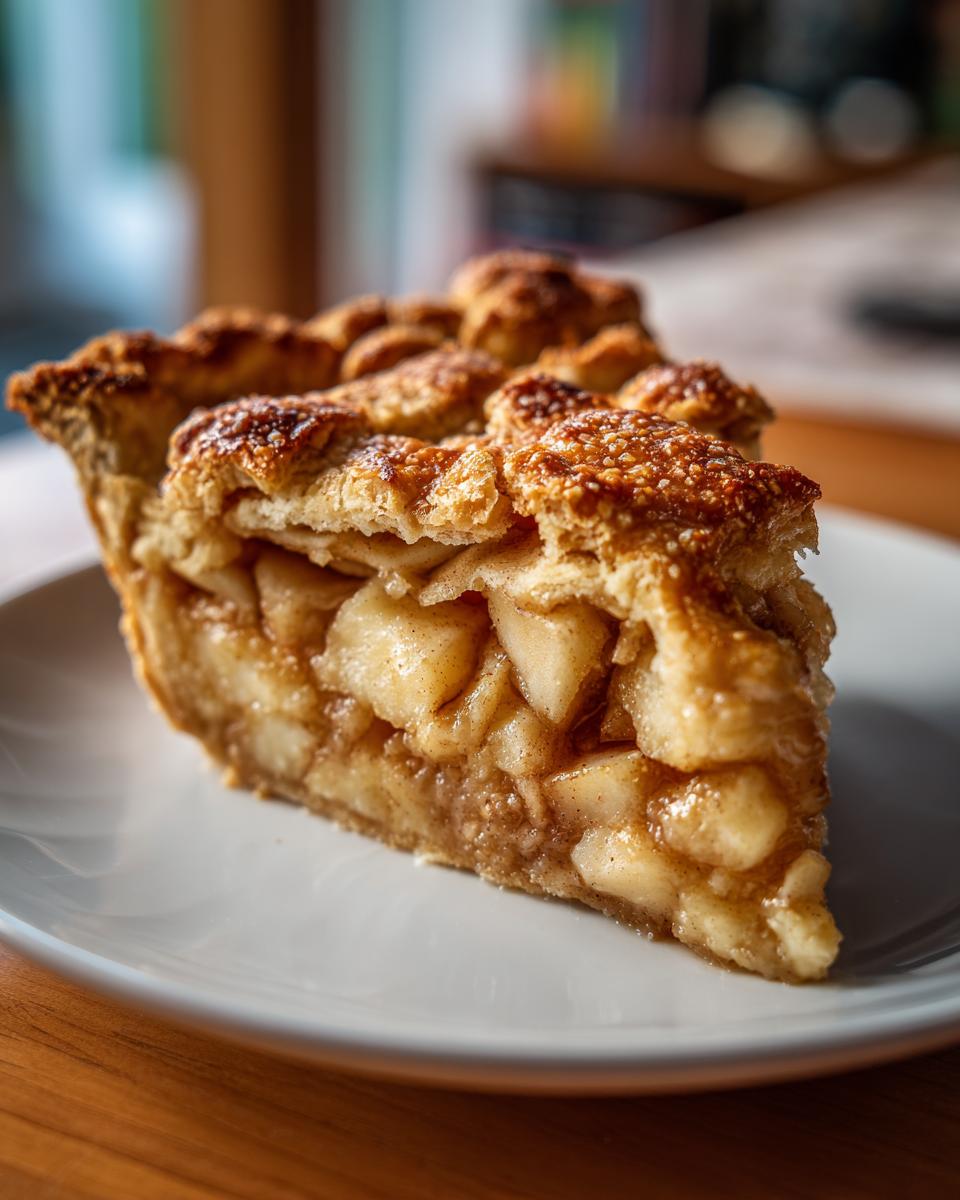
Storing and Reheating Your Gluten-Free Pie Crust Recipe
Got leftover pie? Lucky you! To keep it fresh, cover it loosely with plastic wrap or foil and store it in the fridge. It’ll be good for about 2-3 days… if it lasts that long! For a warm slice, pop it in the microwave for a few seconds or heat it in a low oven until it’s just heated through. Mmm, pie!
Nutritional Information Disclaimer
Okay, so here’s the deal. I’ve included some estimated nutritional information for this gluten-free pie crust, but keep in mind – it’s just an estimate! Things like the specific brand of gluten-free flour you use, the type of shortening, even the size of your eggs can affect the final numbers. So, while I’ve done my best to provide accurate info, please don’t take it as gospel. If you need precise nutritional data, I highly recommend using a dedicated nutrition calculator with the exact ingredients you used. Just sayin’!
Enjoy Your Homemade Gluten-Free Pie Crust Recipe!
Go on, give it a whirl! I can’t wait to hear how your gluten-free pie turns out. Leave a comment and let me know what you think! And hey, a 5-star rating would make my day!
Print
Foolproof Gluten-Free Pie Crust Recipe: ENDS Failure
- Prep Time: 20 minutes
- Cook Time: Varies depending on pie filling
- Total Time: 50 minutes
- Yield: One 9-inch pie crust 1x
- Category: Baking
- Method: Baking
- Cuisine: American
- Diet: Gluten Free
Description
This recipe provides a simple method for creating a gluten-free pie crust.
Ingredients
- 1 1/4 cups gluten-free all-purpose flour blend
- 1/2 teaspoon salt
- 1/2 cup (1 stick) cold unsalted butter, cut into cubes
- 1/4 cup cold vegetable shortening, cut into cubes
- 1/4 – 1/2 cup ice water
Instructions
- In a large bowl, whisk together the gluten-free flour and salt.
- Cut in the cold butter and shortening using a pastry blender or your fingers until the mixture resembles coarse crumbs.
- Gradually add ice water, one tablespoon at a time, mixing until the dough just comes together.
- Form the dough into a disc, wrap it in plastic wrap, and chill for at least 30 minutes.
- On a lightly floured surface, roll out the dough to your desired size and thickness.
- Transfer the crust to your pie dish and crimp the edges.
- Bake according to your pie filling recipe.
Notes
- Use a high-quality gluten-free flour blend for best results.
- Keep all ingredients cold to prevent the gluten-free crust from becoming tough.
- If the dough is too sticky, add more gluten-free flour, one tablespoon at a time.
Nutrition
- Serving Size: 1/8 of pie crust
- Calories: 200
- Sugar: 0g
- Sodium: 150mg
- Fat: 14g
- Saturated Fat: 9g
- Unsaturated Fat: 4g
- Trans Fat: 0g
- Carbohydrates: 18g
- Fiber: 1g
- Protein: 2g
- Cholesterol: 35mg






