


There’s just something so comforting about baking at home, isn’t there? And when that comforting aroma mixes with the bright, tangy scent of lemon? Pure bliss! That’s exactly what you get with these amazing Homemade Lemon Crumb Bars. They’re seriously easy to whip up, and the flavor combo – sweet and tart – is just *perfect*. Trust me on this one.
I remember the first time I made these. I was having a total craving for something lemony, and I stumbled upon a recipe that looked promising. Well, let me tell you, they disappeared in a flash! My family devoured them, and I’ve been making them ever since. Seriously, these Homemade Lemon Crumb Bars are the best way I know to brighten up any day. These bars are so easy to make, even I can’t mess them up, and that’s saying something! I’ve been baking for over 20 years, and I’ve learned a thing or two about what makes a good recipe. This one is a winner. You just *have* to try it!
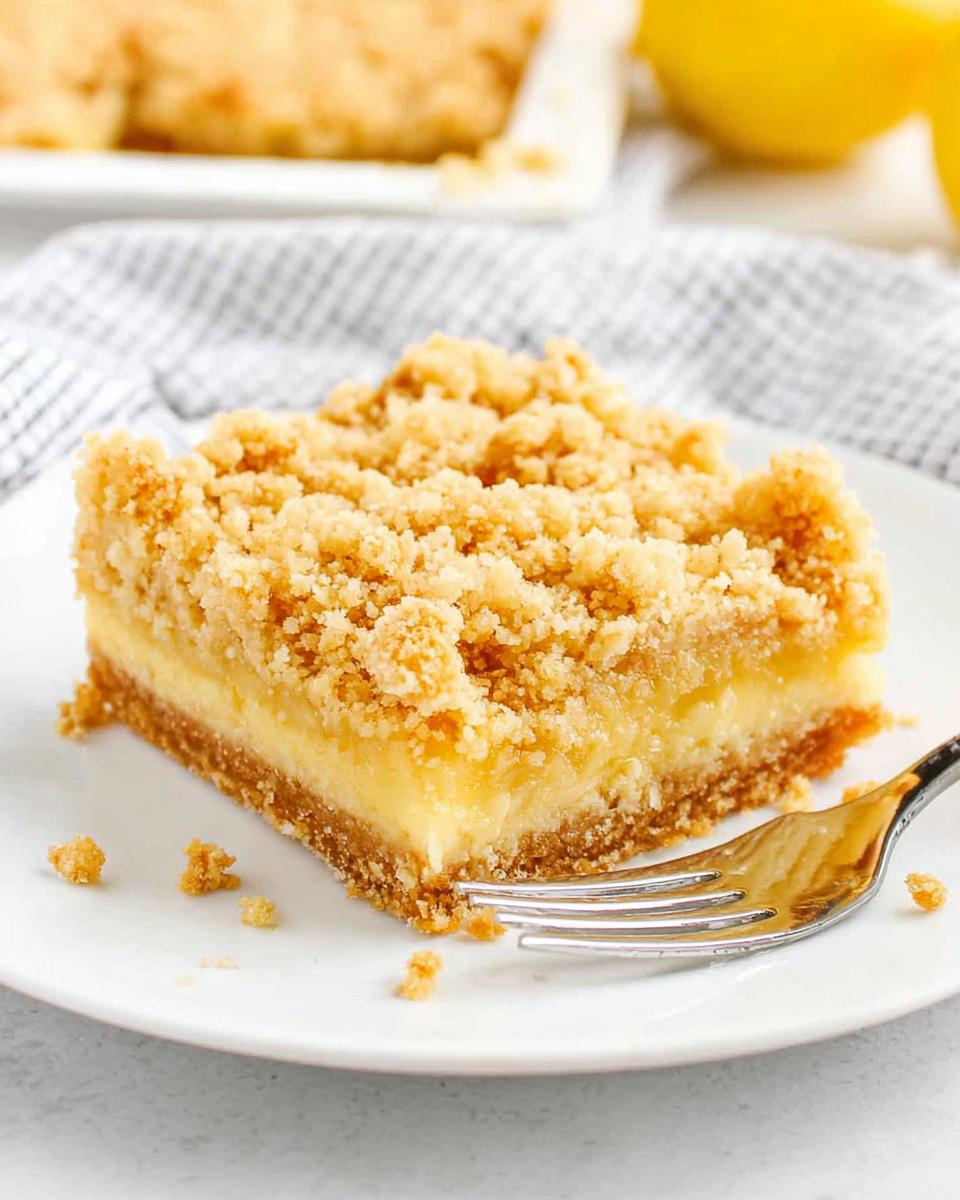
Why You’ll Love These Homemade Lemon Crumb Bars
Okay, so why *should* you make these Homemade Lemon Crumb Bars? Let me tell ya, it’s not just ’cause I said so! These little guys are seriously amazing, and here’s why:
Quick and Easy Homemade Lemon Crumb Bars
Seriously, you don’t need to be a pastry chef to make these! The recipe is super straightforward. If I can do it (and I’ve had my share of baking fails, trust me!), you definitely can. No fancy techniques or hard-to-find ingredients here!
Perfectly Tart and Sweet Homemade Lemon Crumb Bars
It’s all about that balance, right? These aren’t sickeningly sweet. The lemon gives them a fantastic zing that cuts through the sweetness perfectly. My favorite part is that tangy lemon flavor against the buttery crumb…mmm!
Portable and Perfect for Sharing Homemade Lemon Crumb Bars
Need something to bring to a potluck? Picnic? Office party? These are your answer! They travel super well, and everyone always raves about them. Plus, they’re easy to eat – no forks required!
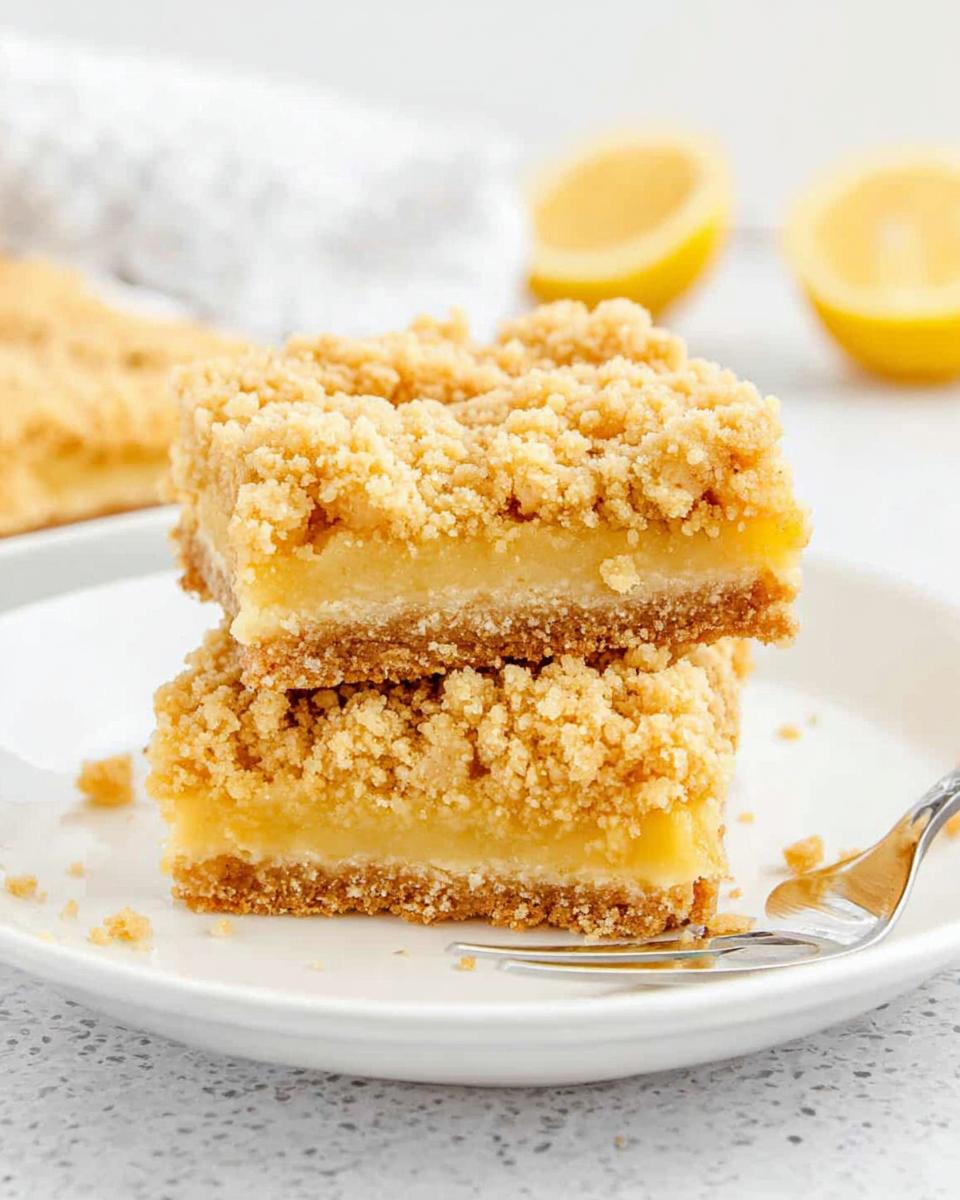
Ingredients for Your Homemade Lemon Crumb Bars
Alright, let’s talk ingredients! Nothing too crazy here, I promise. But listen up, because a few things *really* matter. You’ll need: 1 cup (80 g) quick-cooking oats, 1 ½ cups (180 g) all-purpose flour, and 1 cup (200 g) light brown sugar, packed. Don’t forget ¾ cup (1 ½ sticks / 170 g) unsalted butter, melted. Oh, and 1 can (14 ounces) sweetened condensed milk. Now, for the lemon-y goodness: you *need* ½ cup (115 g) freshly squeezed lemon juice – that’s about 3 lemons. Bottled stuff just doesn’t cut it, trust me! You’ll also want 2 large egg yolks, 1 teaspoon lemon zest, and just a tiny pinch – ⅛ teaspoon kosher salt.
How to Make Homemade Lemon Crumb Bars: Step-by-Step Instructions
Okay, friend, let’s get down to business! This is where the magic happens. Don’t worry, I’ll walk you through it step-by-step. Just follow along, and you’ll have the most amazing Homemade Lemon Crumb Bars before you know it!
Preparing the Crumb Base for Homemade Lemon Crumb Bars
First things first, grab a big bowl. Toss in your 1 cup of quick-cooking oats, 1 ½ cups of flour, 1 cup of packed brown sugar, ¼ teaspoon of baking soda, and ¼ teaspoon of baking powder. Now, pour in that ¾ cup of melted butter. The butter should be *melted*, not hot! Mix it all together with a fork until it looks crumbly. Don’t overmix it, though! Just until it’s combined. You want it nice and textured, not like paste, ya know?
Baking the Base for Homemade Lemon Crumb Bars
Now, this is important: preheat your oven to 350°F (175°C). While that’s heating up, line a 9×9 inch baking pan with parchment paper. This is a *must*, or you’ll have a heck of a time getting those bars out later! Trust me, I’ve learned from experience! Okay, now measure out half of that crumb mixture – about 2 cups or so – and set it aside. You’ll need it for the topping later. Press the remaining crumb mixture *firmly* into the bottom of your prepared pan. Pop it in the oven for 12-15 minutes, until it’s lightly golden brown. It’ll smell amazing! Once it’s done, let it cool *slightly* while you make the filling. We don’t want to add the filling to a piping hot crust!
Making the Lemon Filling for Homemade Lemon Crumb Bars
While the crust is cooling a bit, let’s make that luscious lemon filling! In another big bowl, whisk together that can of sweetened condensed milk, ½ cup of fresh lemon juice (remember, fresh is best!), 2 egg yolks, 1 teaspoon of lemon zest, and that tiny pinch of salt. Whisk it all together until it’s smooth and creamy. It should be nice and thick, and smell oh-so-lemony!
Assembling and Baking Your Homemade Lemon Crumb Bars
Okay, this is the fun part! Pour that lemon filling *carefully* over the slightly cooled crust. Now, grab that reserved crumb mixture and crumble it evenly over the top of the lemon filling. Try to spread it out so you get a nice, even crumb topping. Pop the whole thing back into the oven for 20-25 minutes, or until the edges are golden brown and the filling is set. The top should be a beautiful golden color!
Cooling and Refrigerating Homemade Lemon Crumb Bars
Alright, almost there! Once the bars are done, take them out of the oven and let them cool *completely* to room temperature. This is important! Then, cover the pan and pop it into the refrigerator for at least one hour before serving. This helps the filling set up completely, and it makes them *so* much easier to cut into clean bars. Trust me, patience is key here! Plus, these Homemade Lemon Crumb Bars are just amazing cold. You’re gonna love them!
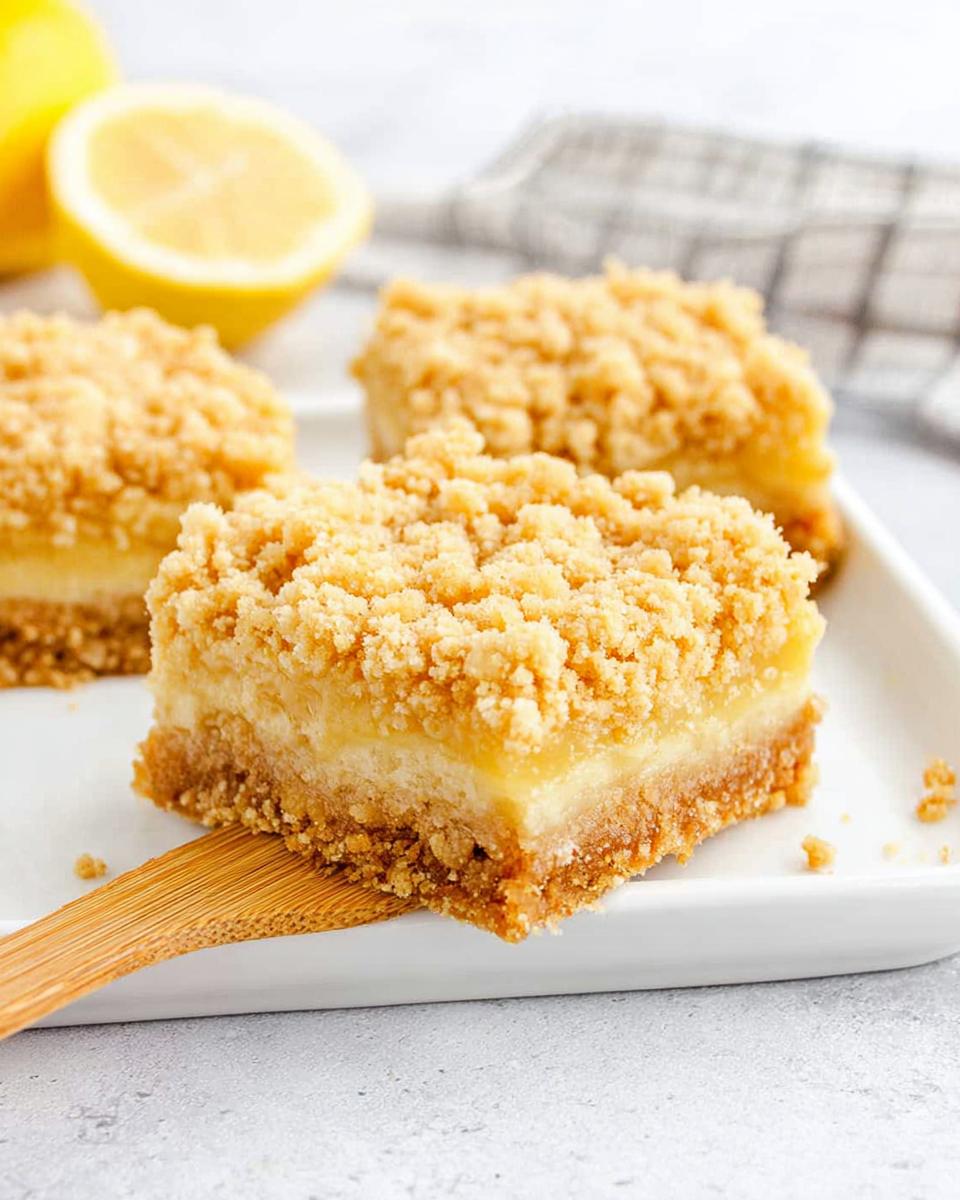
Tips for the Best Homemade Lemon Crumb Bars
Okay, wanna make these Homemade Lemon Crumb Bars *really* shine? Here are a few little secrets I’ve learned along the way. First, seriously, use fresh lemon juice! It makes a HUGE difference in the flavor. Bottled stuff just doesn’t have that bright, tangy zing. Also, don’t overbake that crust! You want it lightly golden, not dark brown and hard. And last but not least, refrigerate them for the full hour (or even longer!). Trust me, those clean cuts are worth the wait!
Ingredient Notes and Substitutions for Homemade Lemon Crumb Bars
So, a quick word on the ingredients… Quick-cooking oats are *definitely* my go-to for these bars, but hey, if you only have rolled oats, don’t sweat it! They’ll work in a pinch. The texture might be *slightly* different, but they’ll still taste amazing. And if you’re feeling a bit adventurous, you can even try lime juice instead of lemon! It gives them a totally different, but equally delicious, twist. Just sayin’!
Storing and Reheating Your Homemade Lemon Crumb Bars
Got leftovers? Lucky you! These Homemade Lemon Crumb Bars are amazing the next day (if they last that long!). Just pop them in an airtight container and store them in the fridge. They’ll keep for about 3-4 days. And honestly? They’re best served cold, straight from the fridge! No need to reheat ’em, they’re perfect as is!
Frequently Asked Questions About Homemade Lemon Crumb Bars
Got questions about these Homemade Lemon Crumb Bars? I bet you do! Don’t worry, I’ve got answers! Here are a few of the most common things I get asked:
Can I use bottled lemon juice for these Homemade Lemon Crumb Bars?
Okay, okay, I know it’s tempting to reach for that bottle of lemon juice in the fridge. But trust me on this one: fresh lemon juice makes *all* the difference! It has a brighter, more vibrant flavor that you just can’t get from the bottled stuff. Plus, you need the zest anyway, so you might as well buy some fresh lemons!
How do I prevent the crust of my Homemade Lemon Crumb Bars from getting soggy?
Nobody wants a soggy crust, right? The key is to bake that crust until it’s lightly golden brown *before* you add the filling. That little bit of baking helps it firm up and create a barrier against the moisture from the lemon filling. And make sure you let it cool *slightly* before pouring in the filling – that also helps prevent sogginess!
Can I freeze these Homemade Lemon Crumb Bars?
You betcha! These Homemade Lemon Crumb Bars freeze beautifully. Just let them cool completely, cut them into bars, and then wrap them individually in plastic wrap. Then, pop them into a freezer-safe bag or container. They’ll keep in the freezer for up to 2 months. When you’re ready to eat one, just thaw it in the refrigerator overnight, or at room temperature for a couple of hours. They’ll taste just as good as the day you made them!
Nutritional Information for Homemade Lemon Crumb Bars
Okay, so here’s the deal: I’m not a nutritionist! The nutrition info can vary *a lot* depending on the brands you use, so I can’t give you exact numbers. Just keep that in mind!
Enjoyed This Recipe? Leave a Comment!
Made these Homemade Lemon Crumb Bars? Woohoo! I’d *love* to hear how they turned out! Leave a comment below and let me know what you think. And hey, give the recipe a star rating while you’re at it!
Print
Homemade Lemon Crumb Bars: Shockingly Simple Recipe
- Prep Time: 20 minutes
- Cook Time: 45 minutes
- Total Time: 1 hour 25 minutes
- Yield: 9 bars 1x
- Category: Dessert
- Method: Baking
- Cuisine: American
- Diet: Vegetarian
Description
Make delicious lemon crumb bars at home. Enjoy the sweet and tangy flavor.
Ingredients
- 1 cup (80 g) quick-cooking oats
- 1 ½ cups (180 g) all-purpose flour
- 1 cup (200 g) light brown sugar, packed
- ¼ teaspoon baking soda
- ¼ teaspoon baking powder
- ¾ cup (1 ½ sticks / 170 g) unsalted butter, melted
- 1 can (14 ounces) sweetened condensed milk
- ½ cup (115 g) freshly squeezed lemon juice, about 3 lemons
- 2 large egg yolks
- 1 teaspoon lemon zest
- ⅛ teaspoon kosher salt
Instructions
- Preheat oven to 350°F and line a 9×9-inch pan with parchment paper. Set aside.
- In a large bowl, combine oats, flour, brown sugar, baking powder, and baking soda. Pour melted butter over the mixture and mix together until crumbly, being careful not to overmix.
- Measure out ½ of the mixture (about 2 cups), and set it aside to reserve for topping.
- Pour the remaining half of the mixture into the lined baking dish. Press firmly into the bottom of the pan.
- Bake 12-15 minutes, or until golden brown. Set aside to cool slightly while you make the lemon filling.
- To a large bowl, add sweetened condensed milk, lemon juice, egg yolks, lemon zest, and salt. Mix until smooth and creamy.
- Pour the lemon mixture over the top of the baked oat crust.
- Evenly crumble the reserved oat mixture over the top.
- Bake for 20-25 minutes, or until edges are golden brown.
- Let come to room temperature. Then, refrigerate 1 hour before serving.
Notes
- Use fresh lemon juice for the best flavor.
- Refrigerate the bars for at least 1 hour before serving.
Nutrition
- Serving Size: 1 bar
- Calories: 350
- Sugar: 30g
- Sodium: 100mg
- Fat: 15g
- Saturated Fat: 9g
- Unsaturated Fat: 5g
- Trans Fat: 0g
- Carbohydrates: 50g
- Fiber: 2g
- Protein: 5g
- Cholesterol: 50mg






