

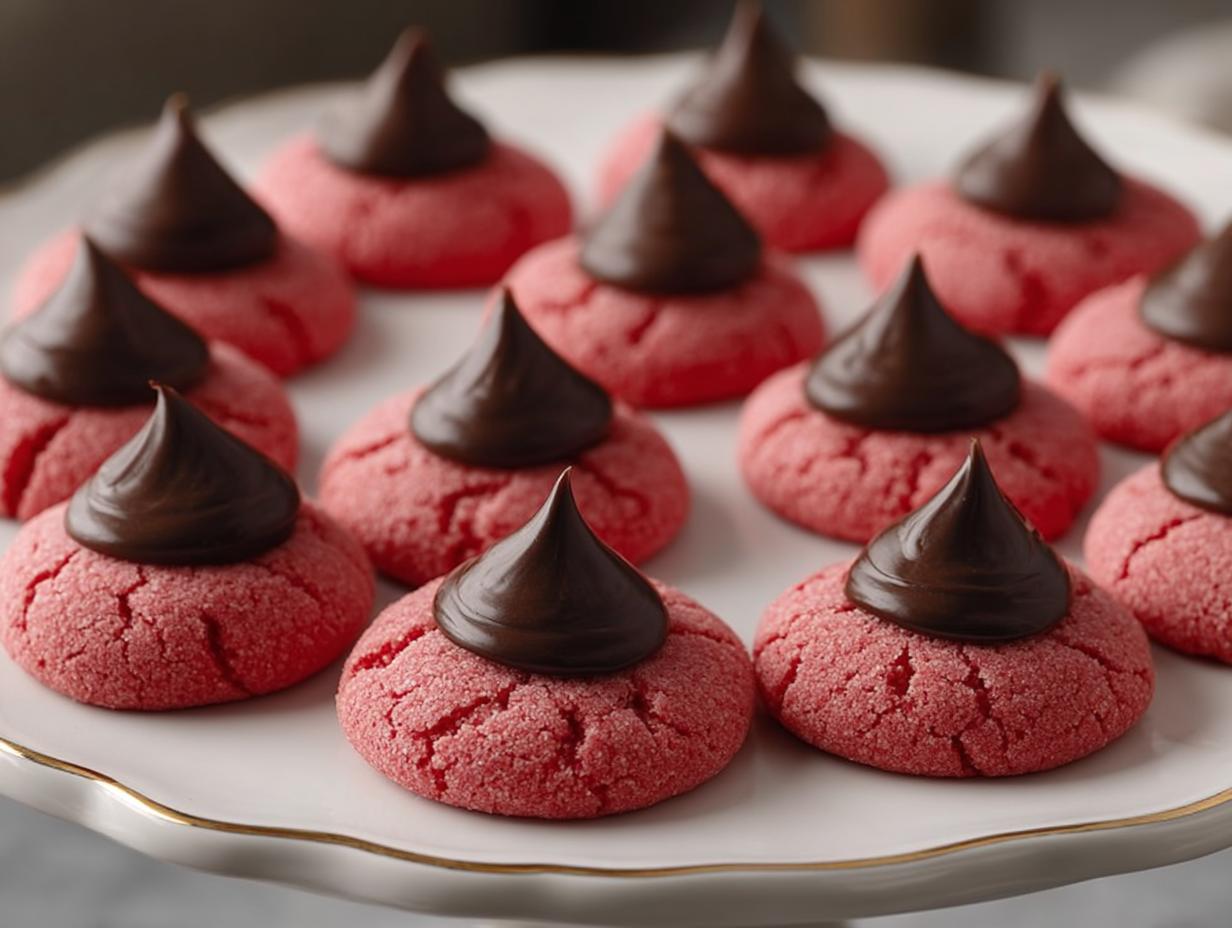
Valentine’s Day is coming, and you KNOW what that means, right? Time to get baking! And trust me, these Valentine Kiss Cookies? They’re gonna be a HUGE hit! They’re not just any cookie; they’re little bites of chocolatey, sprinkle-covered joy, topped with a Hershey’s Kiss! Seriously, what’s not to love?
I’ve been making these for my family for years. My kids practically BEG for them every February. They’re so fun to make together, and honestly, seeing their faces light up when they bite into one? Best feeling EVER. Plus, they look SO pretty on a platter. So, if you’re looking for a super easy, super festive Valentine’s Day treat, you’ve GOT to try these Valentine Kiss Cookies. They’re about to become your new favorite!
Why You’ll Absolutely Love These Valentine Kiss Cookies
Okay, so why *these* cookies? I mean, there are a MILLION cookie recipes out there, right? Well, trust me, these Valentine Kiss Cookies are special. They’re the perfect combo of easy, delicious, and totally adorable. Here’s why you’ll be obsessed:
Quick and Easy Valentine Kiss Cookies
Seriously, you don’t need to be a master baker to whip these up! The steps are super simple, and you probably already have most of the ingredients in your pantry. We’re talking basic baking stuff here – flour, butter, sugar, cocoa… nothing crazy. Plus, the dough comes together in a snap! It’s a perfect recipe to get the kids involved with, too!
Perfect Blend of Chocolate and Sweetness in Valentine Kiss Cookies
Okay, the flavor? To die for! You get that rich chocolatey cookie base, but it’s not too overpowering. The sugar adds just the right amount of sweetness, and then BAM! You get that extra burst of chocolate from the Hershey’s Kiss on top. It’s like a party in your mouth, I swear!
Festive and Fun Valentine Kiss Cookies
Let’s be real, these cookies are just plain CUTE! All those colorful sprinkles? The shiny Hershey’s Kiss? They’re practically begging to be Instagrammed! They’re perfect for gifting to friends and family, bringing to a Valentine’s Day party, or just enjoying yourself with a cup of coffee. They’re guaranteed to put a smile on anyone’s face!
Ingredients for Your Valentine Kiss Cookies
Alright, let’s talk ingredients! Here’s what you’ll need to make these magical Valentine Kiss Cookies. Don’t worry, it’s all pretty standard stuff, and I bet you’ve got most of it already!
- 1 cup all-purpose flour. Just the regular kind! No need for anything fancy here.
- 1/3 cup cocoa powder. I usually use unsweetened, but if you like a super rich chocolate flavor, you could use Dutch-processed.
- 1/4 tsp salt. Just a pinch to balance out the sweetness!
- 8 tablespoons (that’s 1 stick!) unsalted butter, softened. Make sure it’s *actually* soft, not melted! You want to be able to easily cream it with the sugar.
- 2/3 cup granulated sugar. Yep, plain old white sugar.
- 1 large egg yolk. Save the white for an omelet! We just want the yolk for richness here.
- 2 tablespoons milk. Any kind works! I usually use 2%, but whole milk will make them even richer.
- 1 teaspoon vanilla extract. Don’t skimp on the vanilla! It really enhances the flavor.
- 3/4 to 1 cup assorted Valentine sprinkles. This is where you can get creative! Use any colors and shapes you like. I usually grab a mix from the baking aisle.
- 25 to 30 Hershey’s Kisses candies, unwrapped. Milk chocolate is classic, but you could totally use dark chocolate, caramel-filled, or even the special edition Valentine’s ones! Just make sure they’re unwrapped and ready to go!
Oh! And hey, if you’re missing something? Don’t panic! Baking is all about experimenting. If you don’t have vanilla extract, a little almond extract can be yummy. Just have fun with it!
How to Make Valentine Kiss Cookies: Step-by-Step Instructions
Okay, ready to get baking? Don’t worry, this is gonna be fun! Just follow these simple steps, and you’ll have a batch of adorable Valentine Kiss Cookies in no time!
Preparing the Dough for Valentine Kiss Cookies
First things first, let’s get that dough ready! In a bowl, whisk together your flour, cocoa powder, and salt. Set that aside for now. In a separate, larger bowl, cream together your softened butter and sugar with an electric mixer until it’s light and fluffy – about 2 minutes should do it. Then, add in your egg yolk, milk, and vanilla extract. Mix it all up until it’s nicely combined. Now, slowly add in that flour mixture you set aside earlier, mixing on low speed until *just* combined. Don’t overmix it!
Wrap the dough in plastic wrap – this is important! – and pop it in the fridge for at least an hour. Trust me, this chilling time is KEY. It makes the dough SO much easier to handle later on. If you’re in a hurry, 30 minutes might work, but an hour is best!
Once the dough is chilled, roll it into 1-inch balls. I like to use a small cookie scoop to make sure they’re all the same size, but you can totally do it by hand, too!
Adding Sprinkles to Valentine Kiss Cookies
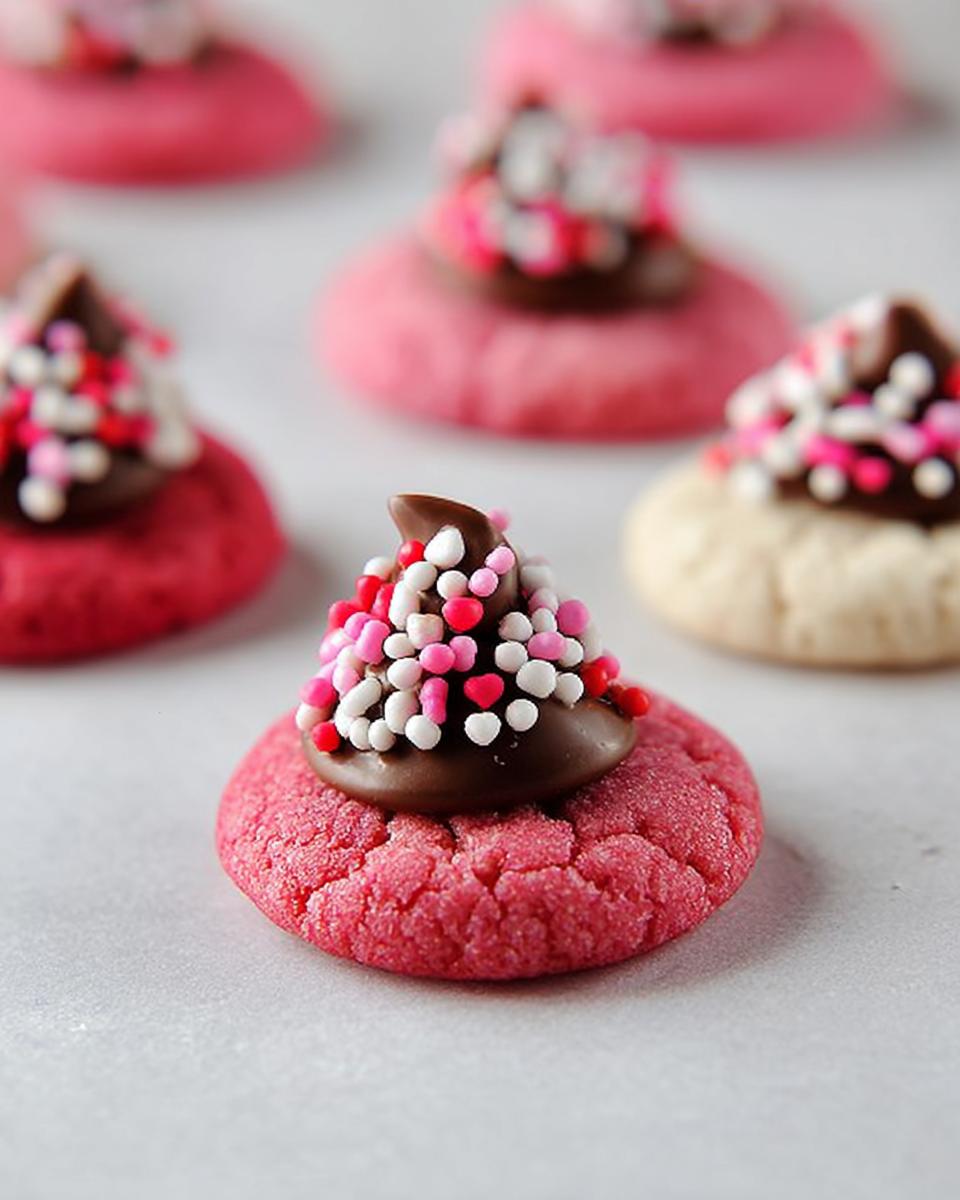
Okay, time for the fun part! Pour your sprinkles into a shallow bowl. Now, roll each dough ball in the sprinkles, making sure they’re completely covered. This is where you can really get creative! The more sprinkles, the merrier, right?
Place the sprinkle-covered balls about 2 inches apart on a baking sheet. Then, using your thumb (or the back of a spoon), gently press down into the center of each ball to make a small indentation. Don’t press too hard, you just want a little divot for the Hershey’s Kiss to sit in later. After you indent them, chill the baking sheet of dough balls in the refrigerator for 10 to 15 minutes. This helps them keep their shape while baking!
Baking Your Valentine Kiss Cookies
Preheat your oven to 350 degrees F (175 degrees C). Once it’s heated, bake the cookies for about 12 minutes, or until they’re set. You’ll know they’re done when they look slightly puffed up and the edges are firm. Keep a close eye on them, because every oven is different!
Adding the Hershey Kiss to Your Valentine Kiss Cookies
This is where the magic happens! As soon as you take the cookies out of the oven, immediately place a Hershey’s Kiss in the center of each cookie, pressing it down gently. The heat from the cookie will help the Kiss to melt slightly and stick in place. Be careful, the cookies are HOT!
Cooling and Setting Valentine Kiss Cookies
Let the cookies cool on the baking sheet for about 3 minutes, then carefully transfer them to a wire cooling rack to cool completely. This helps prevent the Hershey’s Kisses from melting too much. If they start to get melty, pop the whole rack in the fridge for a few minutes to firm them up. And that’s it! You’ve made Valentine Kiss Cookies! Now try not to eat them all at once!
Tips for Perfect Valentine Kiss Cookies
Want to make sure your Valentine Kiss Cookies are absolutely PERFECT? Of course, you do! Here are a few of my tried-and-true tips to help you bake like a pro:
Chill that dough, seriously! I know, I know, it’s tempting to skip the chilling time, but TRUST ME, it makes a HUGE difference. Chilled dough is so much easier to handle, and it helps the cookies keep their shape in the oven. Plus, it prevents them from spreading out too thin. So, be patient and let that dough chill!
Handle those Hershey’s Kisses with care! Those little chocolate gems can be a bit melty, especially when they’re warm. Make sure your cookies have cooled slightly before adding the Kisses, and don’t press down too hard, or you’ll end up with a chocolatey mess. Oops! If they DO get a little melty, just pop the cookies in the fridge for a few minutes to firm them up.
Bake evenly for Valentine Kiss Cookies! To ensure your cookies bake evenly, rotate the baking sheet halfway through the baking time. This helps prevent some cookies from getting too brown while others are still pale. Nobody wants a burnt cookie, right?
Don’t overcrowd the baking sheet! Give those cookies some space! Overcrowding the baking sheet can cause the cookies to steam instead of bake, resulting in flat, chewy cookies. Aim for about 2 inches of space between each cookie.
Let them cool completely! As tempting as it is to devour these cookies straight from the oven (and believe me, I understand!), it’s important to let them cool completely before storing them. This prevents them from sticking together and helps the Hershey’s Kisses set properly. Plus, they just taste better when they’re cool!
Valentine Kiss Cookies Variations
Okay, so you’ve mastered the classic Valentine Kiss Cookie, right? Awesome! Now, let’s get a little crazy and try some fun variations! This recipe is super versatile, so don’t be afraid to experiment and make it your own!
Chocolate overload! Use dark chocolate cocoa powder for an even richer, more intense chocolate flavor. You could even add some mini chocolate chips to the dough for extra chocolatey goodness. Oh yeah!
Extracts are your friend! A little almond extract can add a lovely nutty flavor. Or, try peppermint extract for a festive, minty twist! Just be careful not to add too much, a little goes a long way.
Switch up the sprinkles! Instead of the classic Valentine’s sprinkles, try using sanding sugar for a sparkly, elegant look. Or, use themed sprinkles for other holidays or occasions! The possibilities are endless!
Different Kisses! Okay, so milk chocolate Hershey’s Kisses are classic, but why stop there? Try using dark chocolate Kisses, caramel-filled Kisses, or even the special edition Valentine’s ones with the cute little messages on them! How fun is that?
Peanut butter power! Add a tablespoon or two of peanut butter to the dough for a delicious peanut butter chocolate combo. Just be careful not to add too much, or the cookies will be dry. Yum!
Frequently Asked Questions About Valentine Kiss Cookies
Got questions about making these adorable Valentine Kiss Cookies? Don’t worry, I’ve got answers! Here are a few of the most common questions I get asked:
Can I use different types of chocolate for Valentine Kiss Cookies?
Absolutely! While milk chocolate Hershey’s Kisses are the classic choice, feel free to get creative! Dark chocolate Kisses add a richer, more intense flavor. Caramel-filled Kisses are also amazing! And hey, you could even use Hugs (the white chocolate and milk chocolate swirled ones) for a fun twist! Just make sure they’re all unwrapped and ready to go before the cookies come out of the oven. Variety is the spice of life, right?
How do I prevent the Hershey Kisses from melting in Valentine Kiss Cookies?
Melty Kisses can be a bit of a bummer, but don’t worry, it’s totally preventable! First, make sure your cookies have cooled slightly on the baking sheet before adding the Kisses. If the cookies are too hot, the Kisses will melt instantly. Second, don’t press down too hard when you add the Kisses. A gentle press is all you need! If the Kisses DO start to melt, just pop the baking sheet in the fridge for a few minutes to firm them up. Problem solved!
Can I make Valentine Kiss Cookies ahead of time?
You betcha! These cookies are great for making ahead. You can bake the cookies and add the Hershey’s Kisses, then store them in an airtight container at room temperature for up to 3-4 days. Or, you can freeze the baked cookies (without the Kisses) for up to 2 months. When you’re ready to serve them, just thaw the cookies, add the Kisses, and enjoy! You can also freeze the unbaked dough balls (sprinkles and all!) for up to a month. Just thaw them in the fridge before baking. So convenient, right?
Storing Your Valentine Kiss Cookies
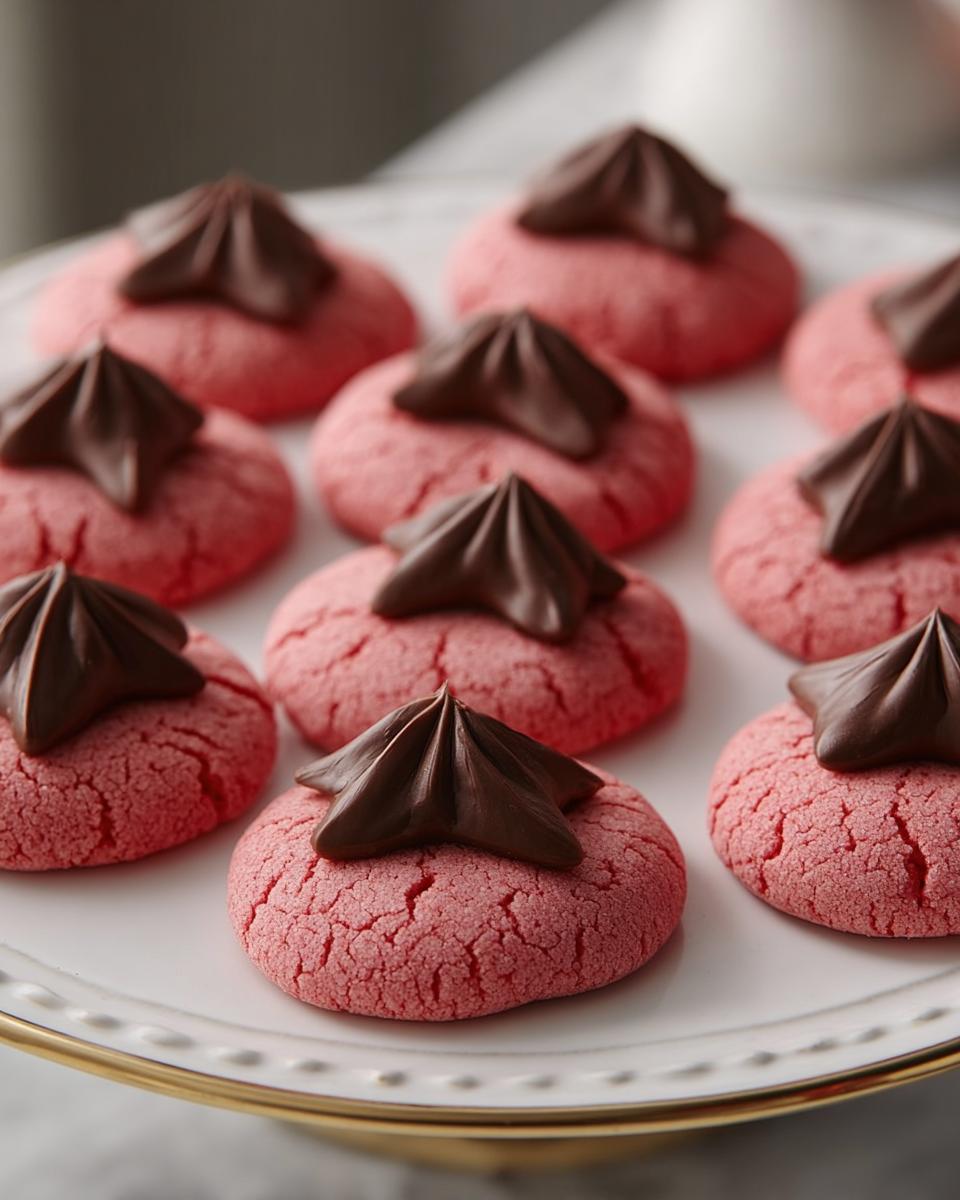
Okay, so you’ve baked a batch of these cuties – now, how do you keep ’em fresh? Easy peasy! The best way to store your Valentine Kiss Cookies is in an airtight container. I usually use a Tupperware container or a zip-top bag. Just make sure they’re sealed up nice and tight to keep the air out!
You can keep ’em at room temperature – they’ll stay good for about 3-4 days. If you live somewhere warm, you might want to pop them in the fridge to keep the Hershey’s Kisses from getting too melty. Nobody wants a melty Kiss, right?
And hey, if you have any leftover sprinkles (because let’s be honest, who doesn’t?), you can store those in a sealed container too. That way, they’re ready for your next batch of Valentine Kiss Cookies… or maybe some sprinkle-covered ice cream? Just sayin’!
Nutritional Information for Valentine Kiss Cookies
Alright, let’s talk numbers! Now, I’m no nutritionist, but I know some of you are curious about what’s *actually* in these Valentine Kiss Cookies. So, here’s a rough estimate of the nutritional information per cookie:
Keep in mind that this is just an estimate, okay? The exact nutritional information will vary depending on the specific ingredients you use (like the brand of chocolate or the type of sprinkles). I’m not responsible if you eat the whole batch!
Disclaimer: The following nutritional information is an estimate based on commonly available ingredients and standard serving sizes. Actual values may vary based on specific ingredients and brands used. This information is not intended as a substitute for professional dietary advice.
Share the Love: Rate and Comment on These Valentine Kiss Cookies
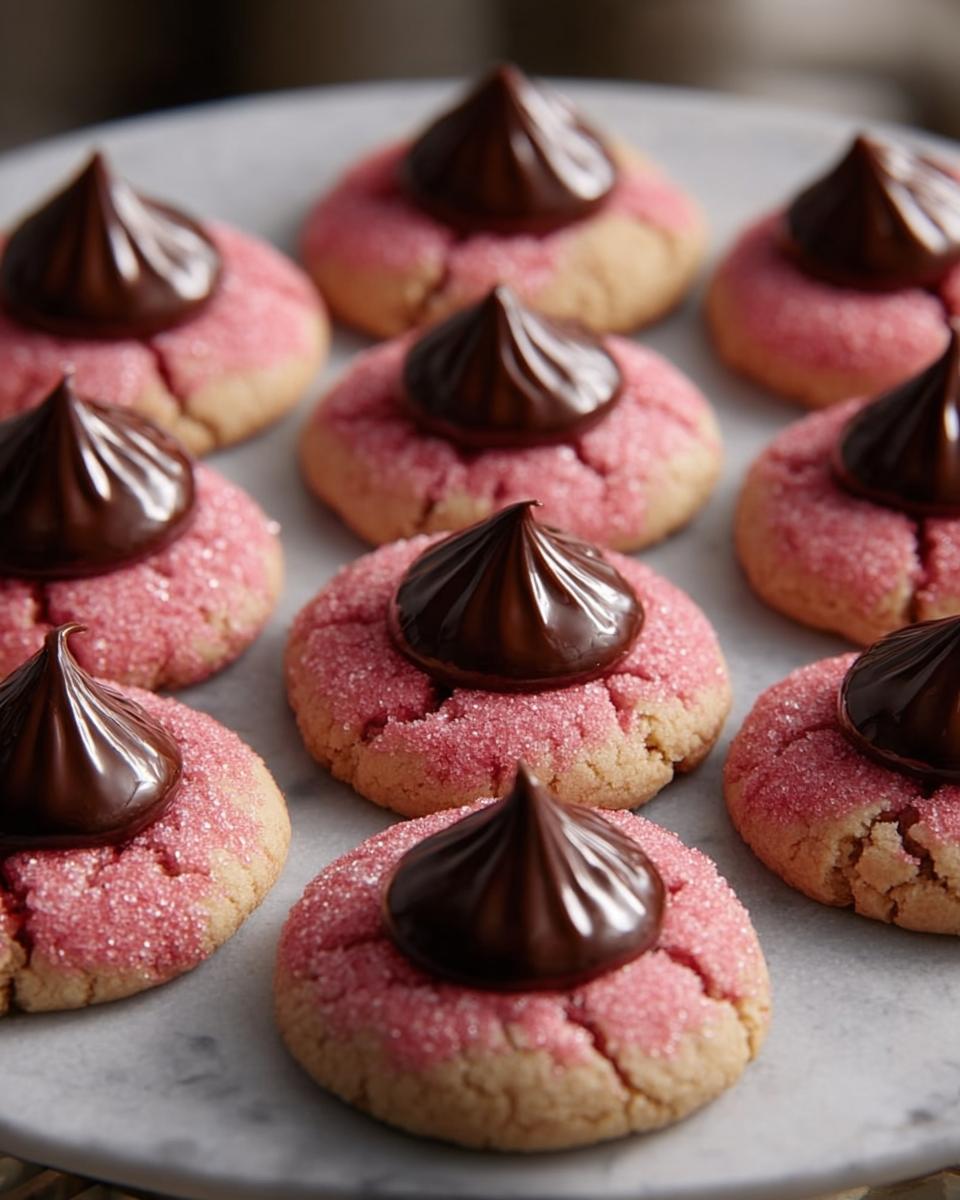
Okay, you’ve made these adorable Valentine Kiss Cookies (and probably eaten a few, let’s be honest!). Now, I wanna know what you think! Did you love them? Did your family devour them? Did you make any fun variations?
Leave a comment below and tell me all about your experience! I love hearing from you guys! And hey, if you loved the recipe, give it a rating! It helps other bakers find it and spread the Valentine’s Day cheer!
And if you’re feeling extra generous, share a photo of your Valentine Kiss Cookies on social media! Tag me so I can see your creations! Let’s spread the love, one sprinkle-covered cookie at a time! Happy baking!
Print
Irresistible Valentine Kiss Cookies: Steal Hearts in 12 Minutes
- Prep Time: 25 minutes
- Cook Time: 12 minutes
- Total Time: 1 hour 40 minutes
- Yield: 25-30 cookies 1x
- Category: Dessert
- Method: Baking
- Cuisine: American
- Diet: Vegetarian
Description
Valentine Kiss Cookies are festive treats perfect for sharing with loved ones. These chocolate cookies are coated in sprinkles and topped with a Hershey Kiss.
Ingredients
- 1 c. all-purpose flour
- 1/3 c. cocoa powder
- 1/4 tsp. salt
- 8 T. (1 stick) unsalted butter, softened
- 2/3 c. sugar
- 1 egg yolk
- 2 T. milk
- 1 tsp. vanilla extract
- 3/4 to 1 c. assorted Valentine sprinkles
- 25 to 30 Hershey Kisses candies, unwrapped
Instructions
- Combine flour, cocoa, and salt; set aside.
- With an electric mixer on medium-high speed, beat butter and sugar until light and fluffy, about 2 minutes. Add egg yolk, milk, and vanilla; mix until incorporated. Reduce mixer speed to low and add the flour mixture until just combined.
- Wrap dough in plastic wrap and refrigerate until firm, 1 hour.
- Roll chilled dough into 1-inch balls and roll each ball in sprinkles, completely covering the dough ball with sprinkles. Place balls about 2 inches apart on a baking sheet. With your thumb, gently press down into the center of each ball just slightly to make a very small indentation. Chill the baking sheet of dough balls in the refrigerator for 10 to 15 minutes.
- Bake at 350 degrees until set, about 12 minutes.
- After removing cookies from the oven, immediately place a Hershey Kiss in the center of each cookie. Let cookies cool on the baking sheet for about 3 minutes, remove to a cooling rack to cool.
Notes
- Chill dough for easier handling.
- Press Hershey Kisses gently into warm cookies.
Nutrition
- Serving Size: 1 cookie
- Calories: 150
- Sugar: 12g
- Sodium: 30mg
- Fat: 8g
- Saturated Fat: 5g
- Unsaturated Fat: 2g
- Trans Fat: 0g
- Carbohydrates: 18g
- Fiber: 0.5g
- Protein: 2g
- Cholesterol: 20mg






